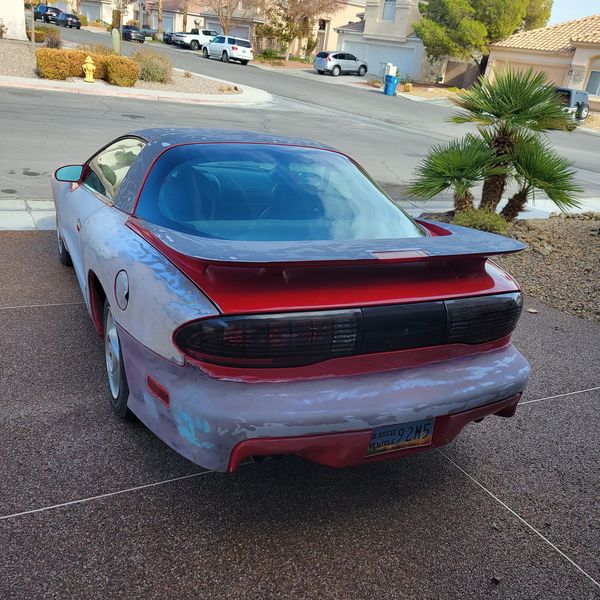
1993 Pontiac Firebird Trans Am LT1's
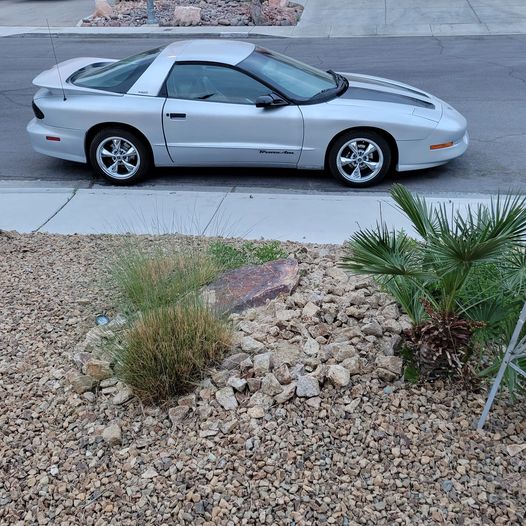
This is the first 93 Trans Am LT1 that I restored. My daily driver. My silver bullet. TA 1:
=========================
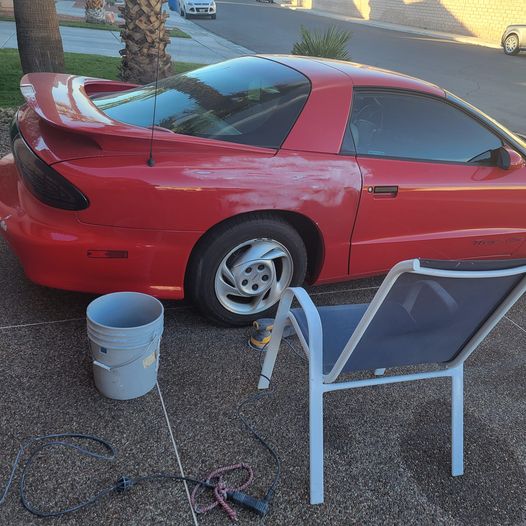
I like it so much I bought a 2nd one. I initially was thinking for a parts car but it is so nice, I decided to restore it too.
I learned a lot of lessons with the first one so I thought it would be nice to keep a record of my progress, for every day I work on this 2nd 93 Trans Am --> TA 2.
I will be adding lots of goodies for anyone else looking to restore one of these rare classic pony cars (only 5,121 of these 1993 Pontiac Trans Am's ever made). I feel blessed to have two.
If you are looking for a particular part for one, or have OEM parts to sell or trade, let me know: [email protected]
This is going to be a very long page initially and possibly forever. So here goes:
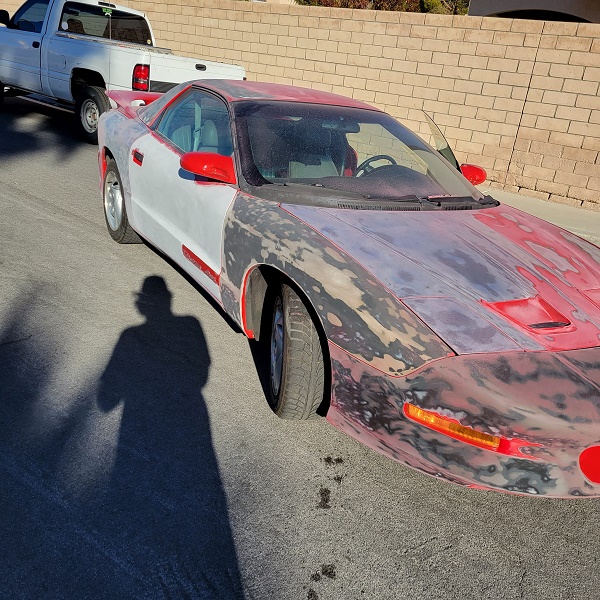
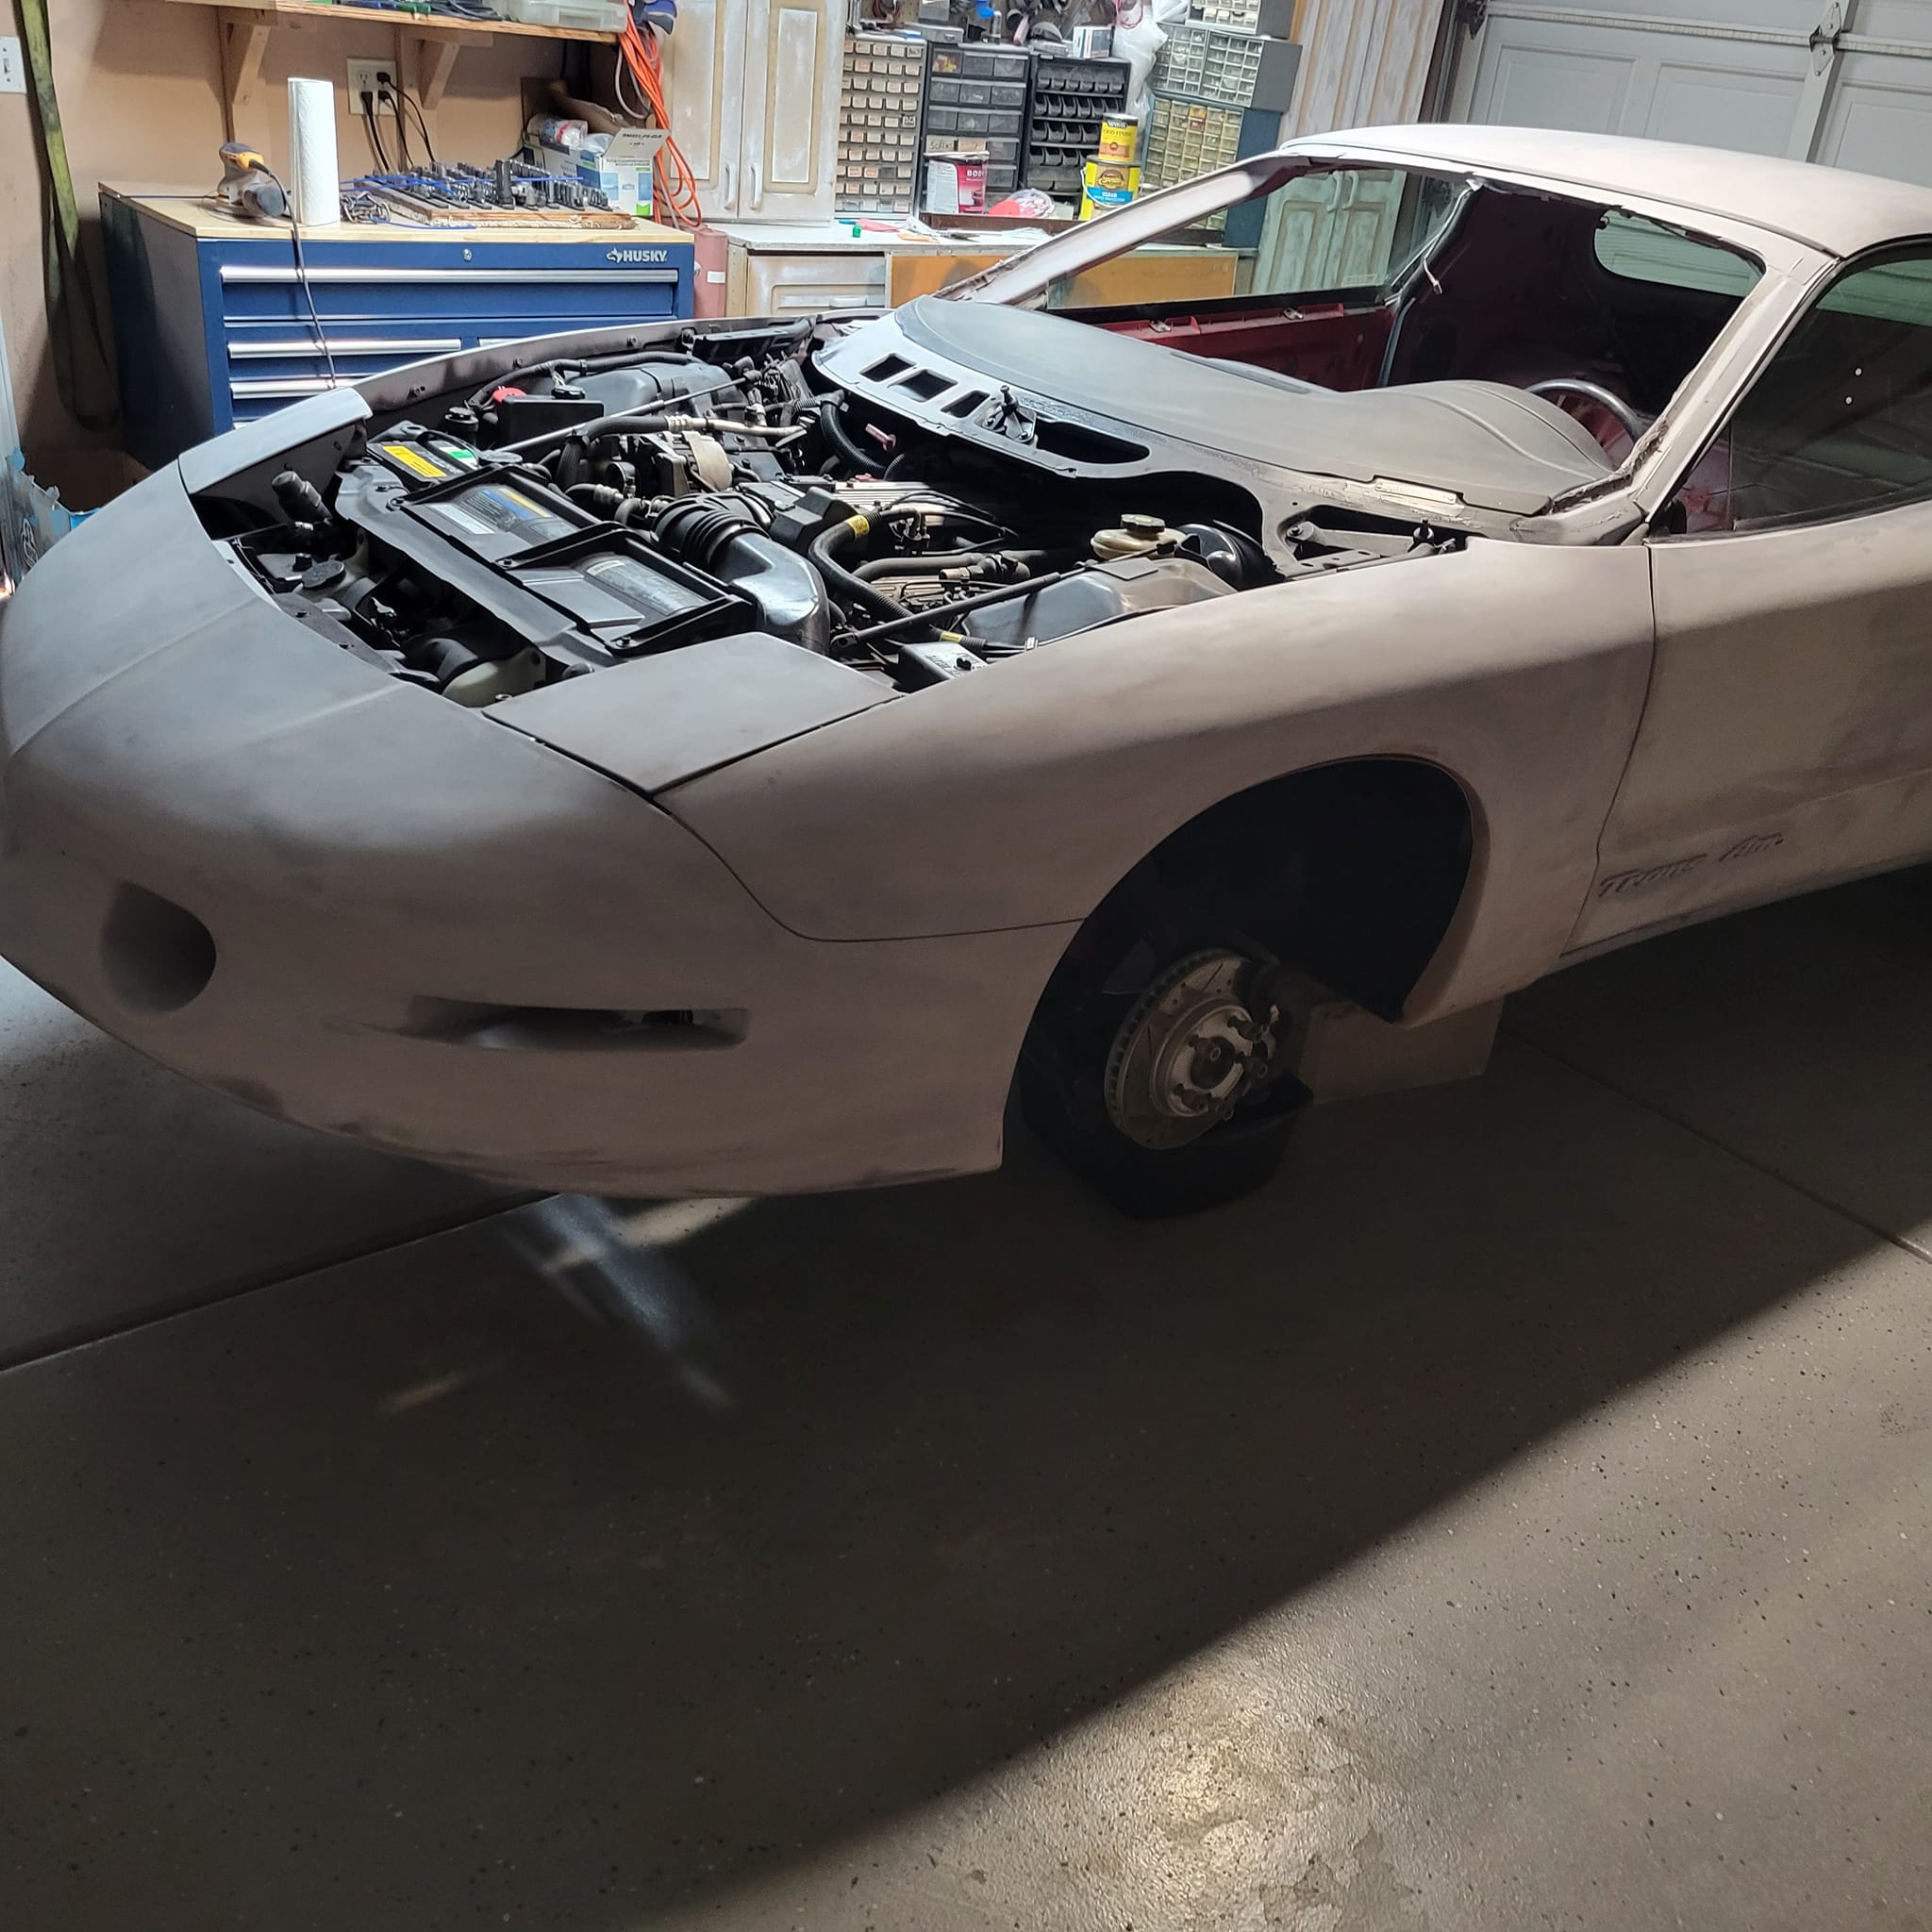
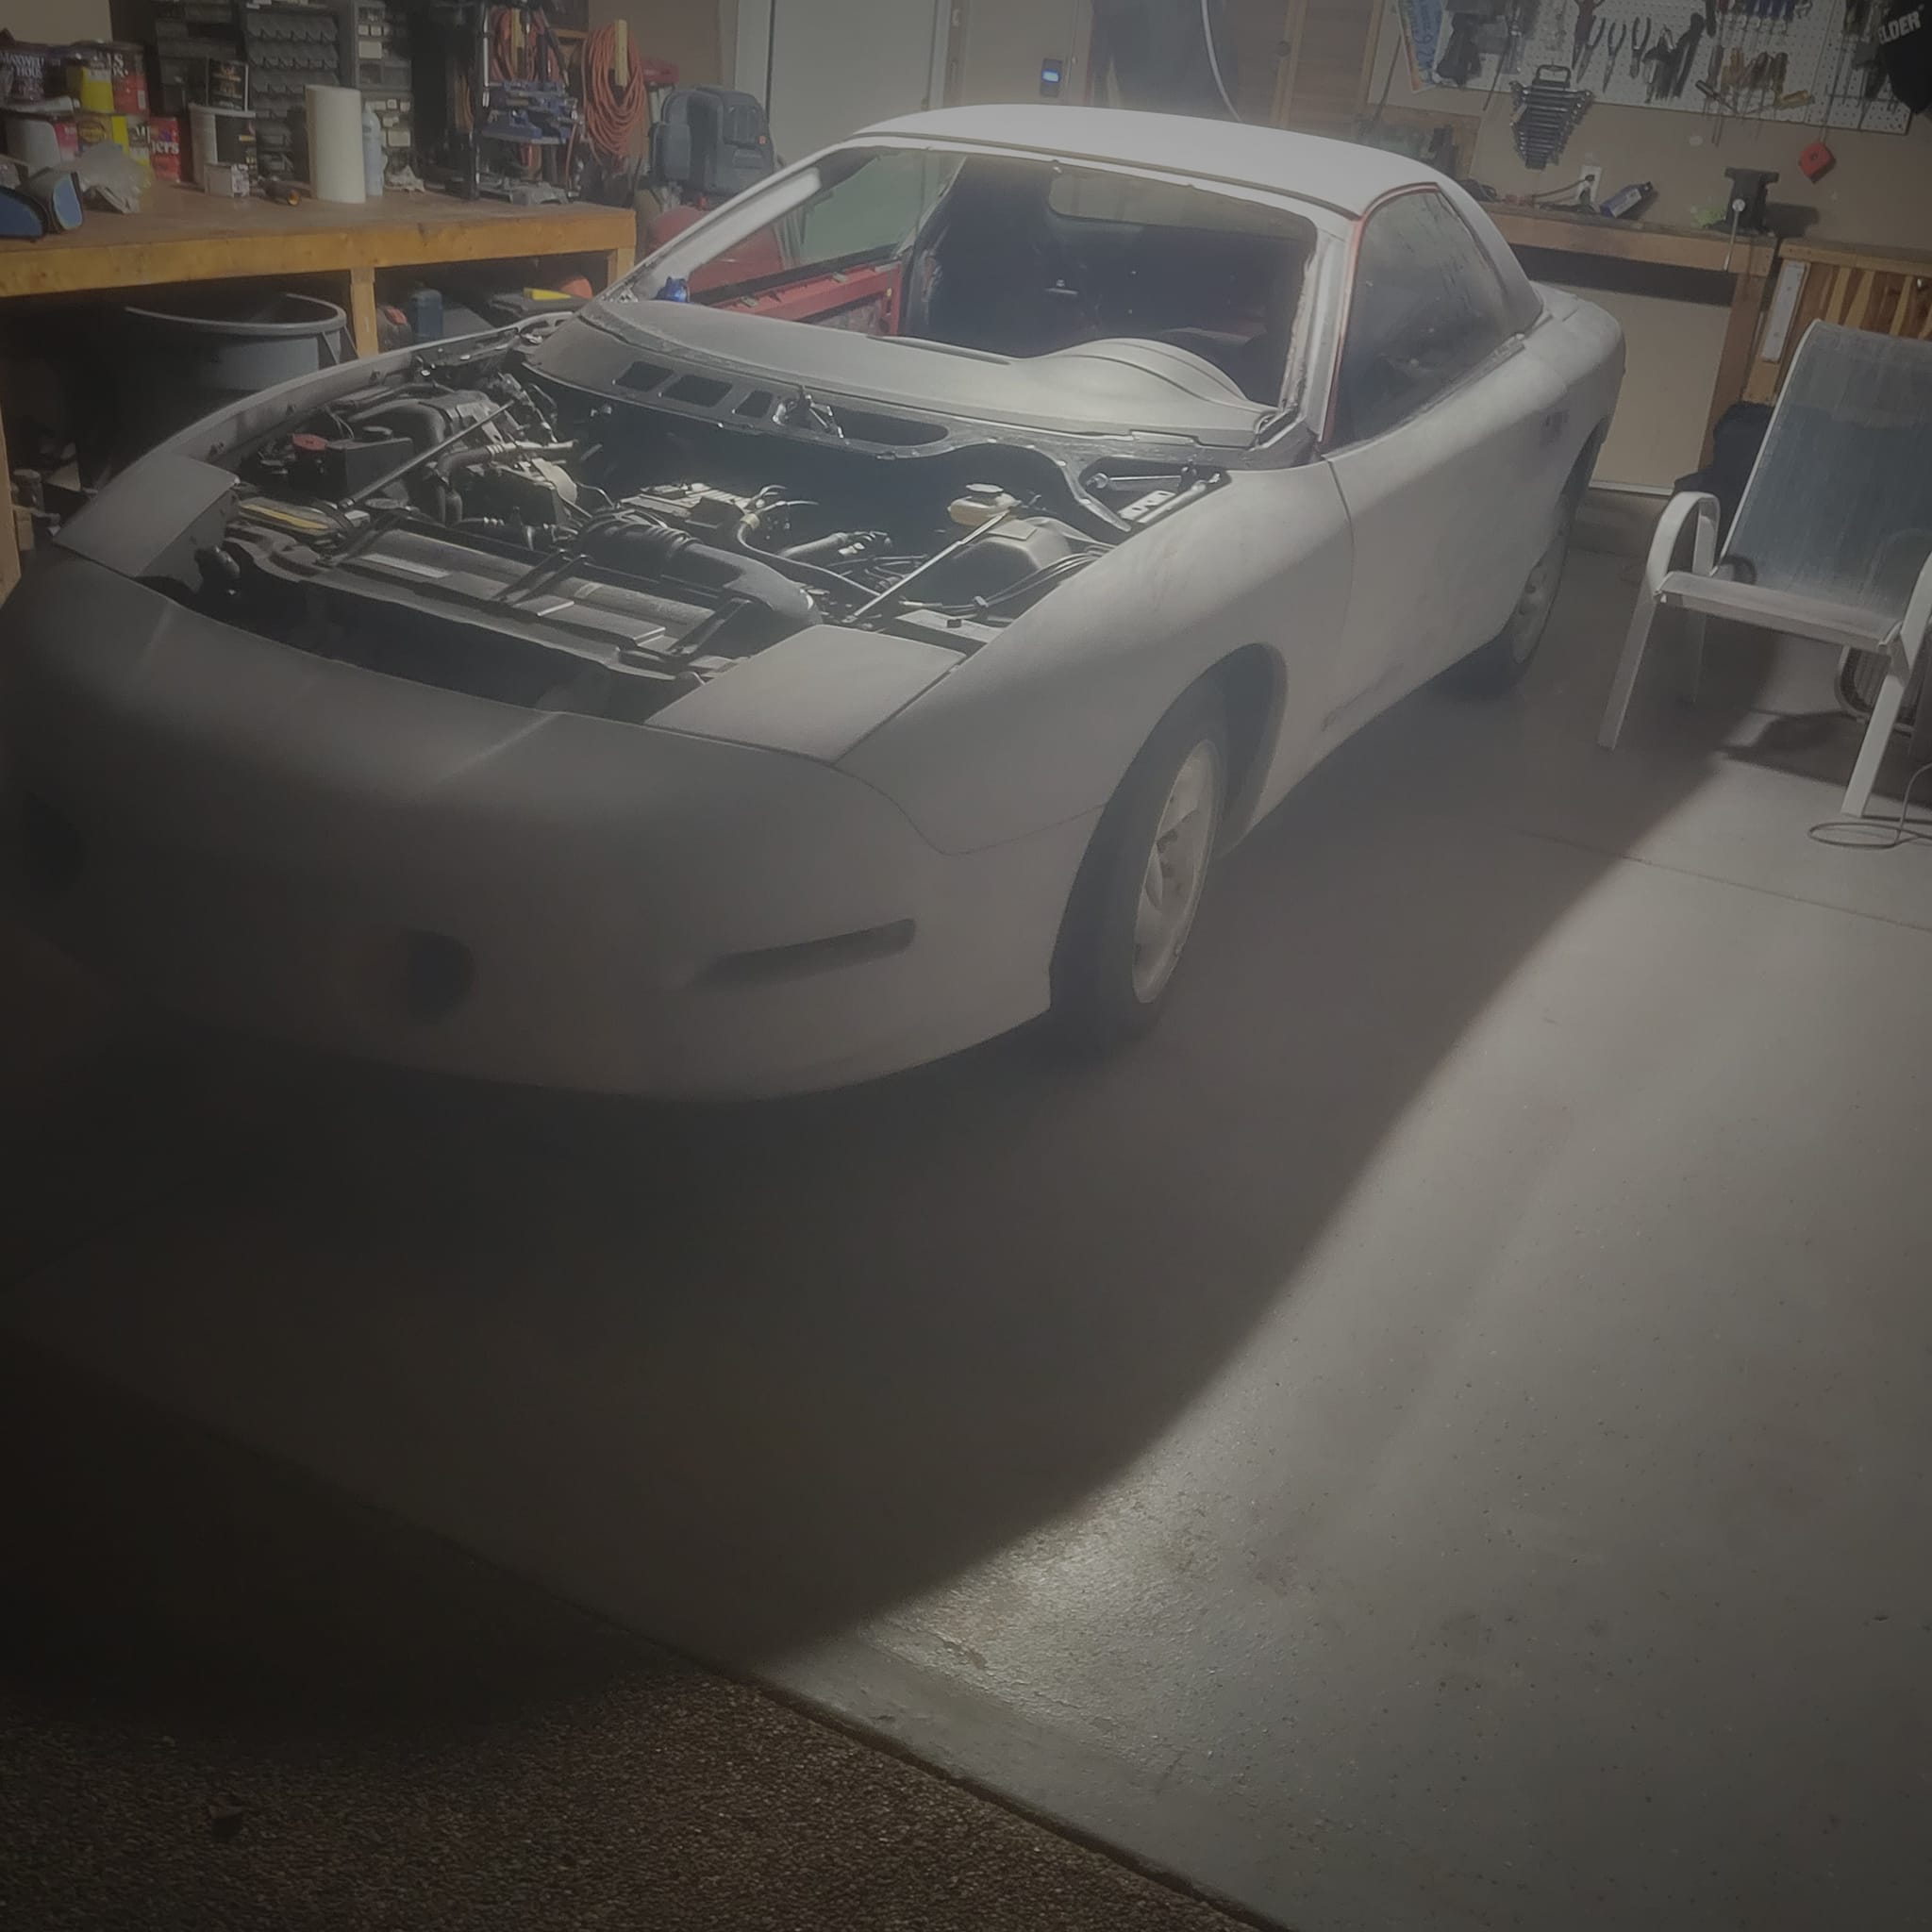
1993 Trans Am resto, day 1. The beginning on TA 2:
=====================================
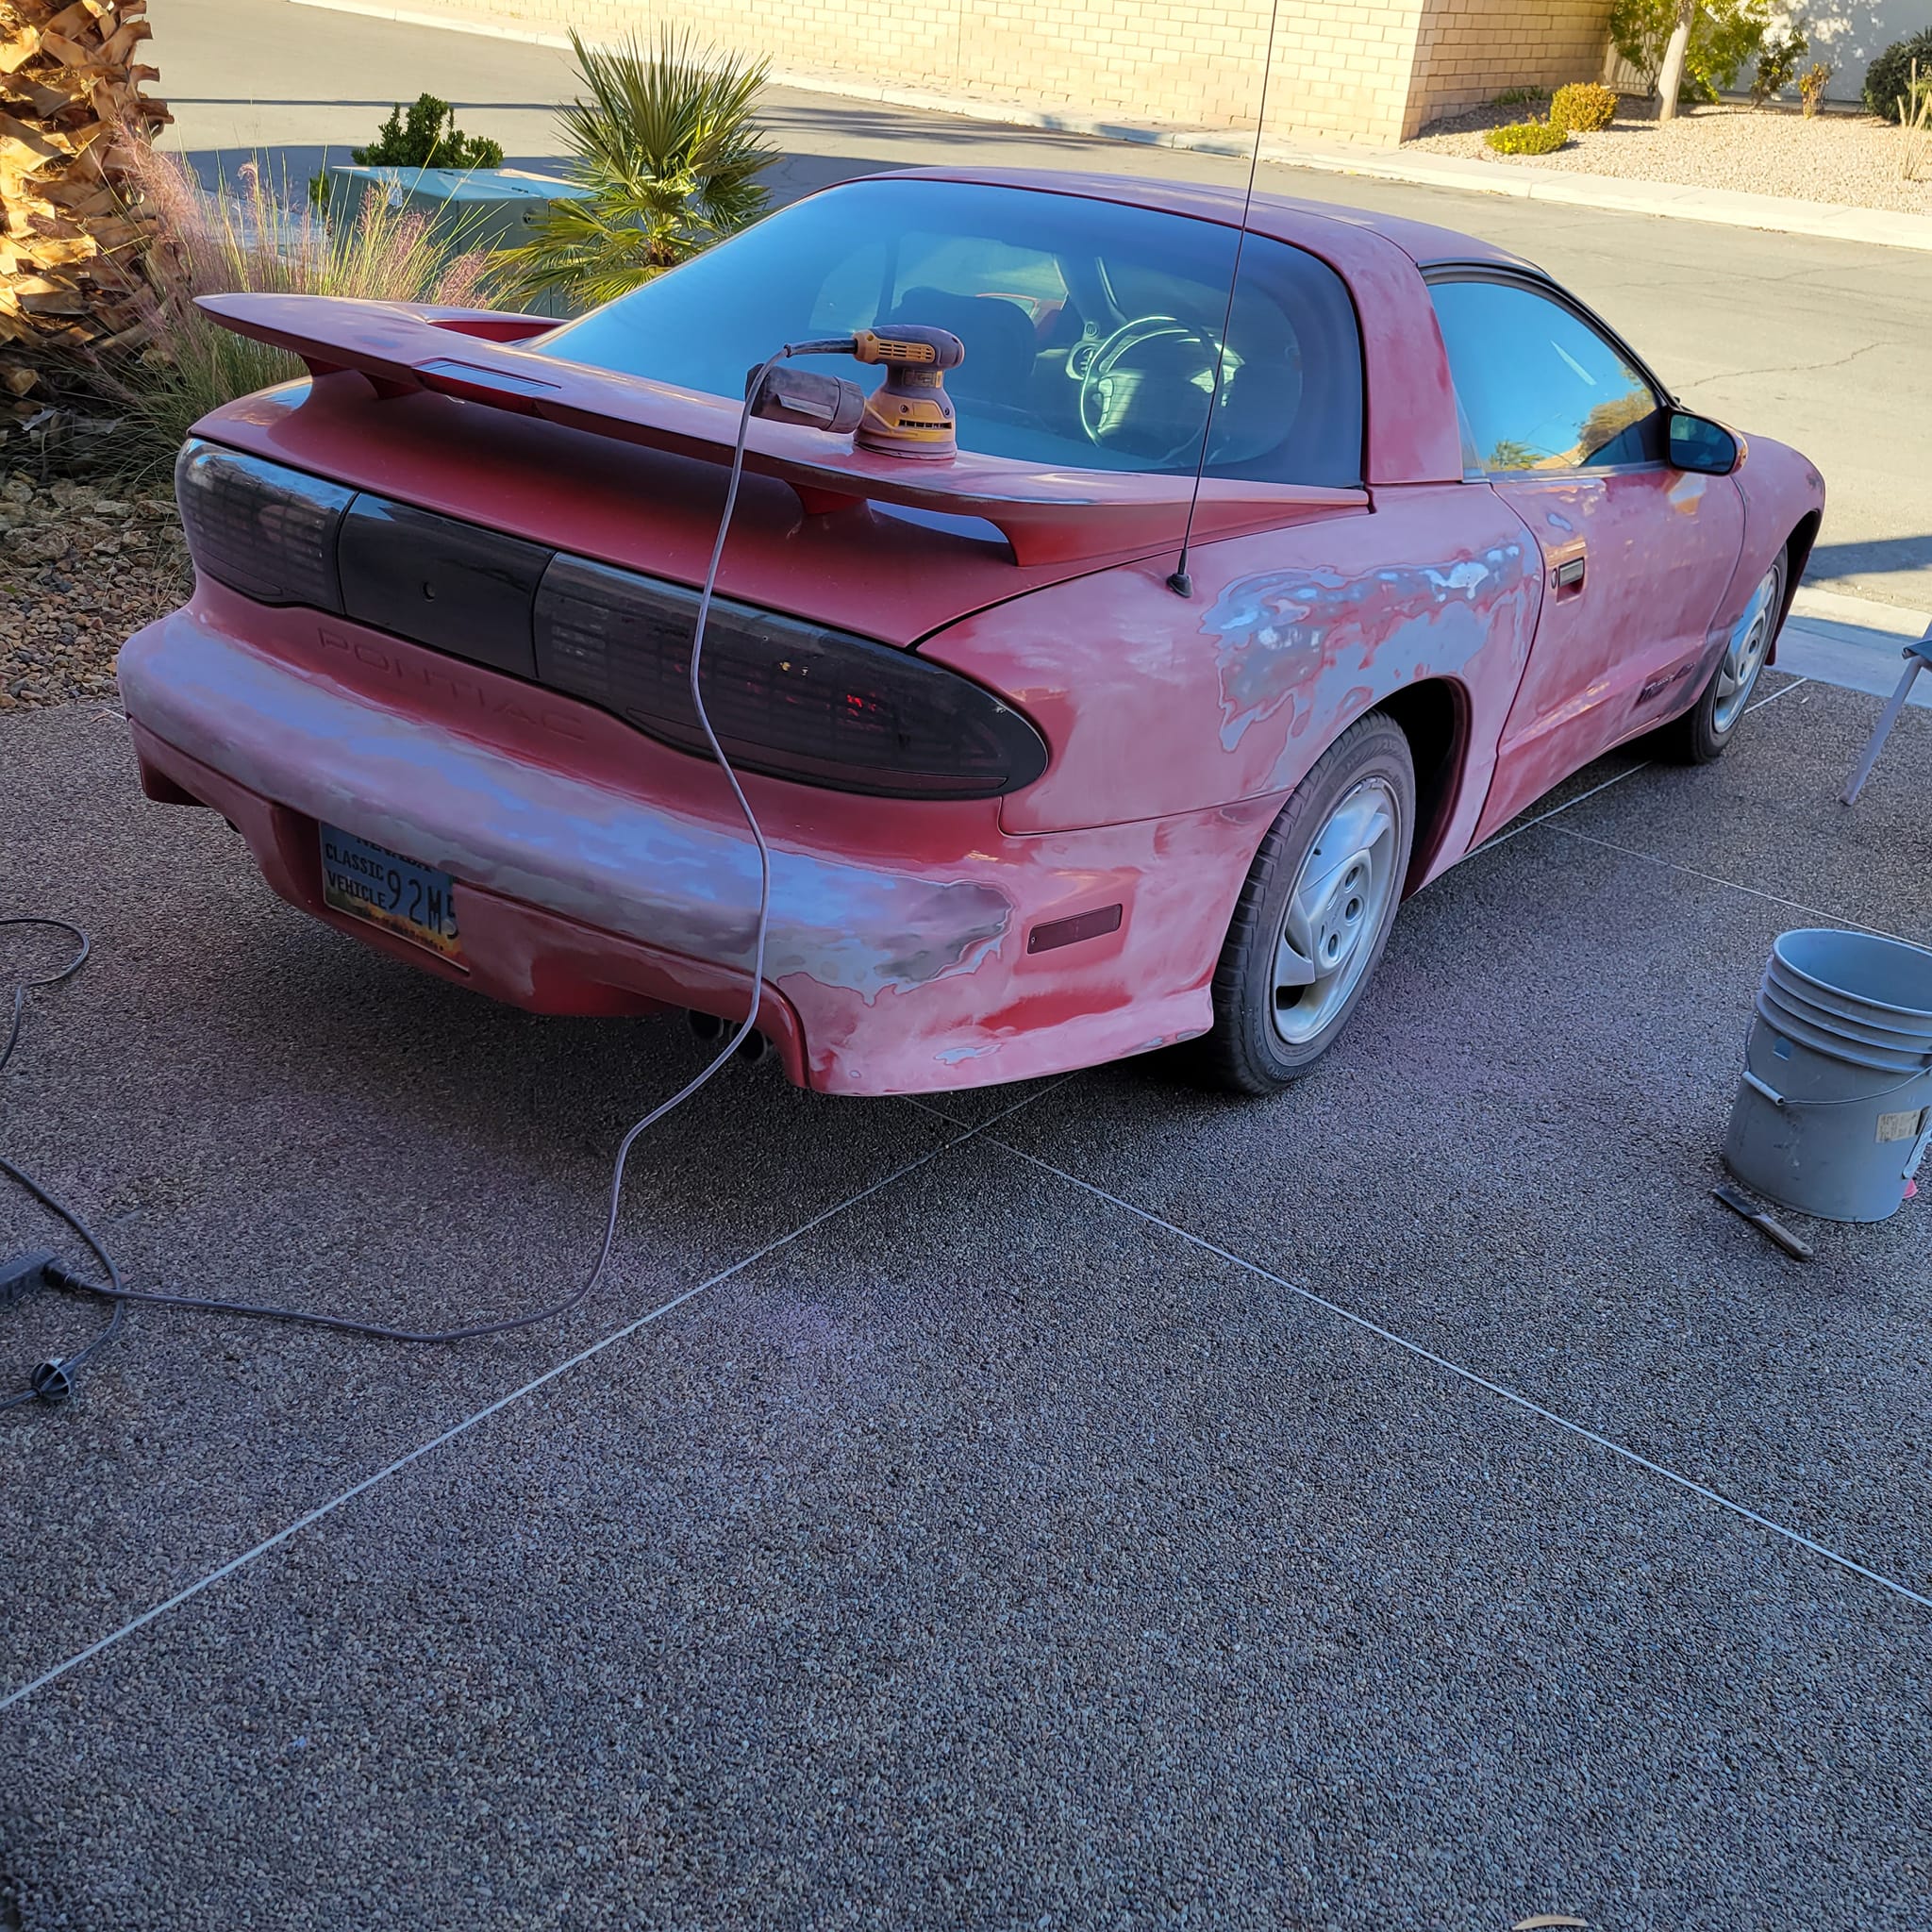
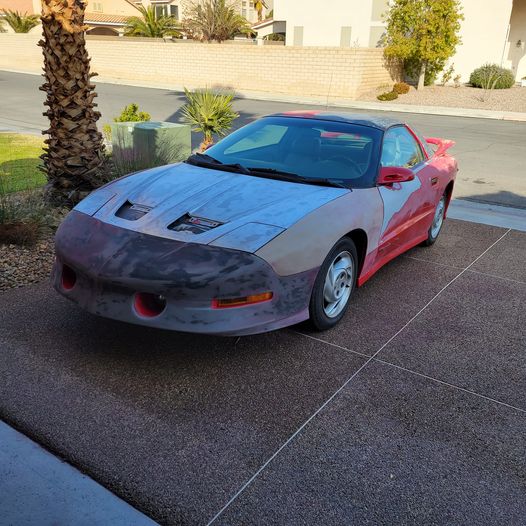
TA 2, day 2. Knocking off clear, seams and dings:
=====================================
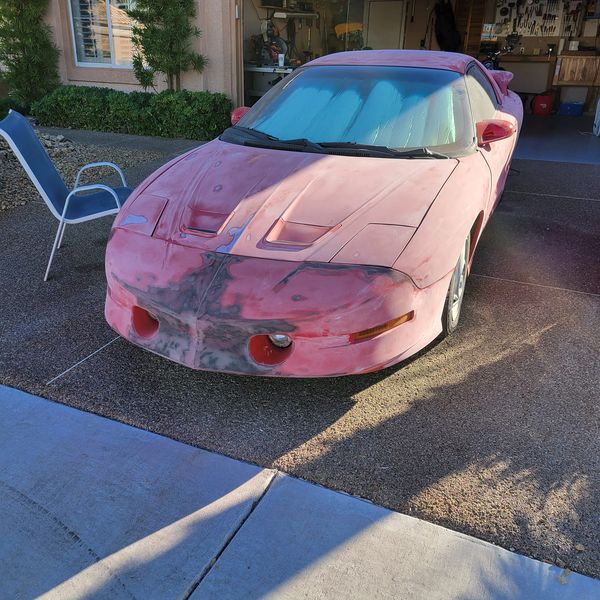
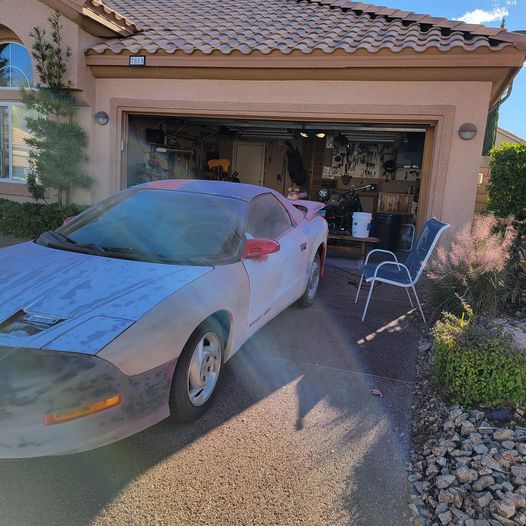
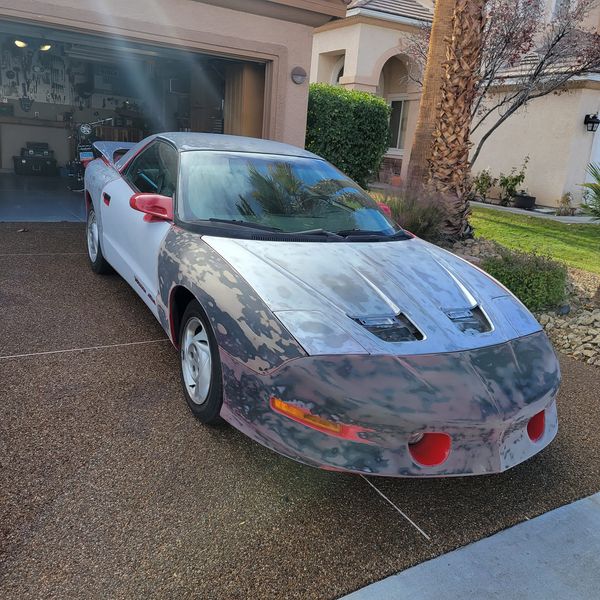
TA 2. Day 3.
Just doing big surfaces prior to disassembly --> Early 2023.
TThen paint in the summer plus, new windshield, fog lights, tires and wheels.
Possibly new taillights too if I decide to go with white ones instead of red
ones.
Still undefined on the color(s). Ideas? Send me a picture of a two tone favorite
color scheme of yours.
Cost tracker: Car $4,500, transportation $1,400. Ceramic brake kit $300, battery
$150, fender liner $75, front axle linkage sets $100, front valance $126, Brake
booster $100, taillights and headlights $100, paints and cleaners $300,
anti-freeze and oils $100, leather kits $100, Over $7k already and a long way to
go./p>
=====================================
TA 2, day 4:
=====================================
TA 2, day 5:
=====================================
TA 2, day 6:
=====================================
TA 2, day 7. Tear down begins:
=====================================
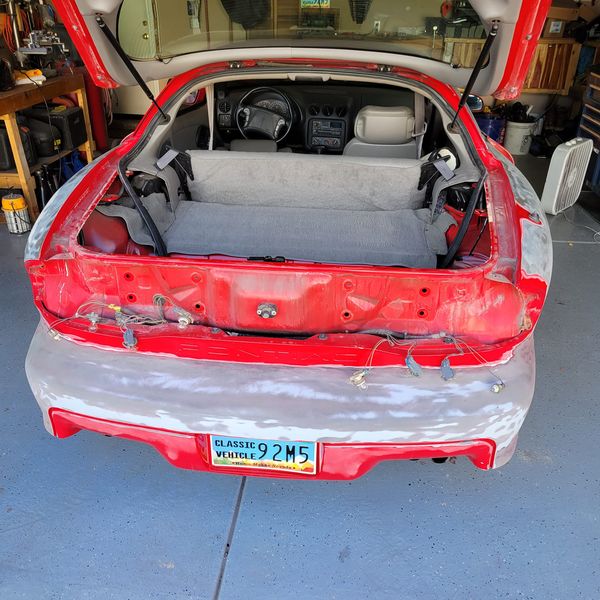
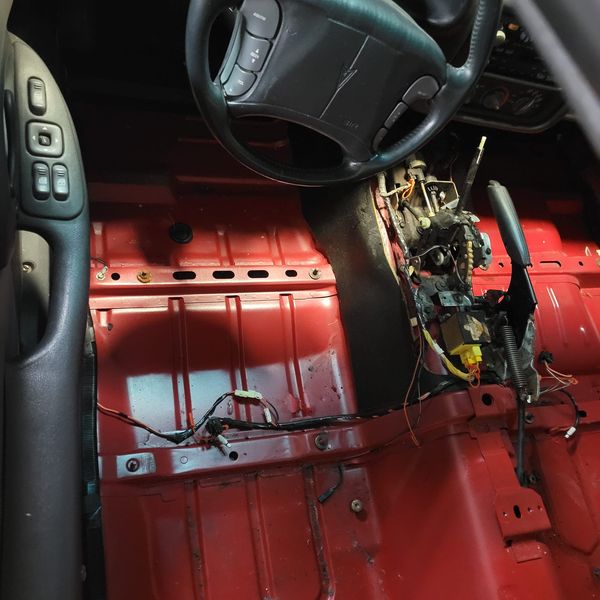
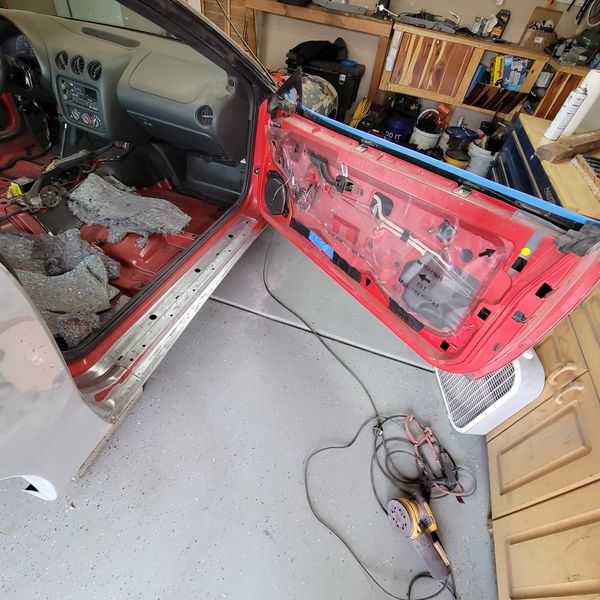
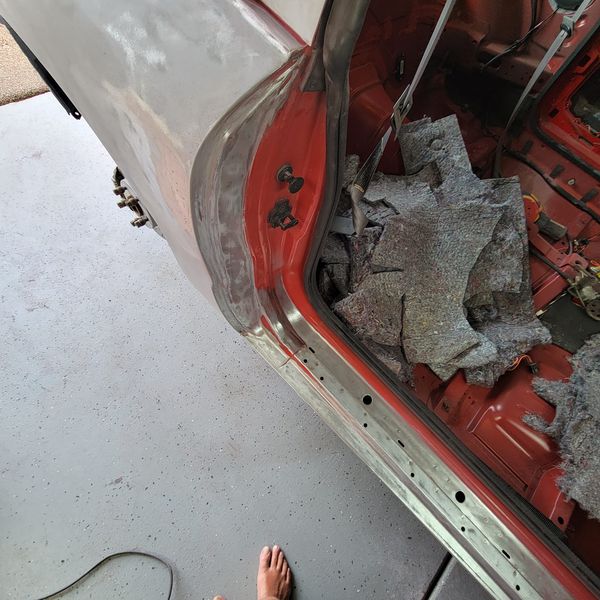
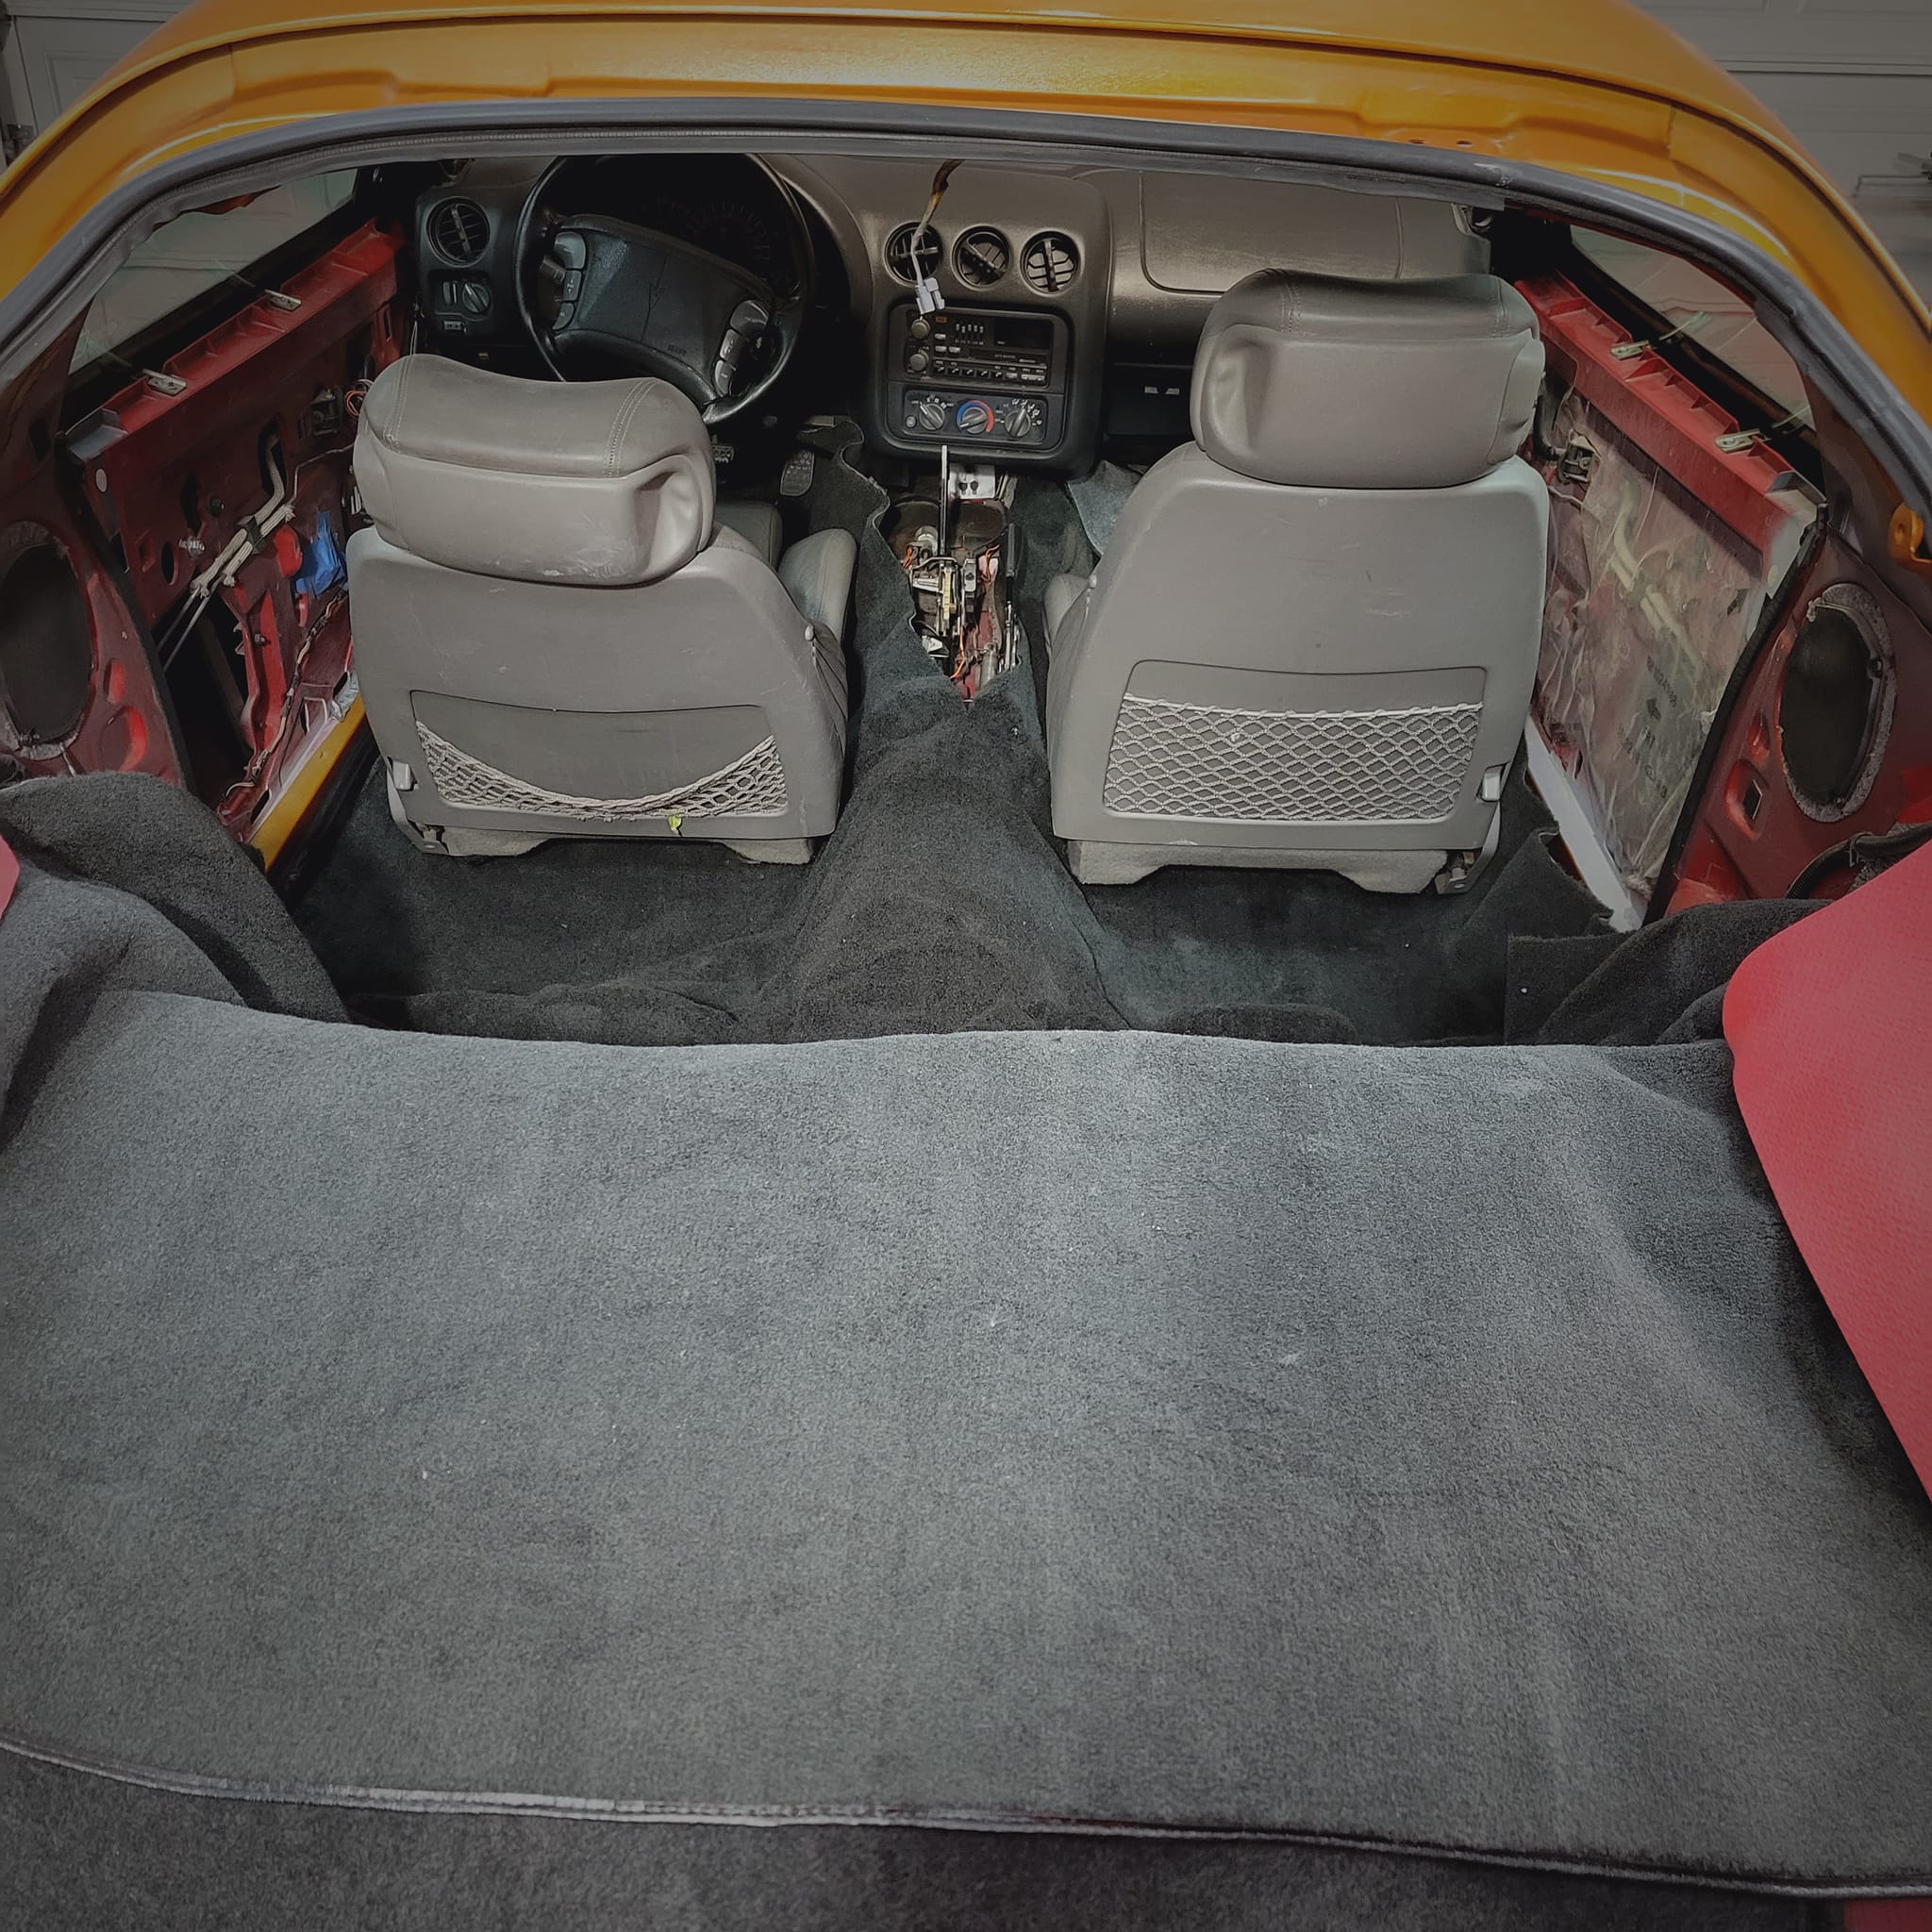
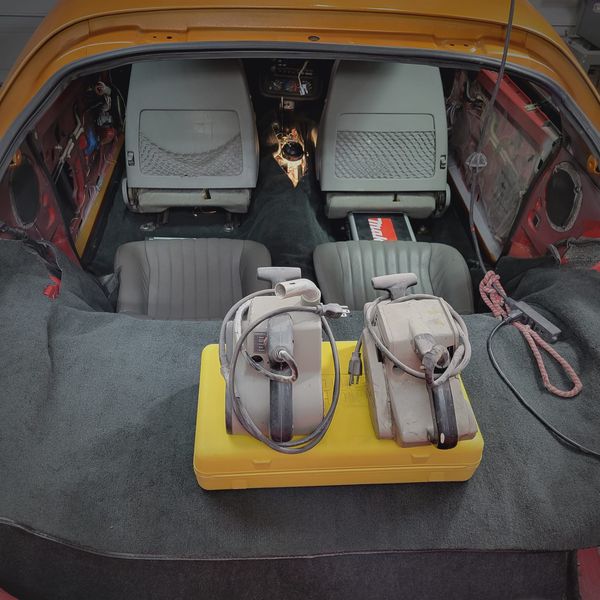
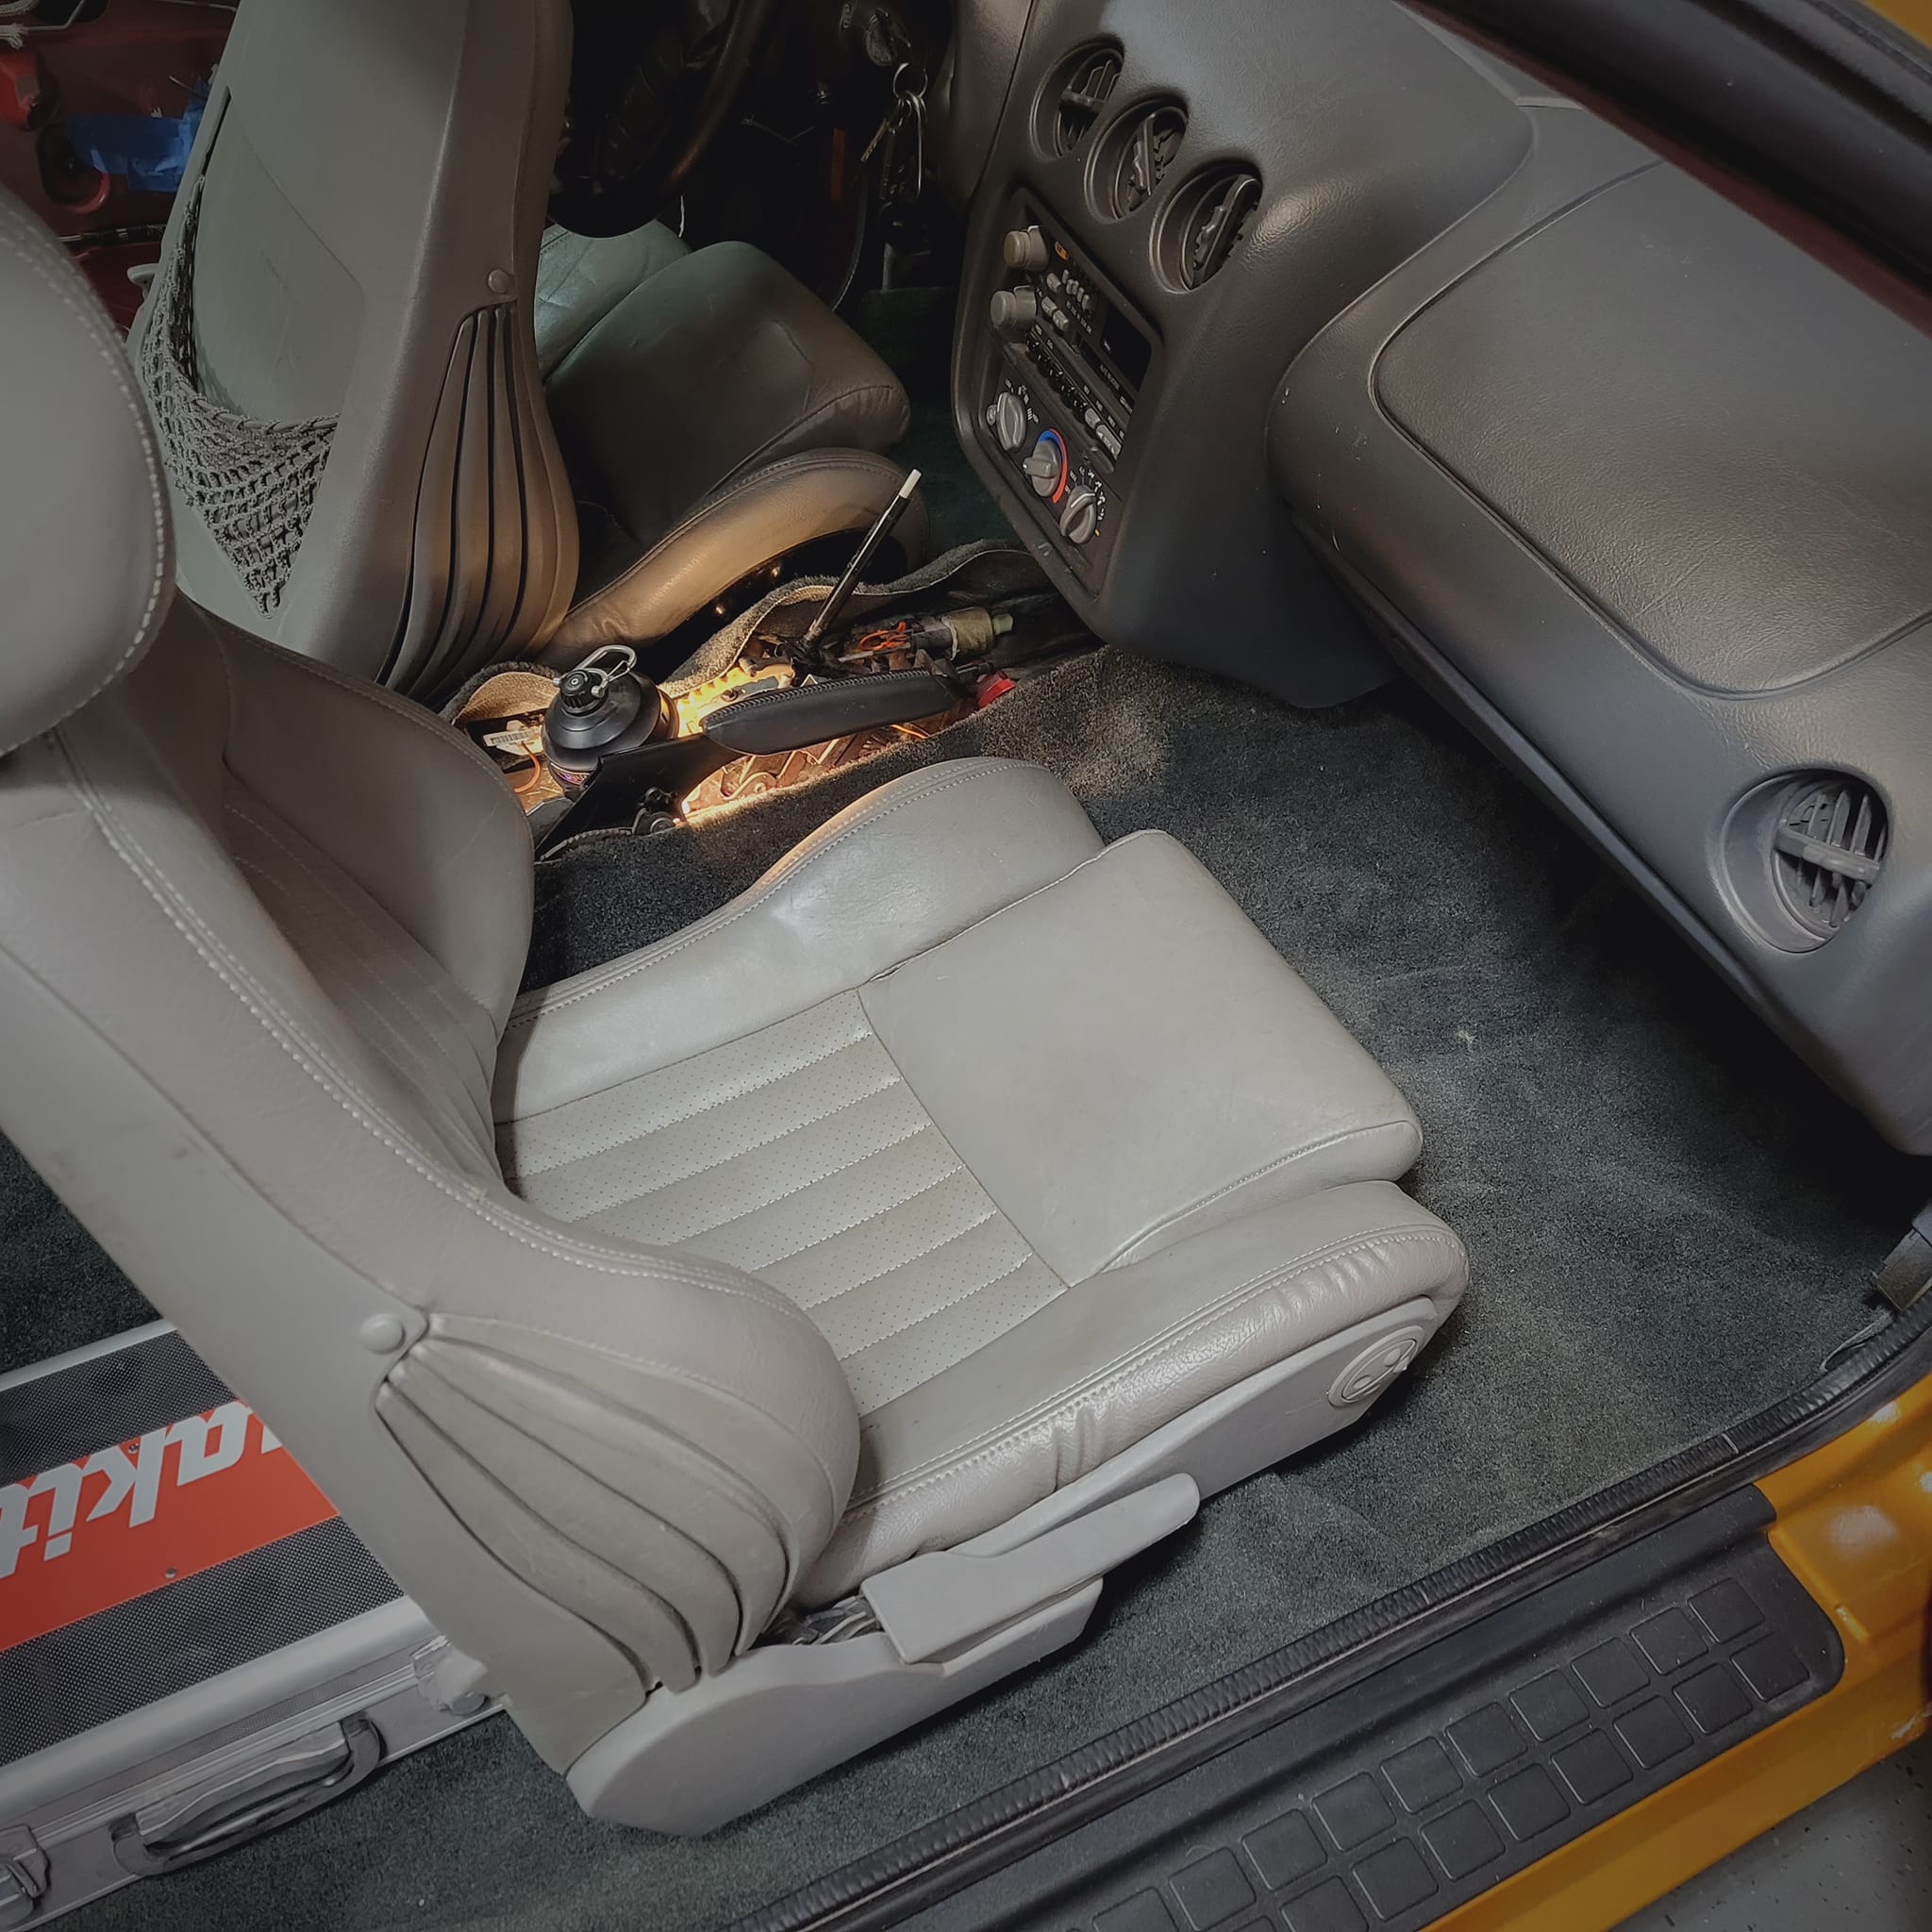
TA 2, day 8. Interior out. Floor is real good:
=====================================
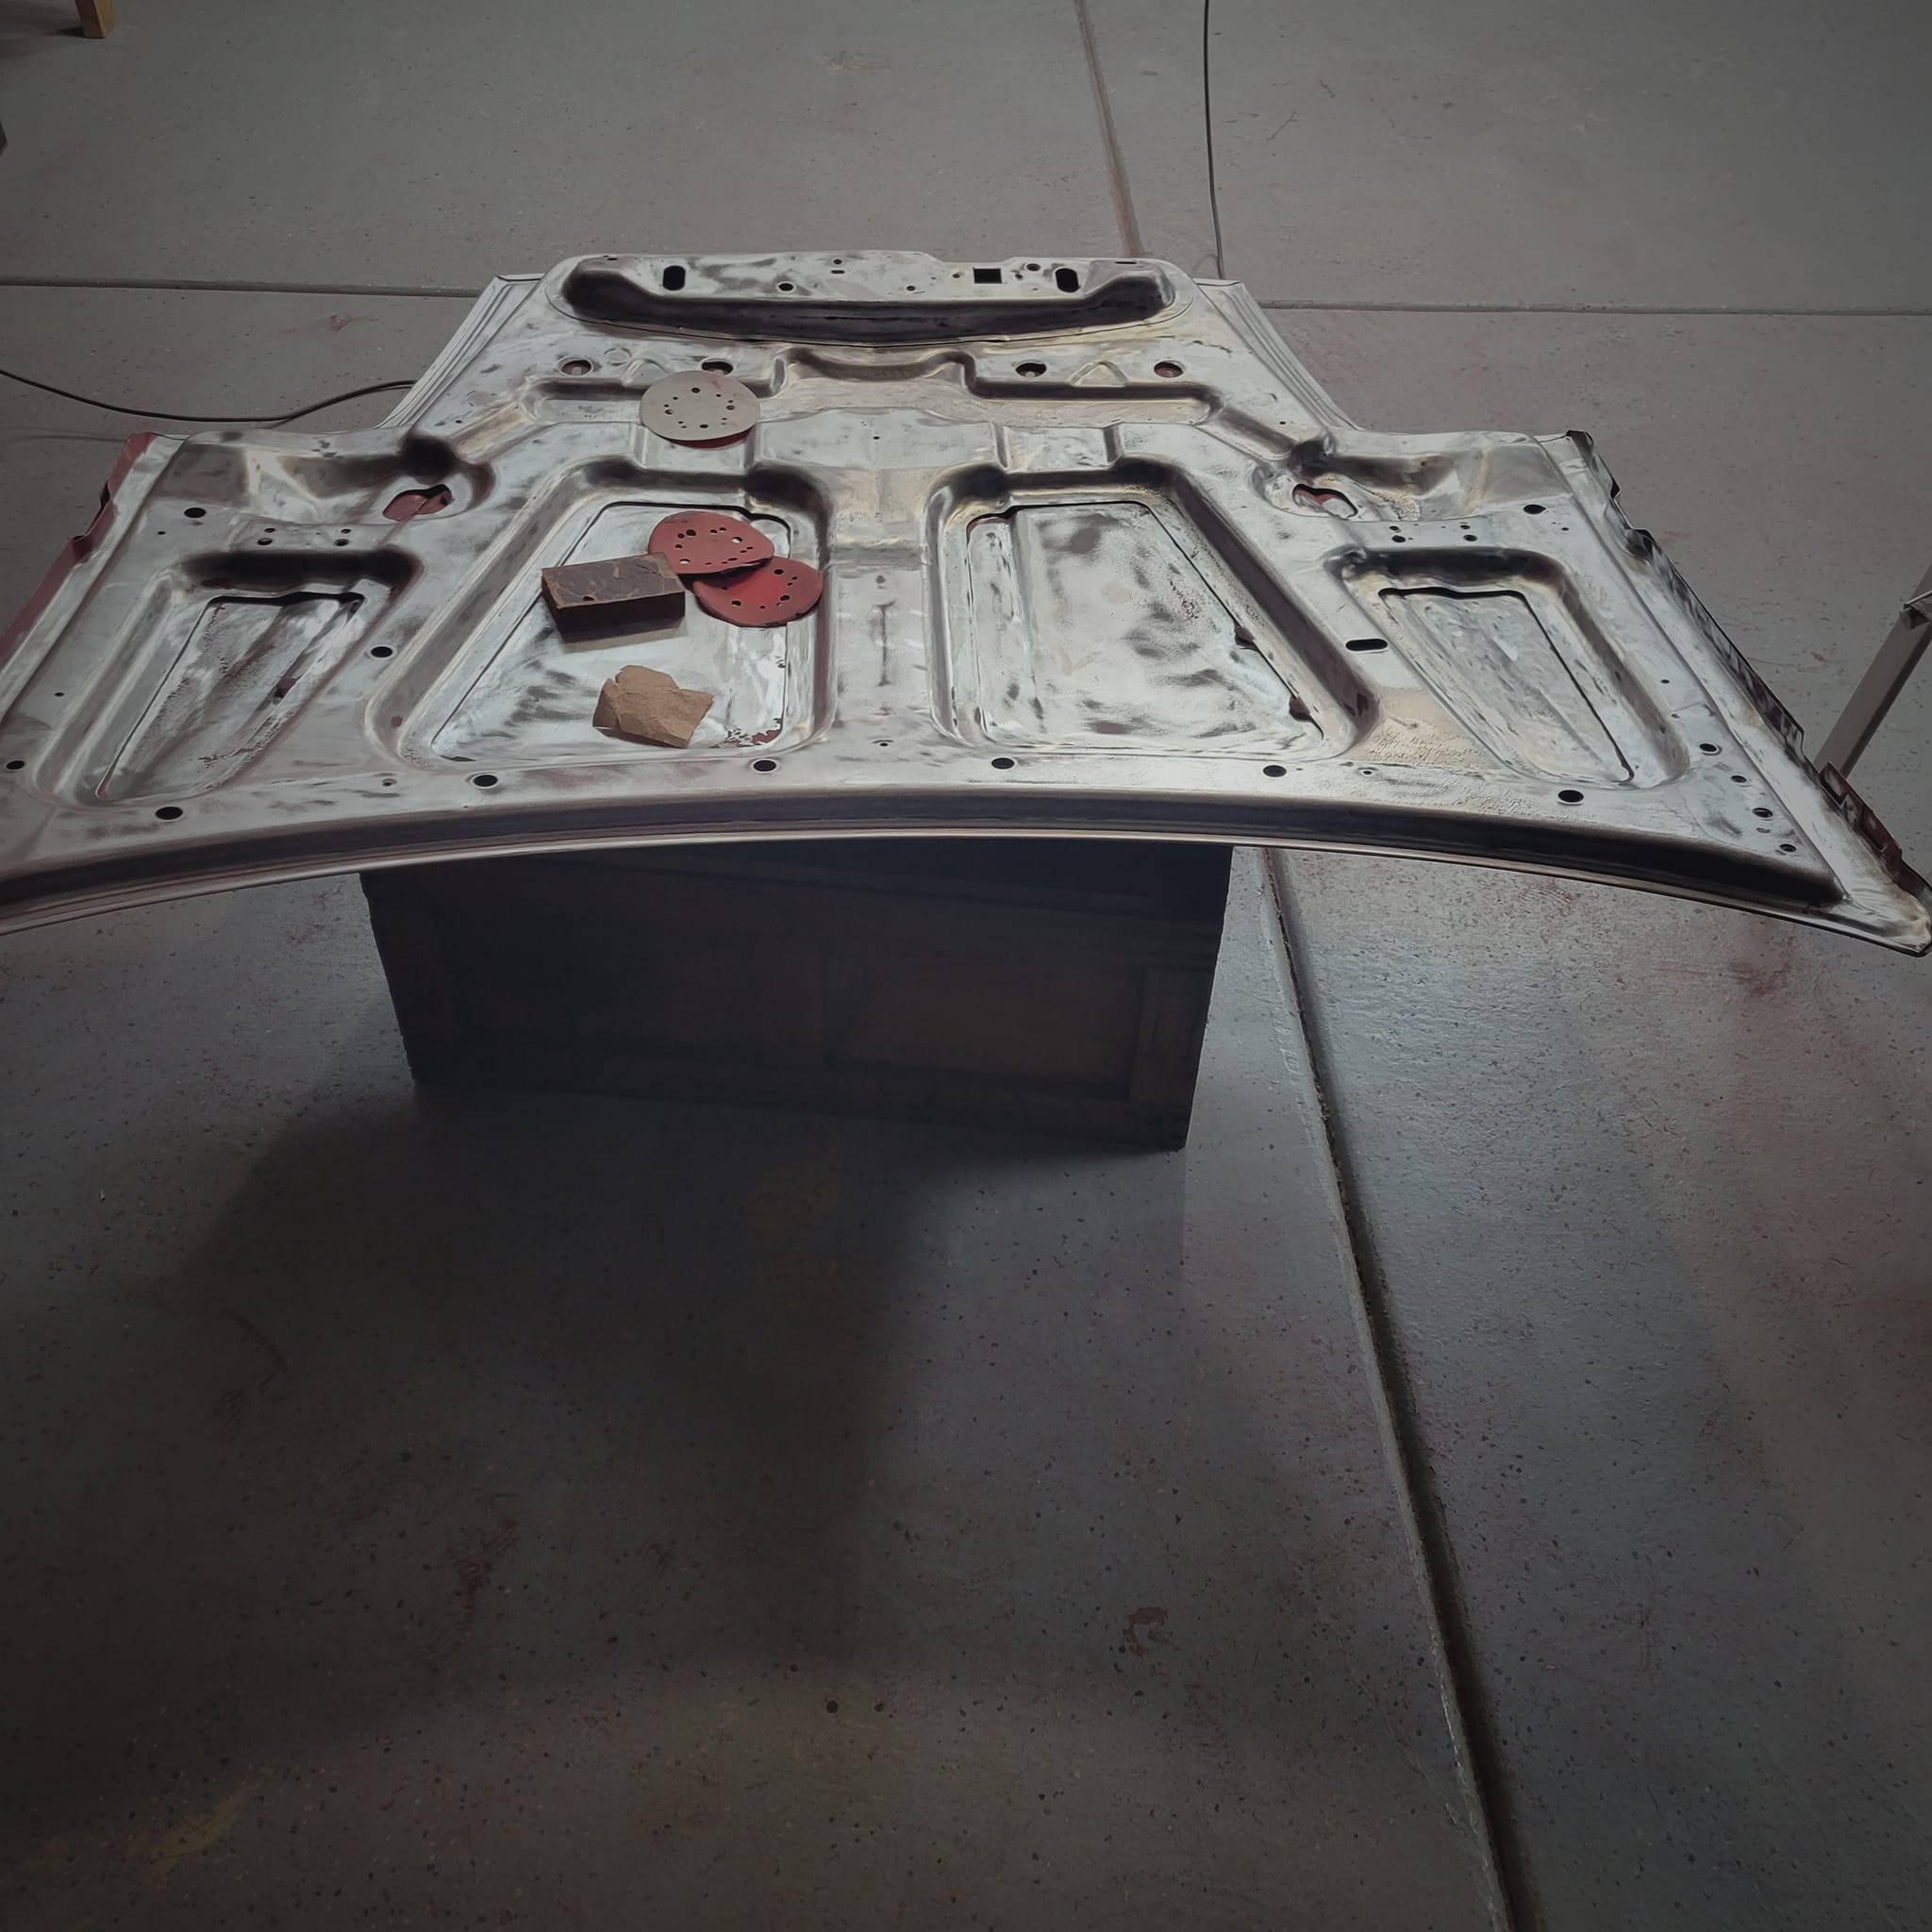
TA 2 end of day 8. Spoiler off, wheels off, deck lid sanded and up on blocks:
=====================================
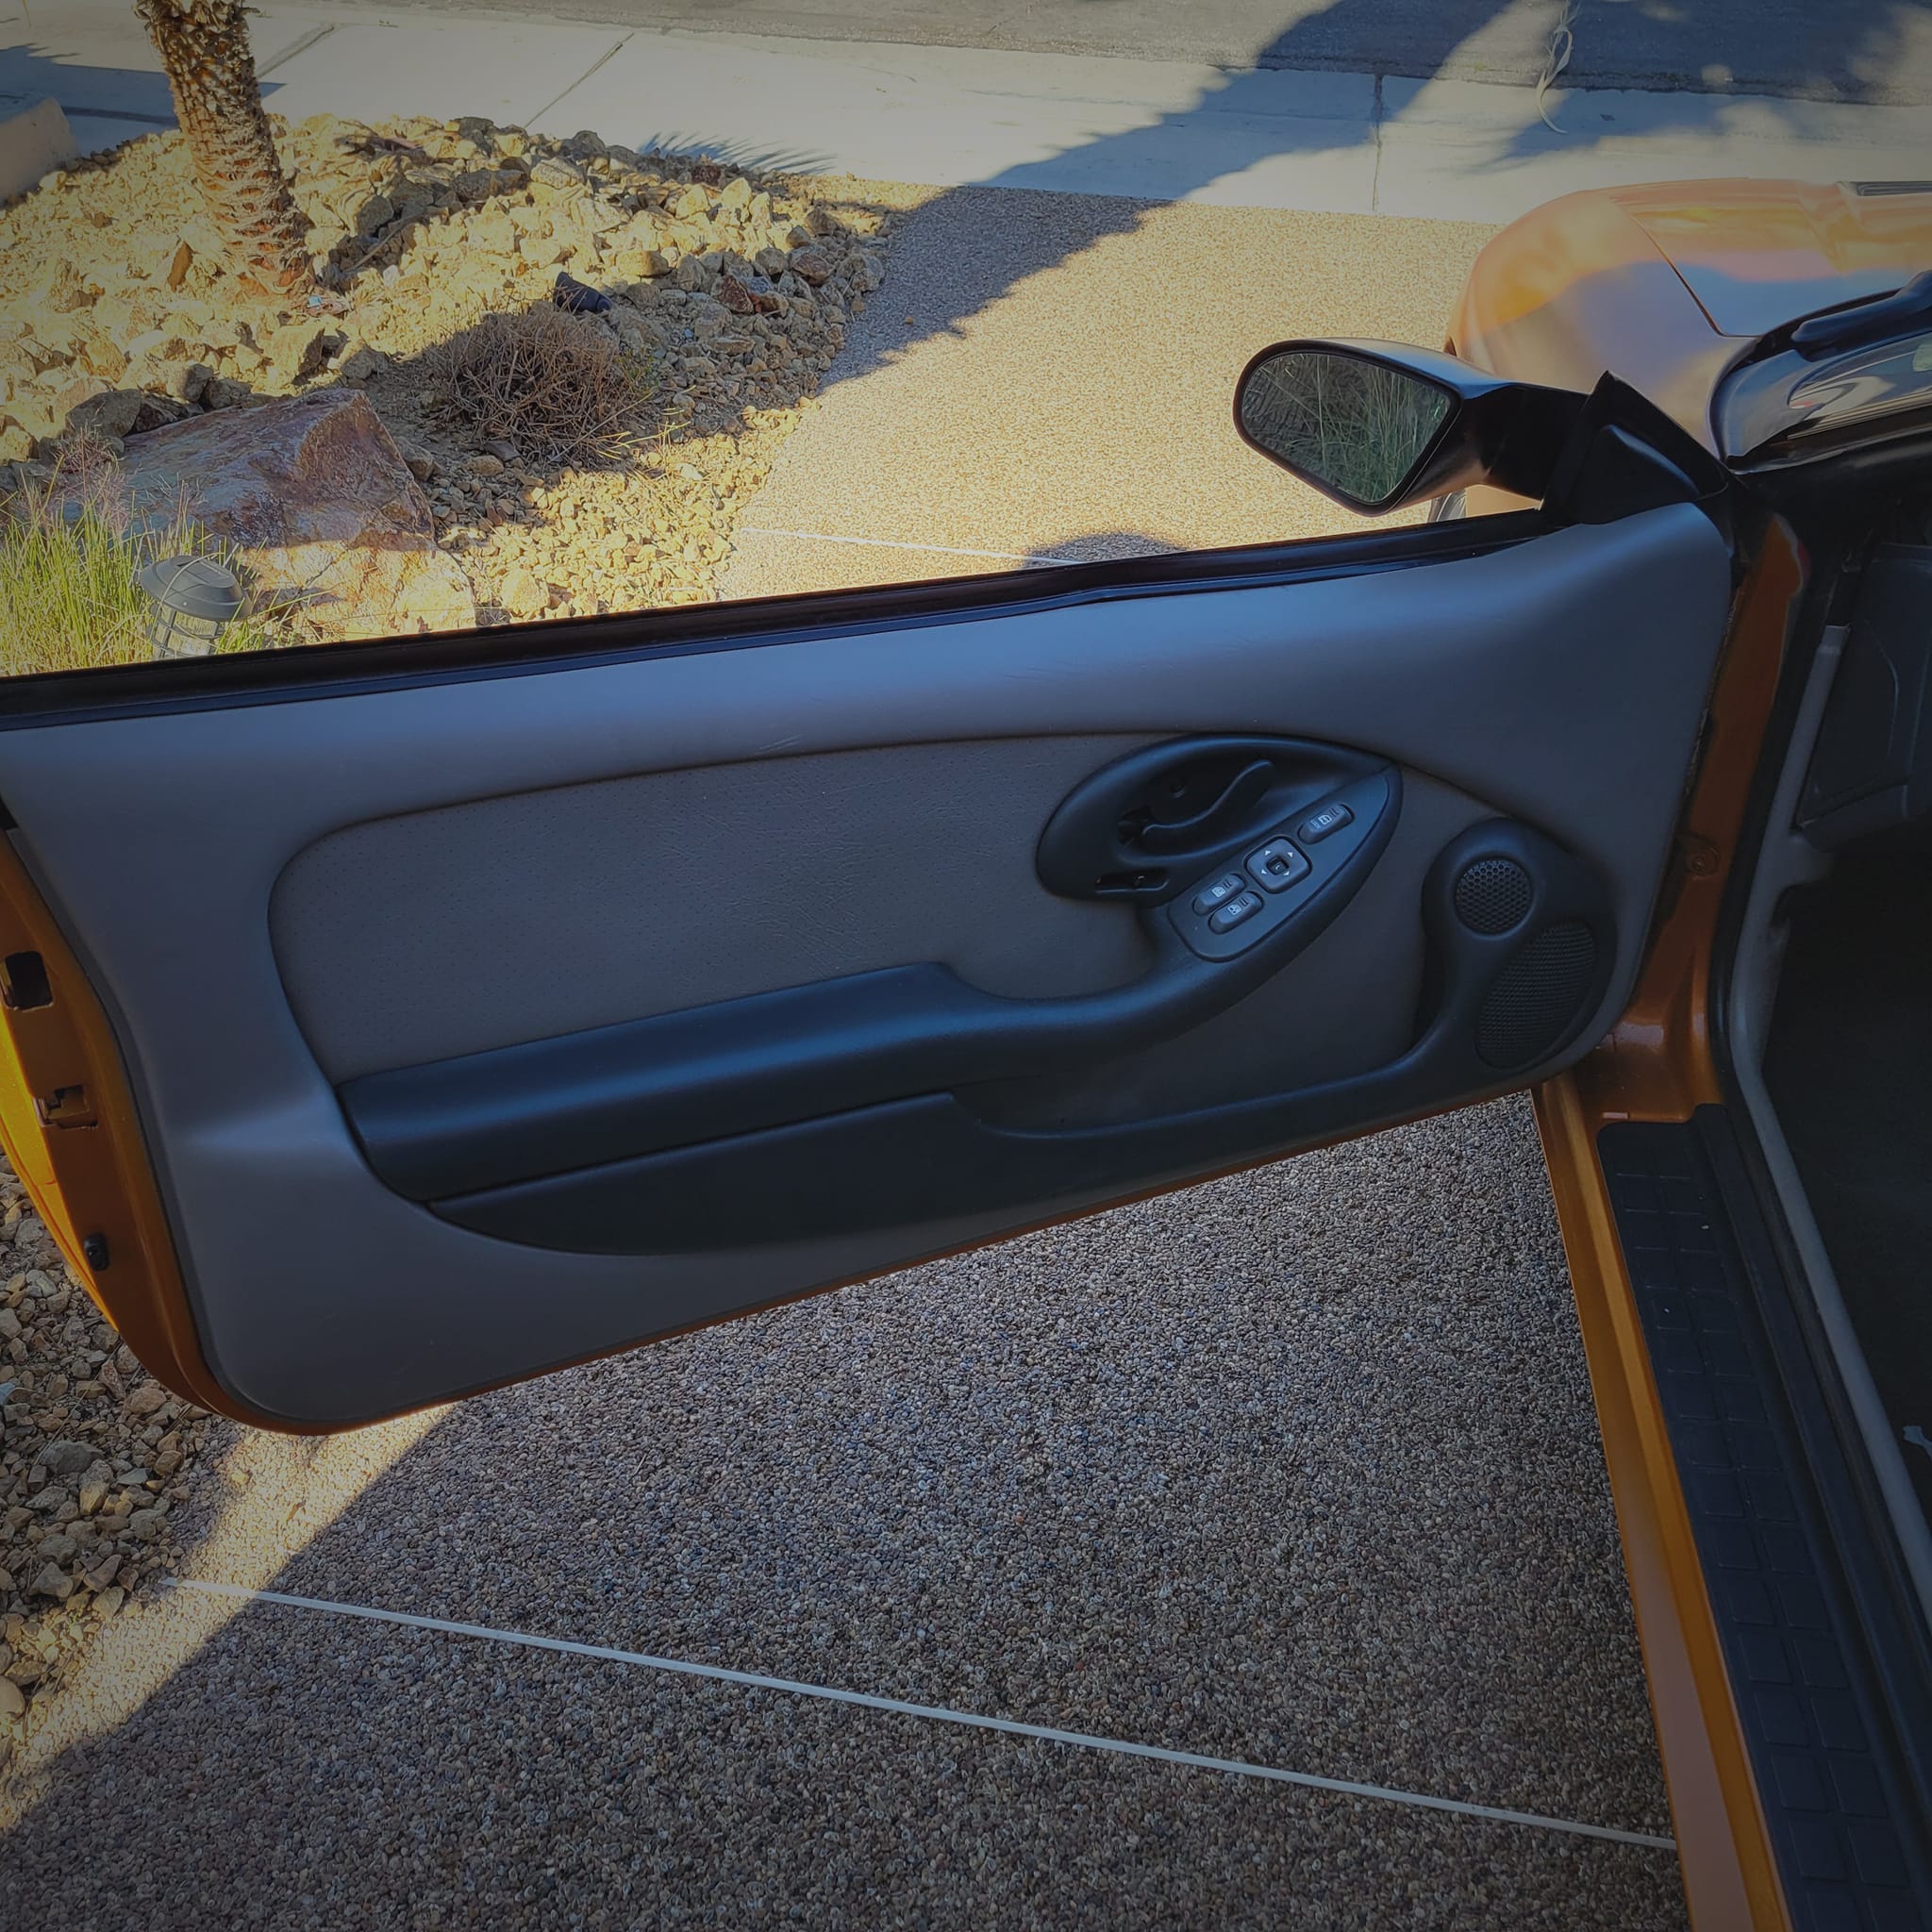
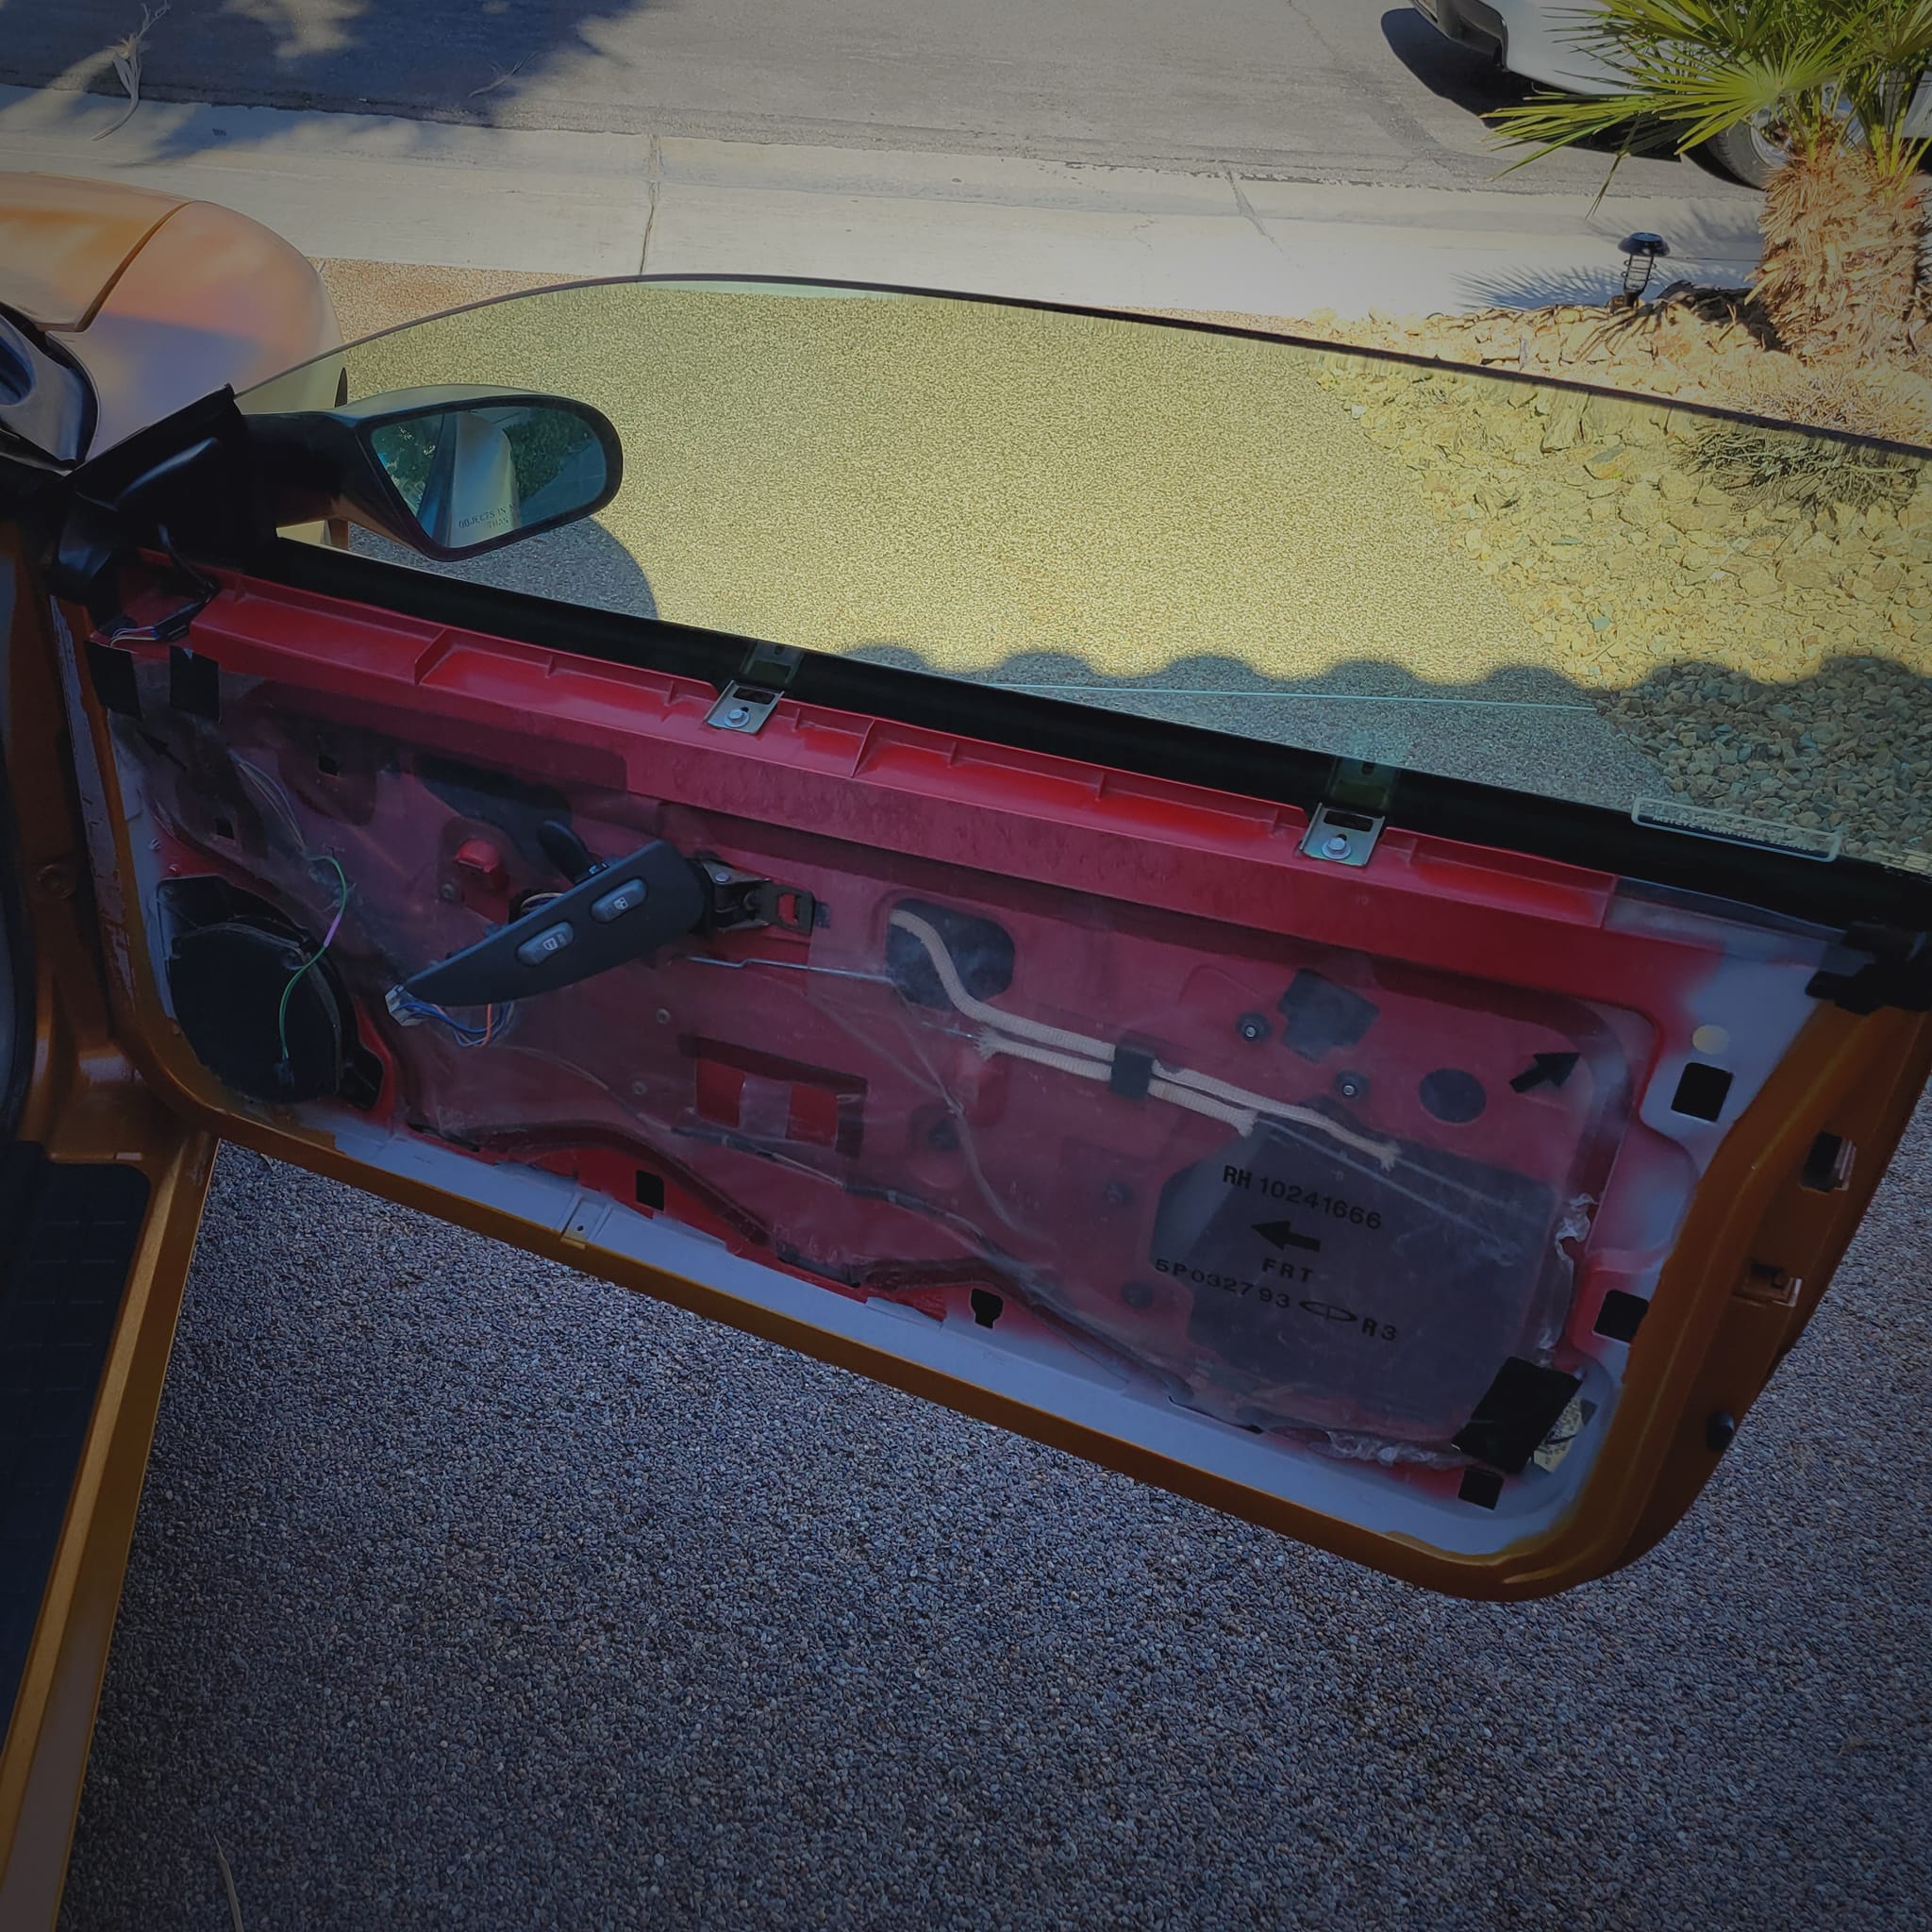
TA 2, day 9. Door panels, mirrors and exhaust off. Tailpipes and mirrors sandblasted:
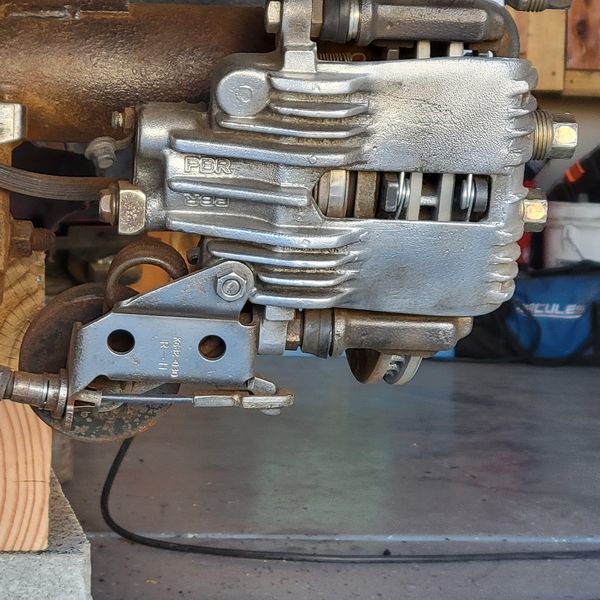
TA 2, day 10. Rear bumper, tie rod sway bar off, cleaned calipers, sanding loose rust before blasting:
=====================================
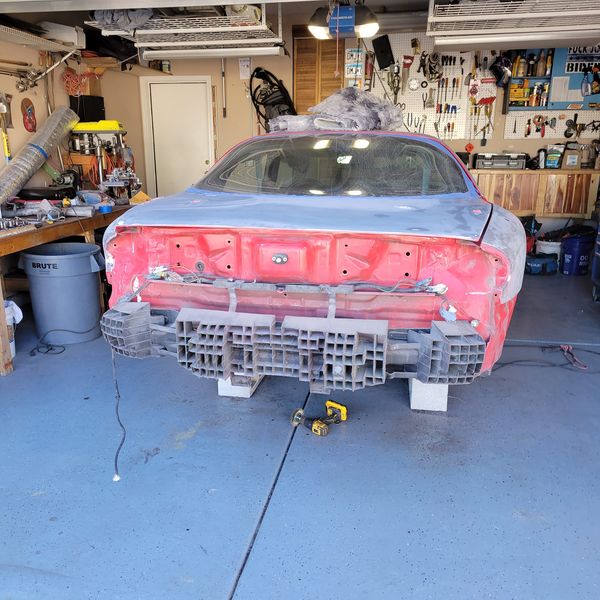
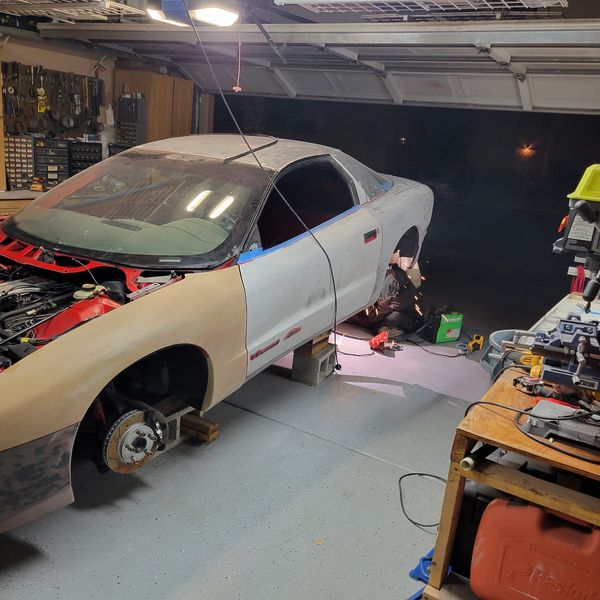
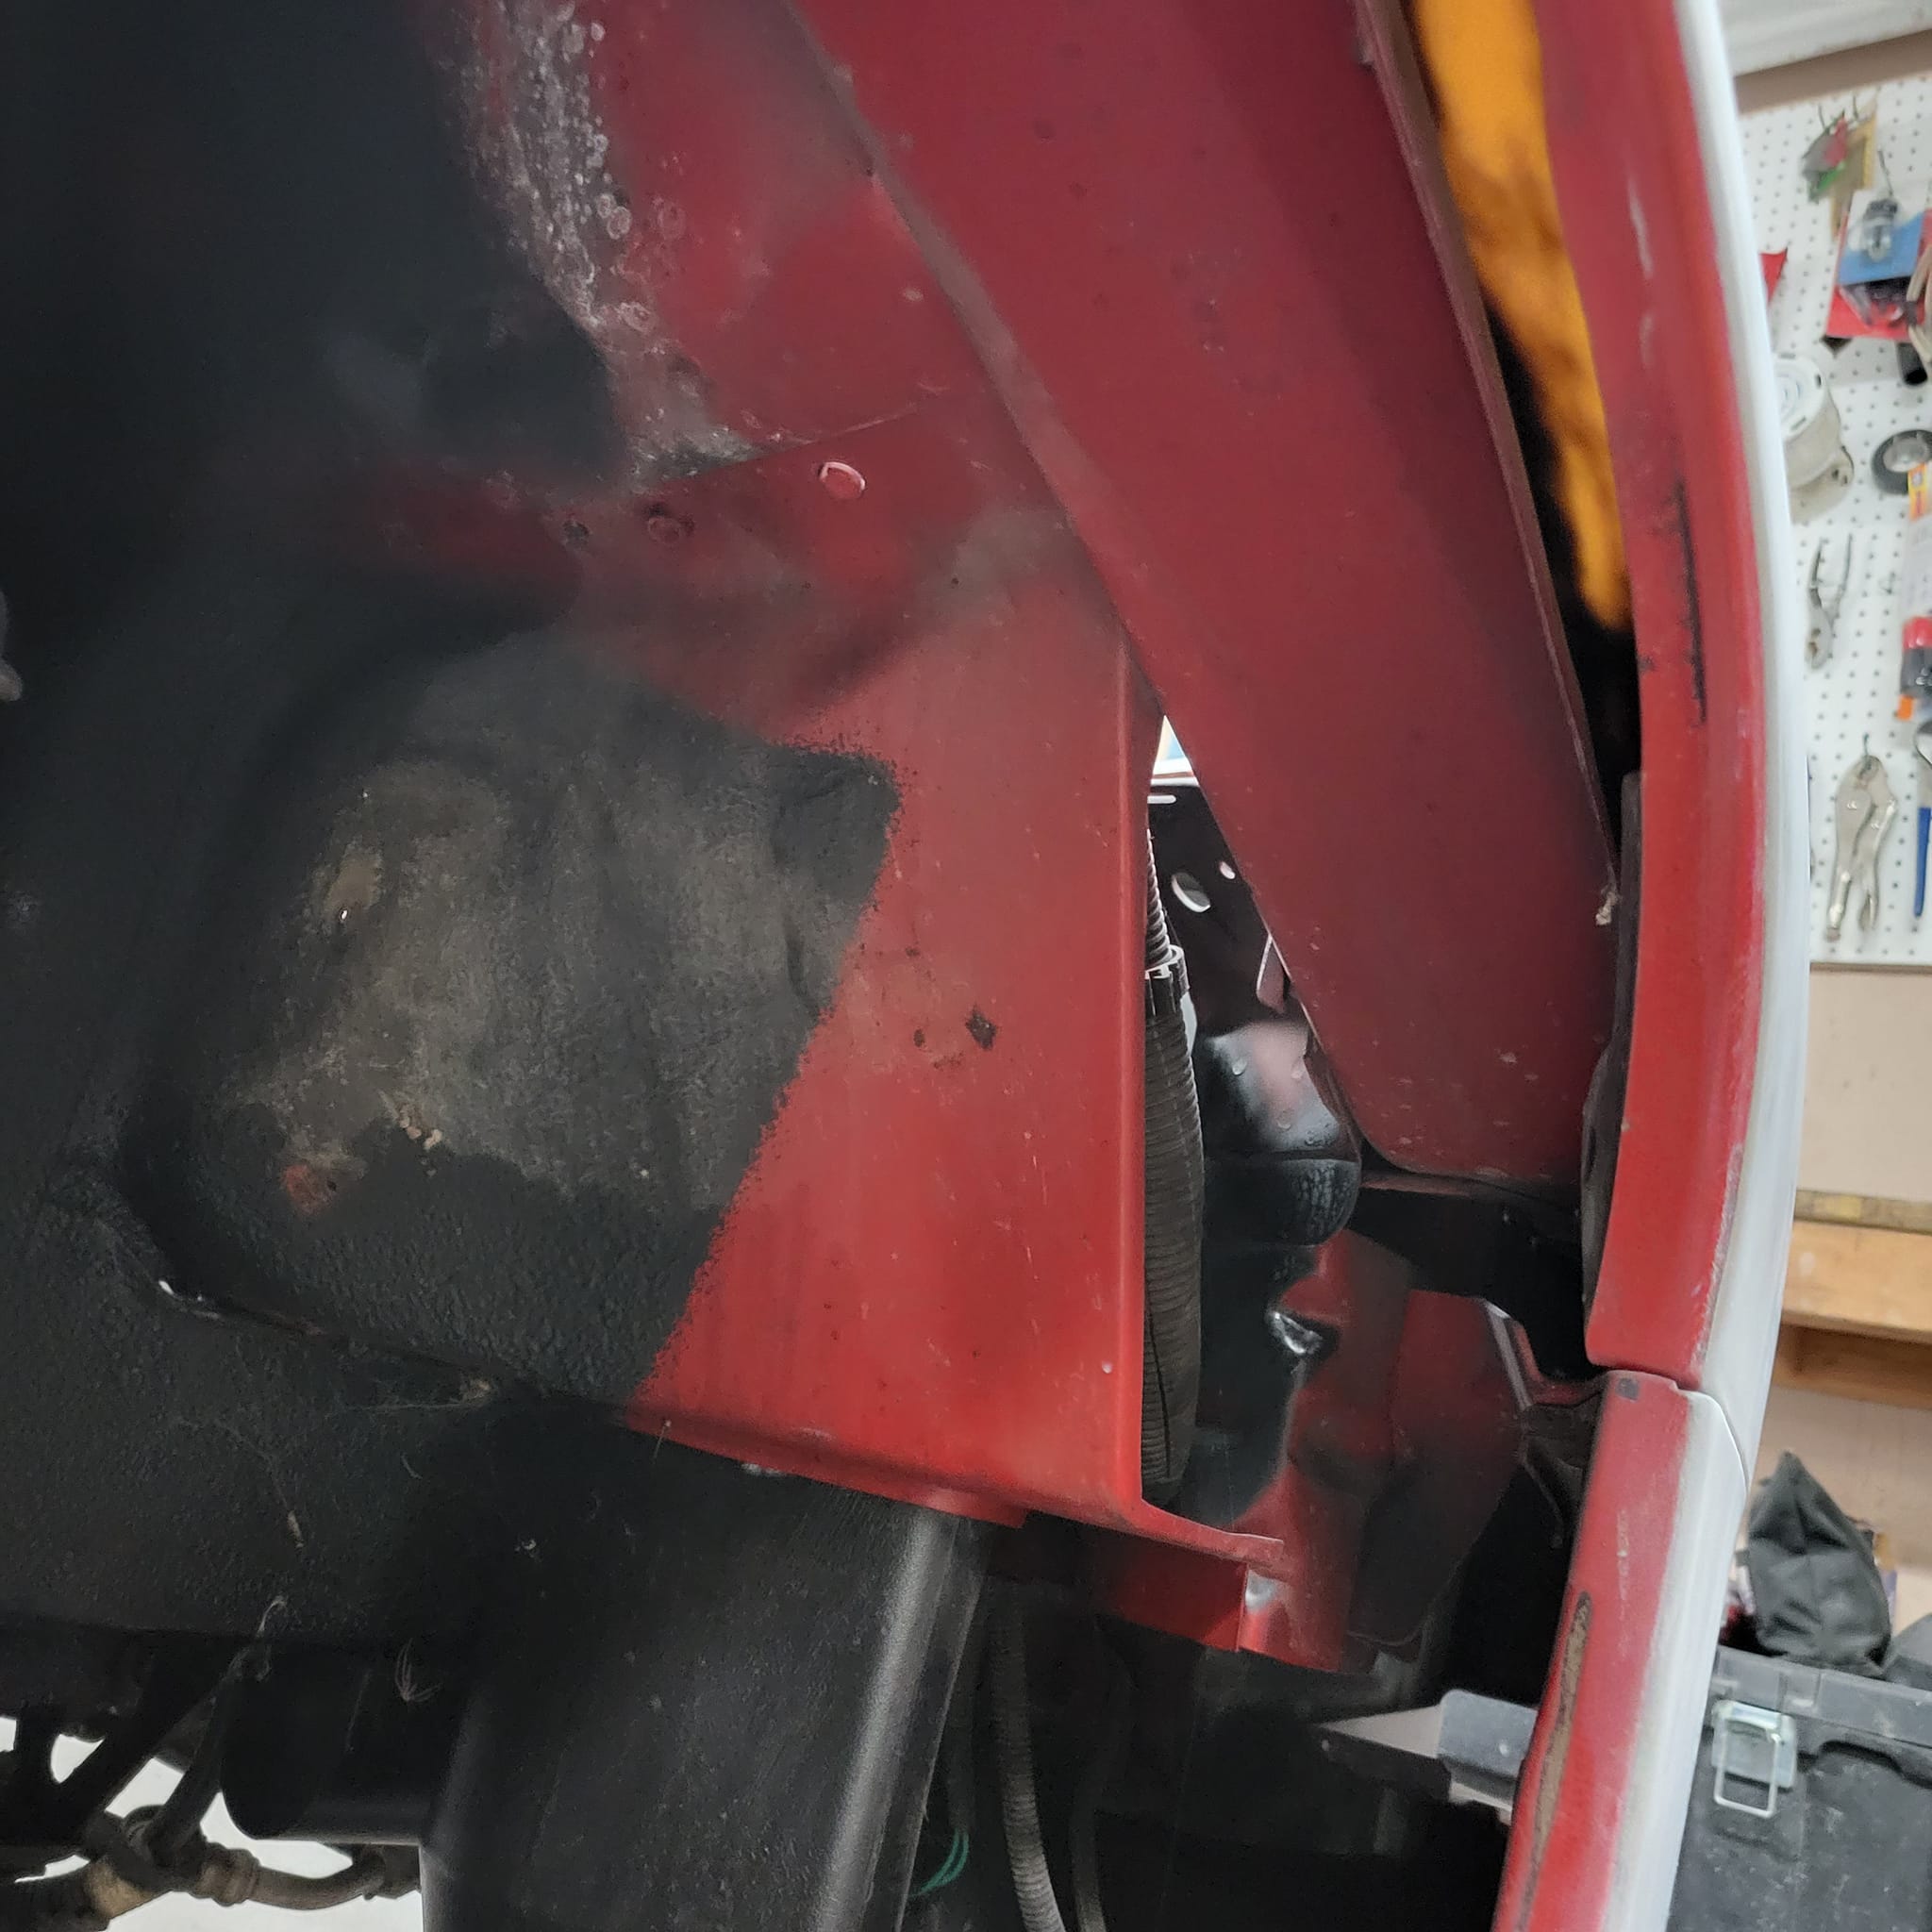
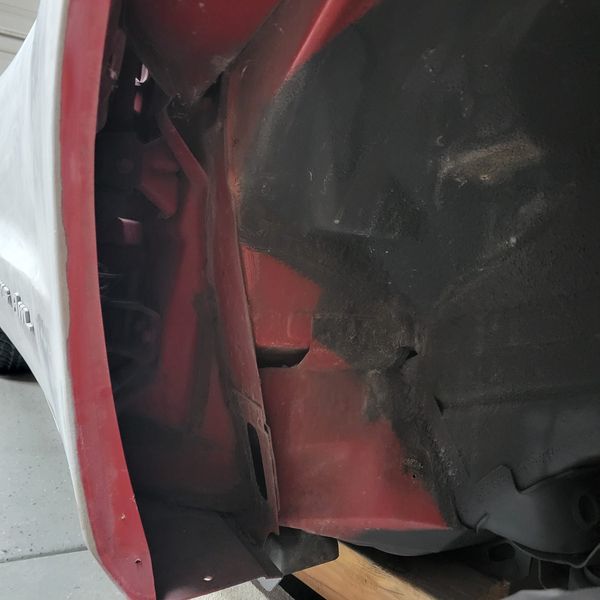
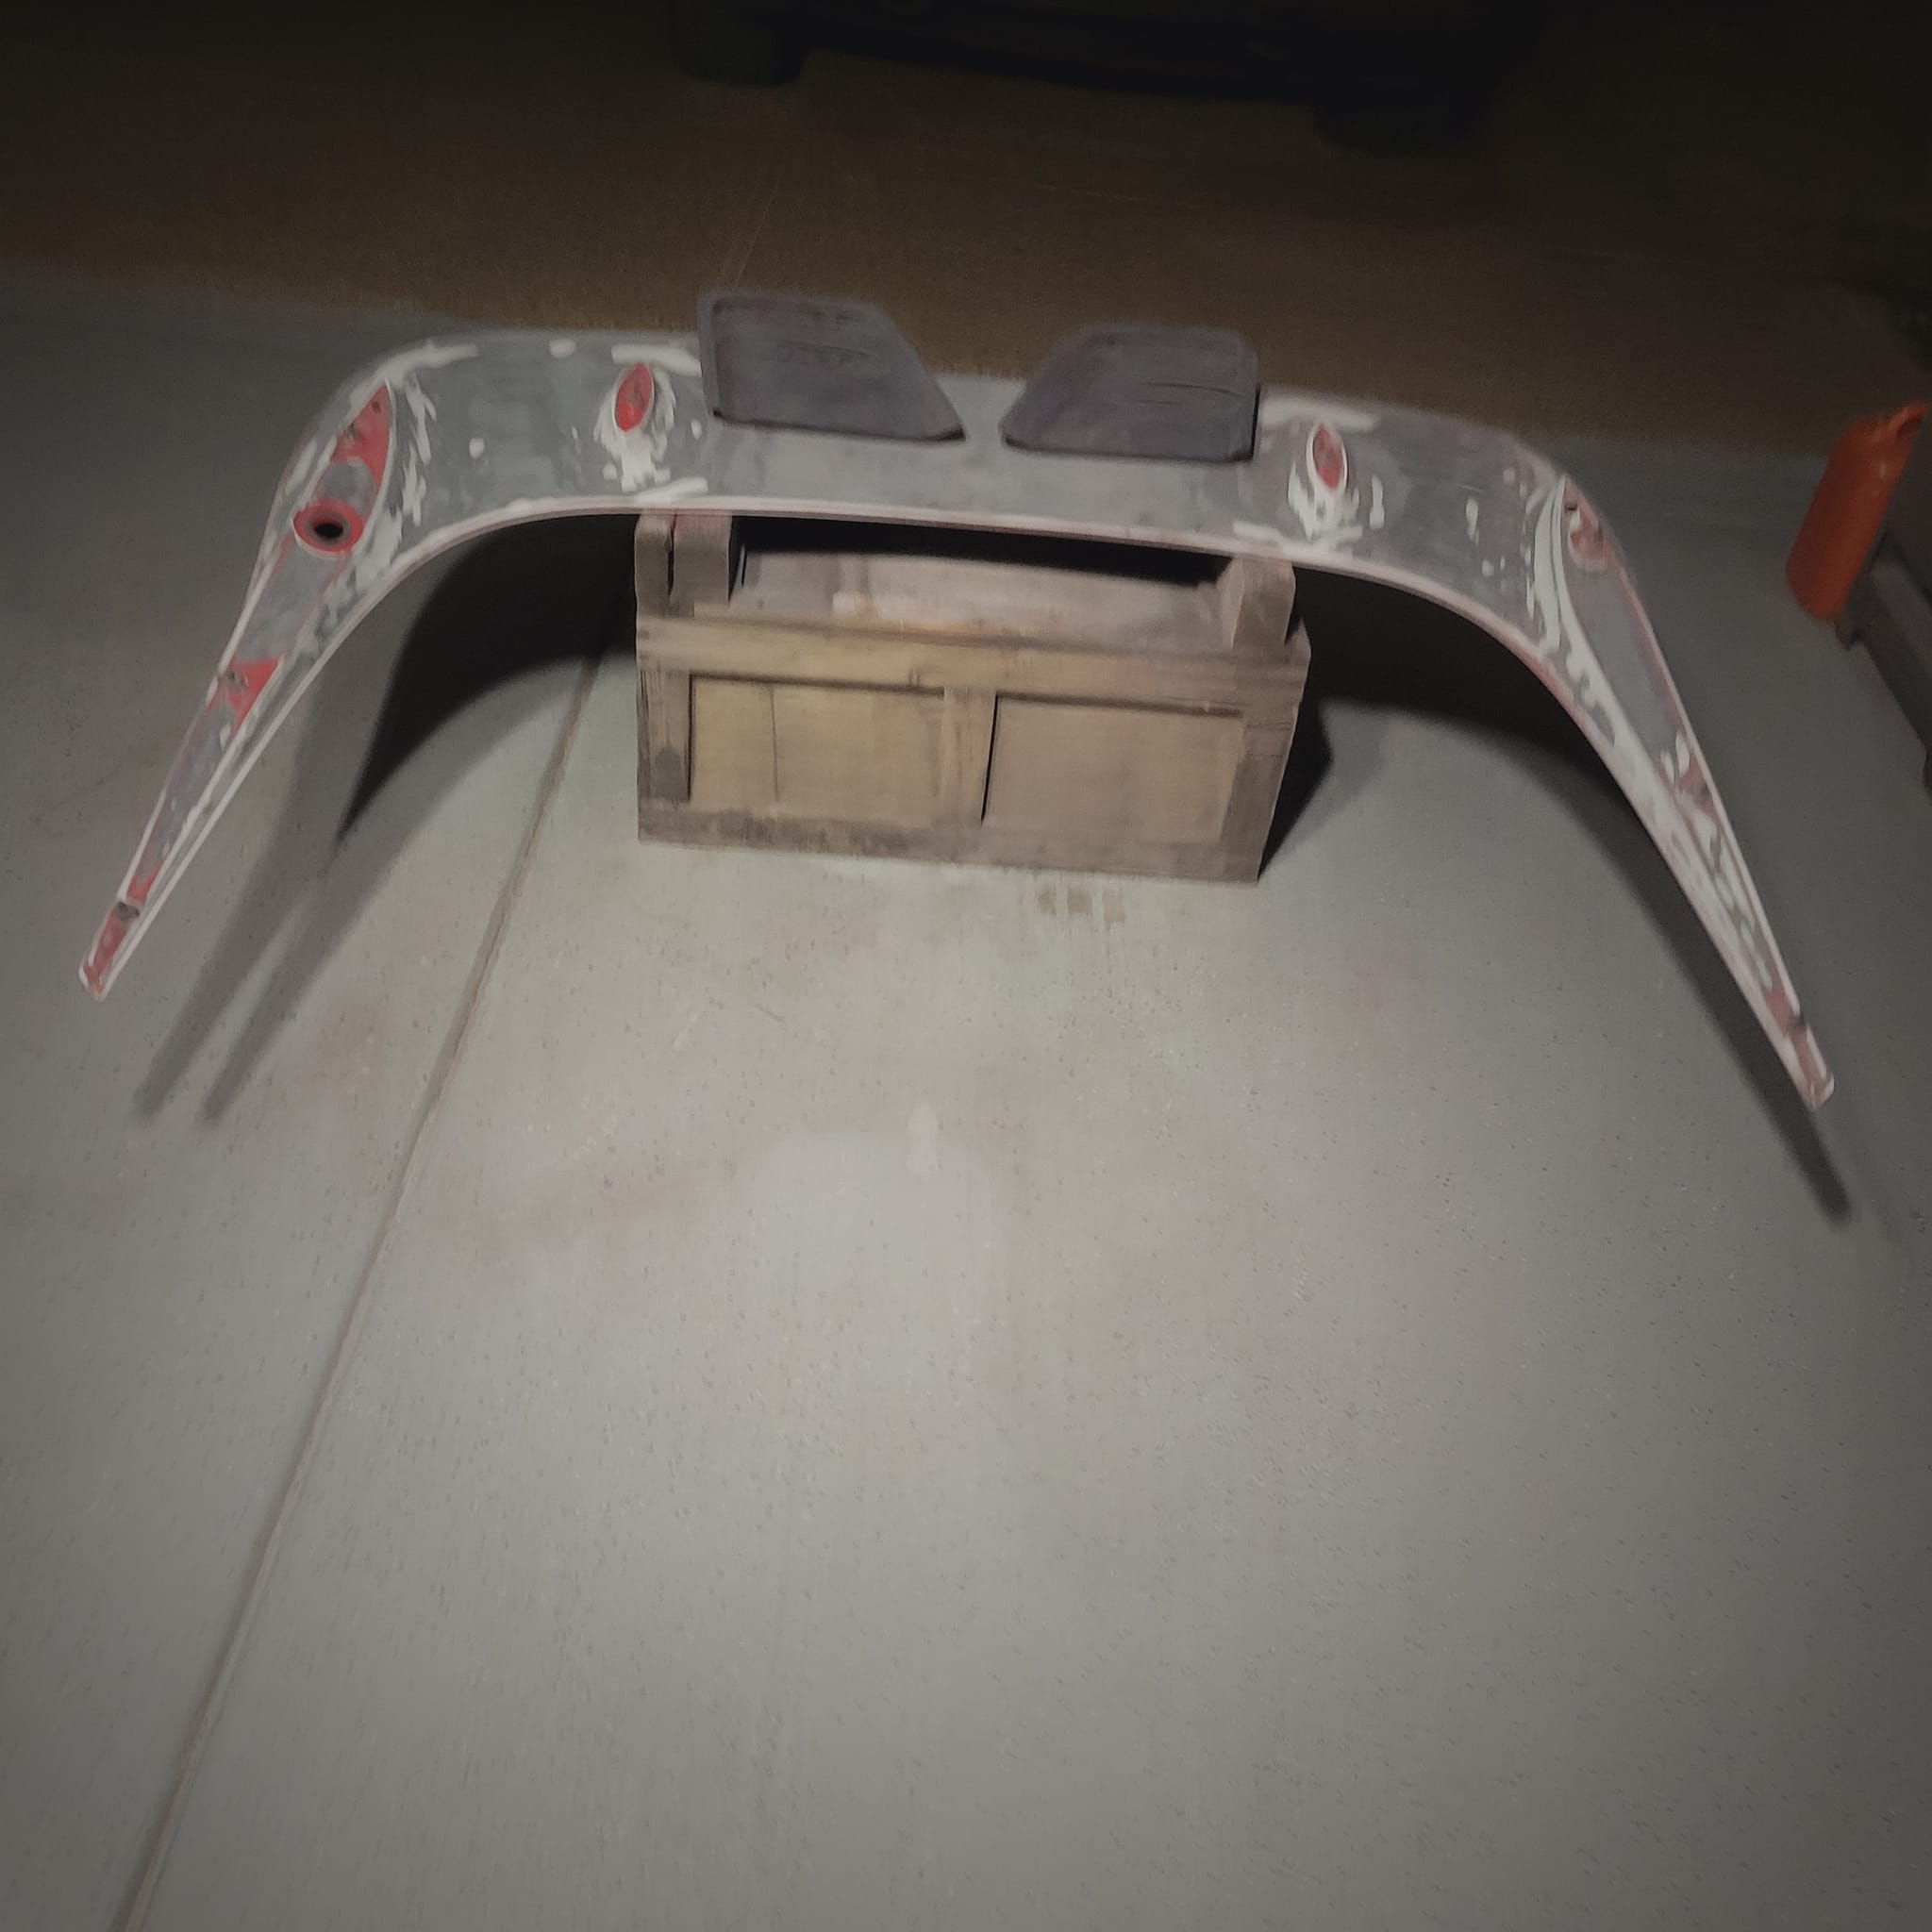
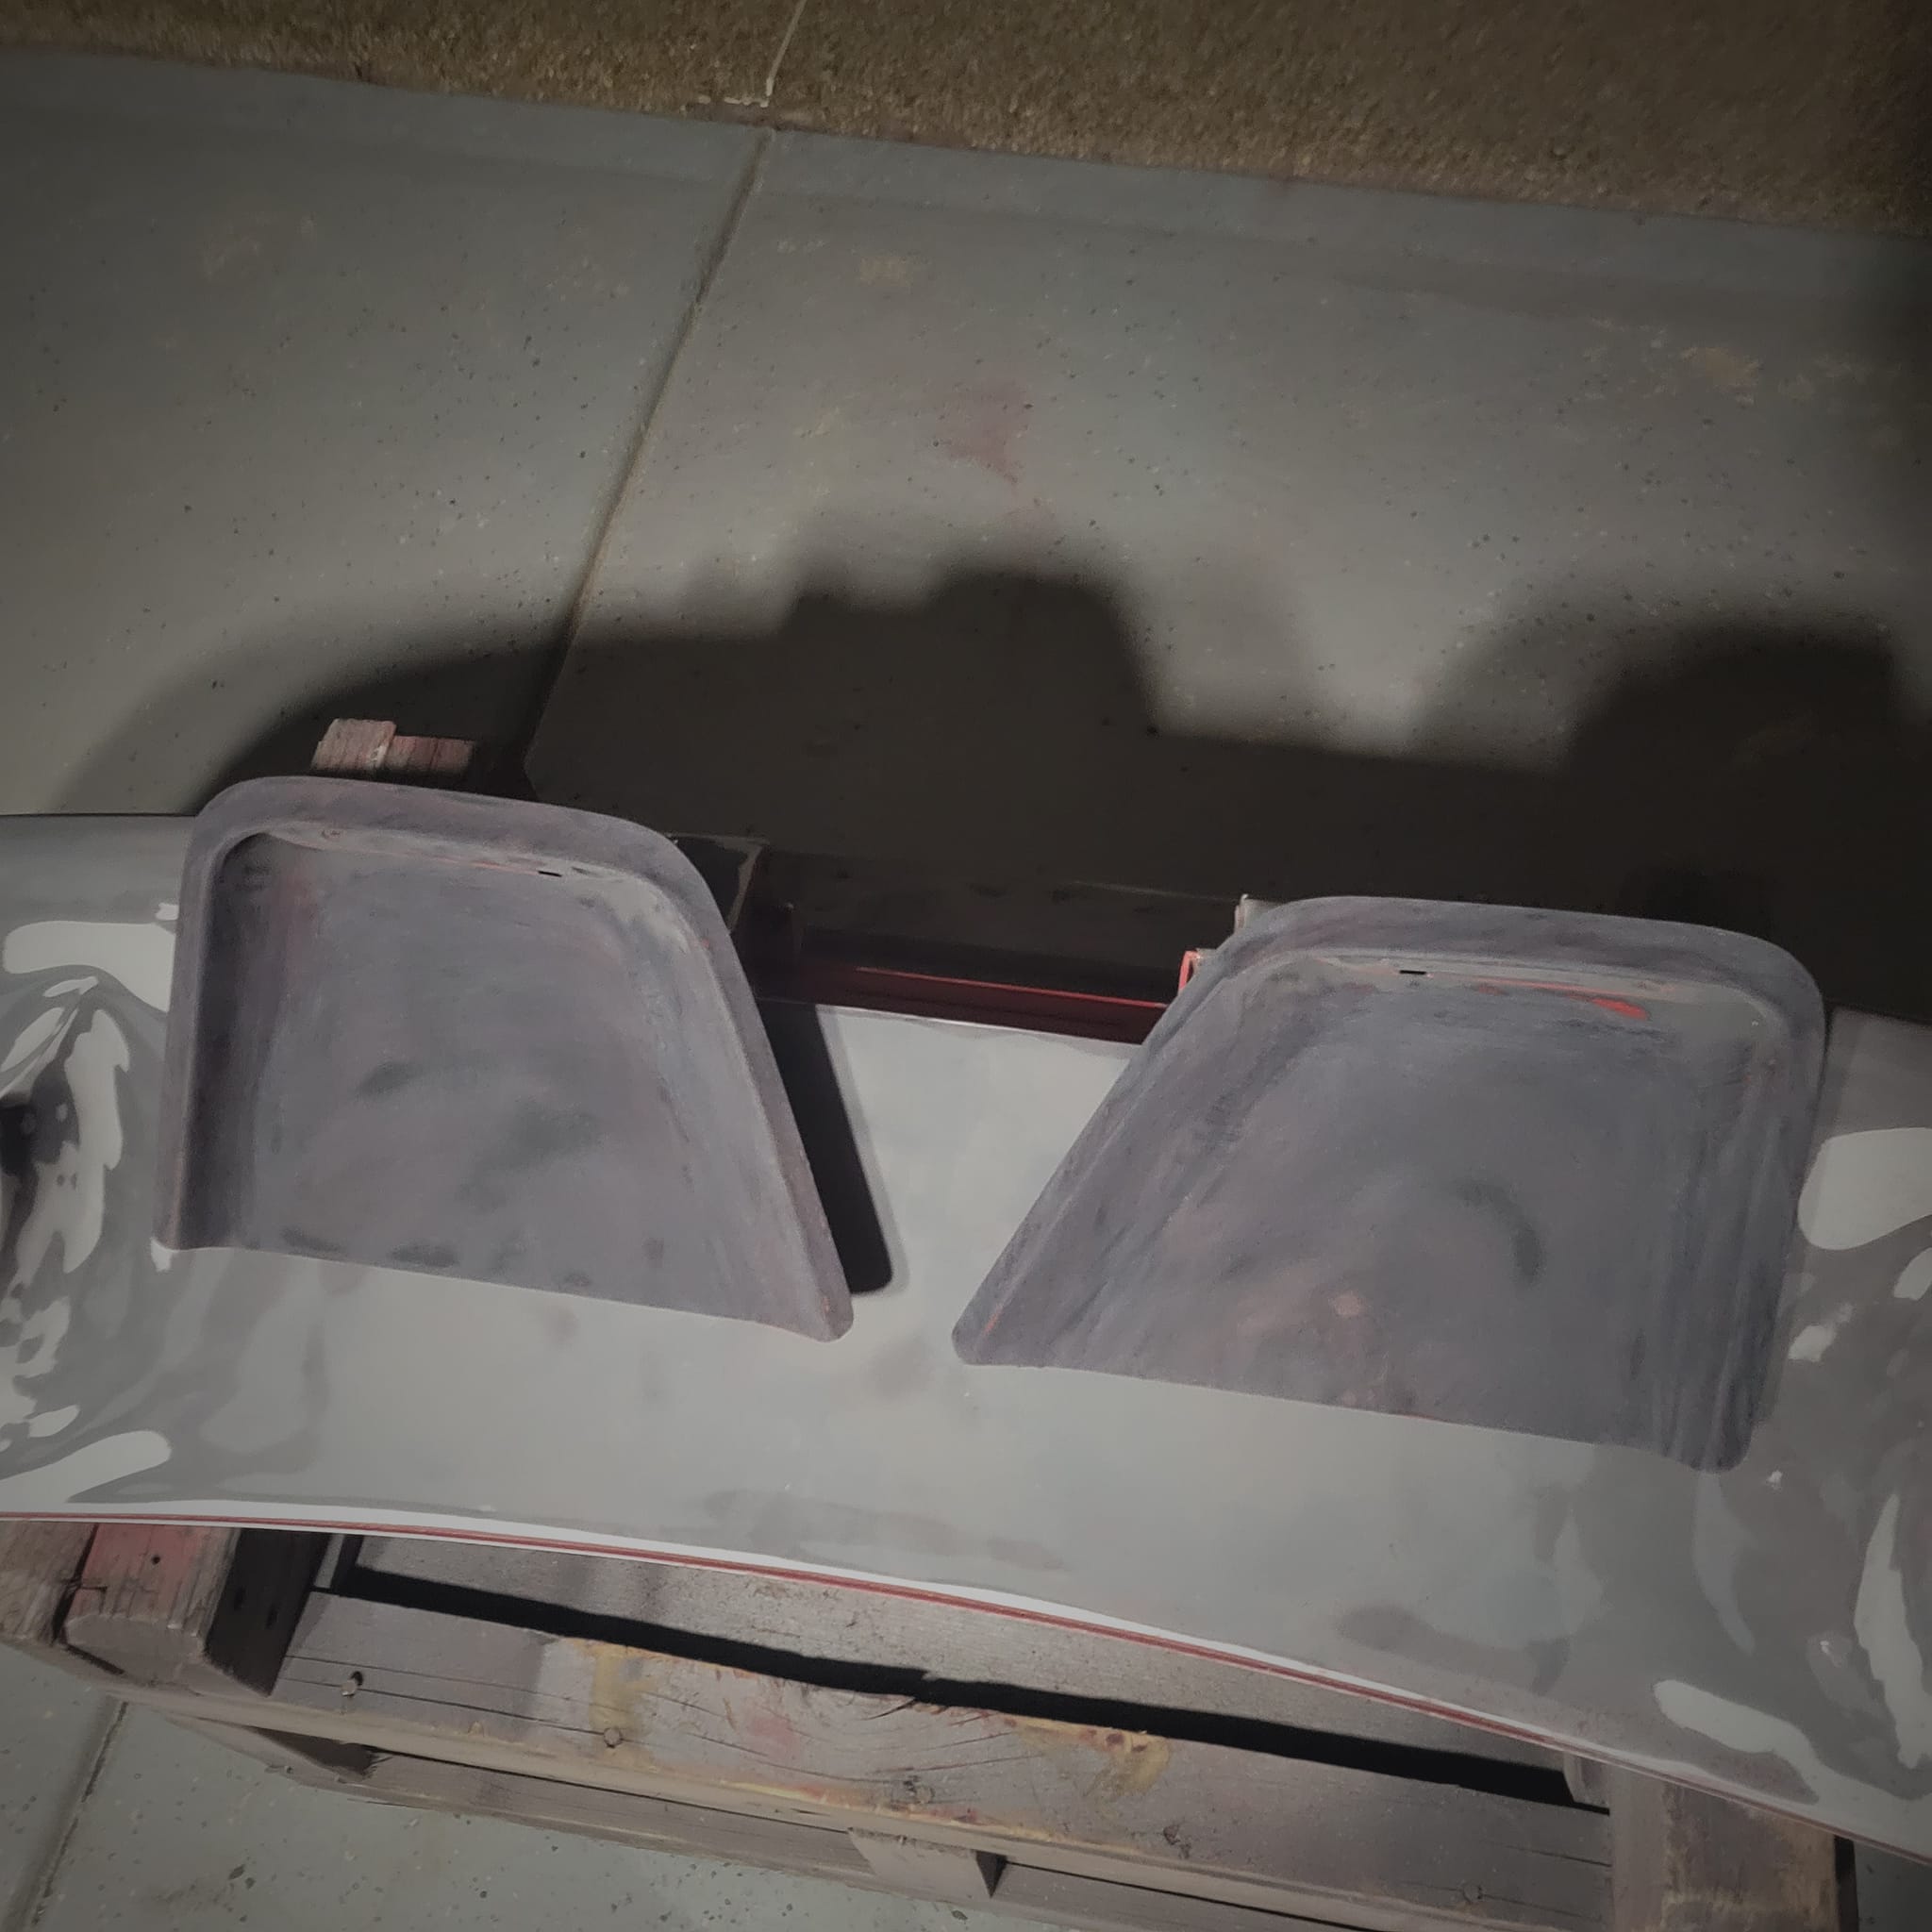
TA 2, day 11. Delving deeper into the rear underbody for total rework.
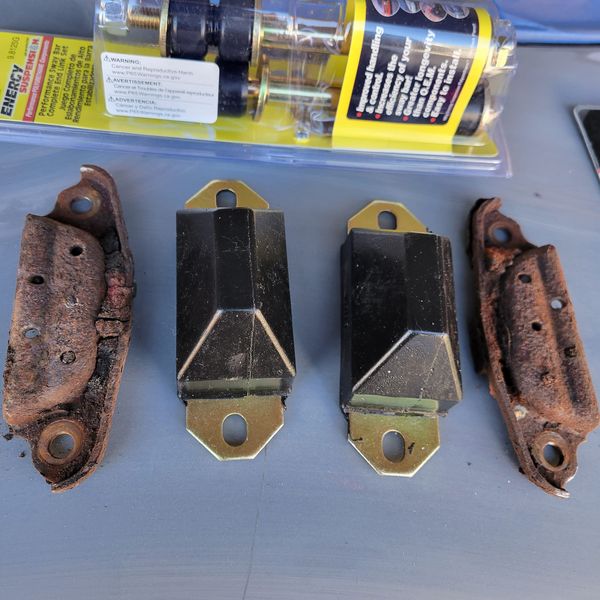
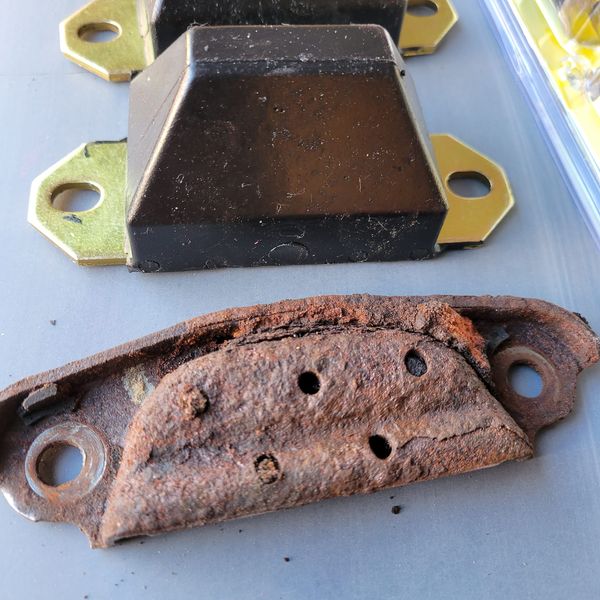
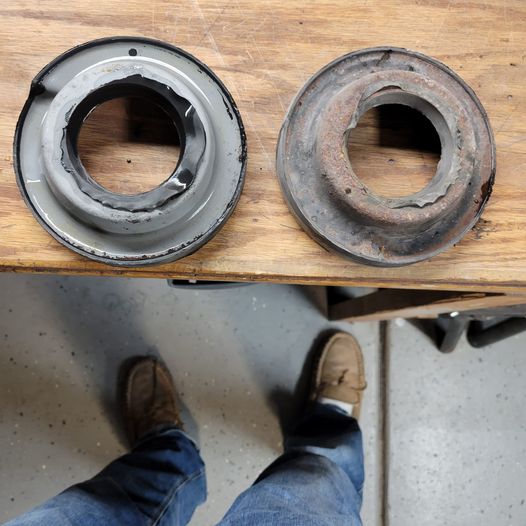
Lots of parts to replace. The aftermarket body bumpers requires cutting off a flange that held the originals. Nasty business with a cutoff tool.
Check these old body bumpers versus the new ones. The rubber was completely gone on both sides at 100K miles:
=====================================
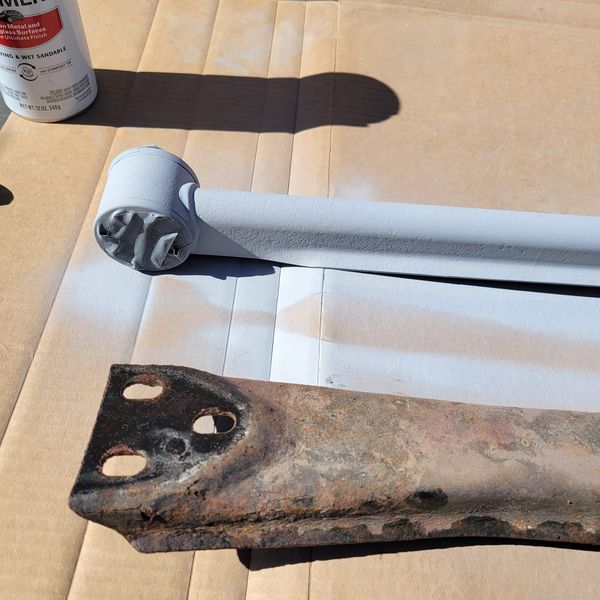
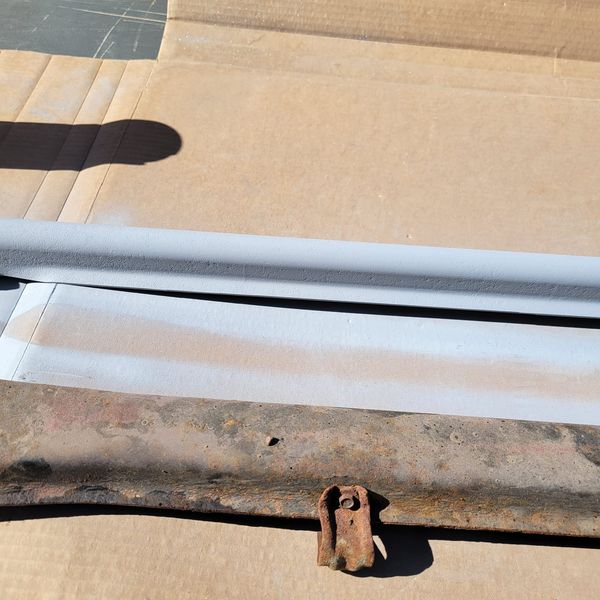
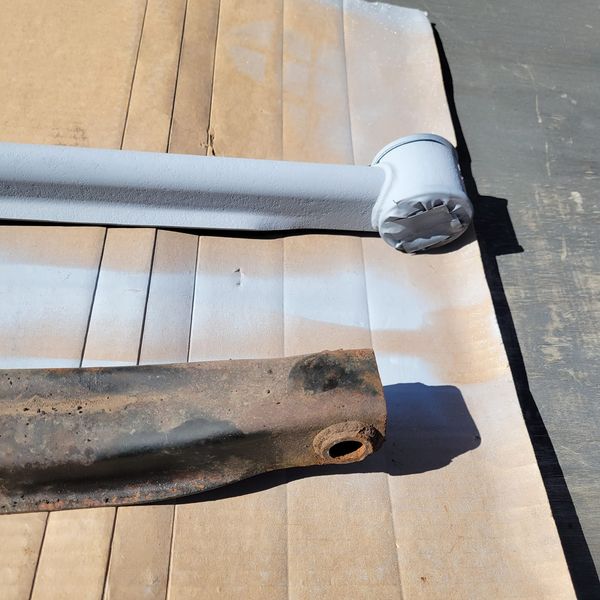
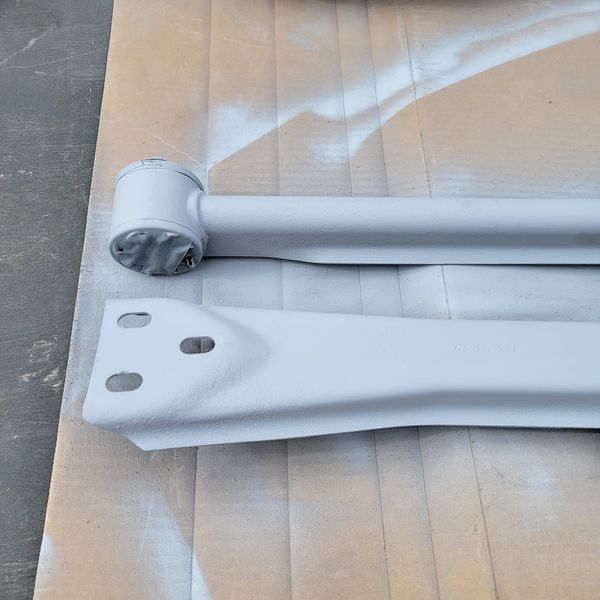
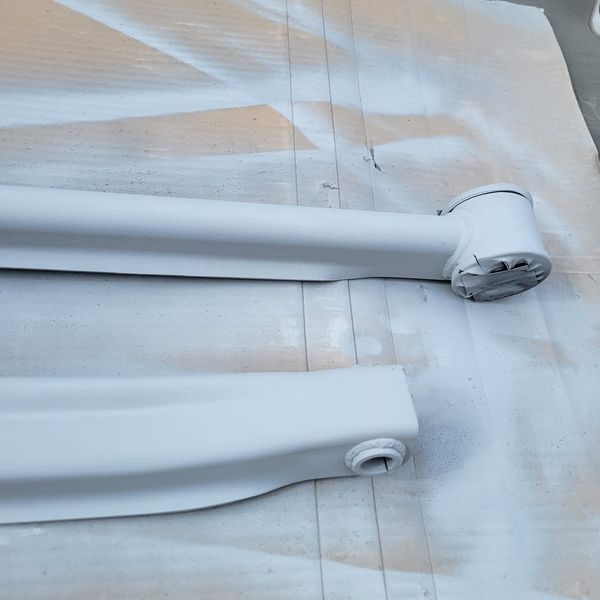
TA 2, day 12. Cleaning up the rear sway bars (technically called tie rods). Here are some before sand blasting pictures and after blasting and priming. These will get painted metallic silver later --> House of Kolor Shimrin Silver:
=====================================
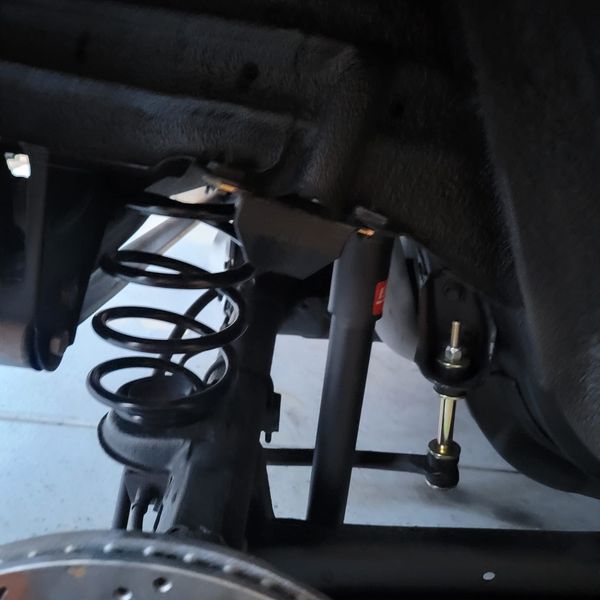
TA 2, day 13.
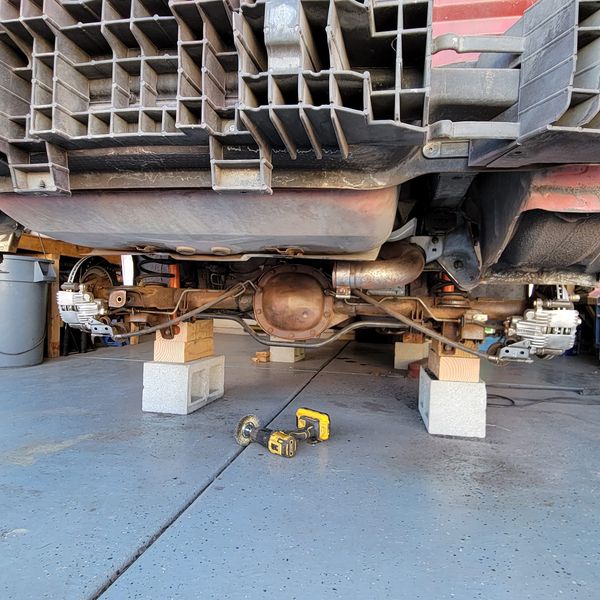
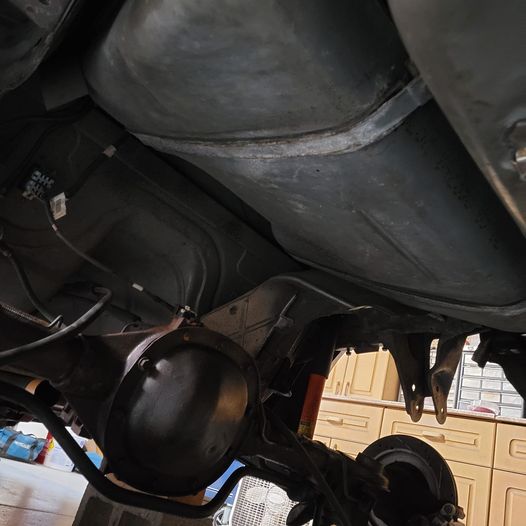
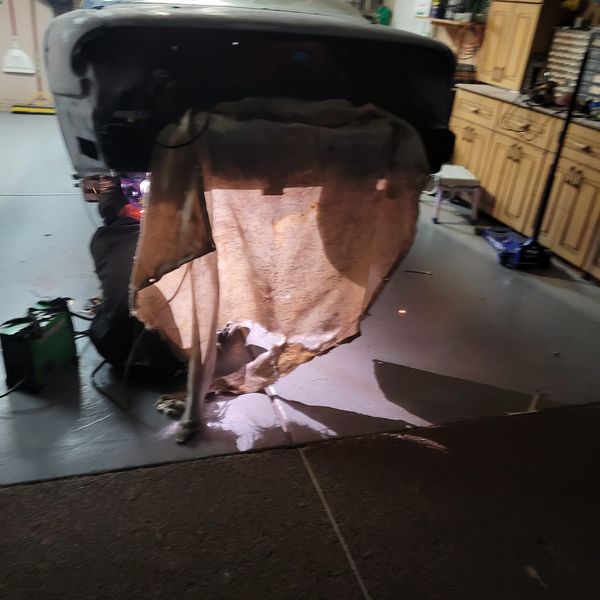
Dropped rear end. Cut off 4 more feet of exhaust. Removed rear springs. Scrubbed it all down with white vinegar. Sandblasted spring seats. After and before image -->
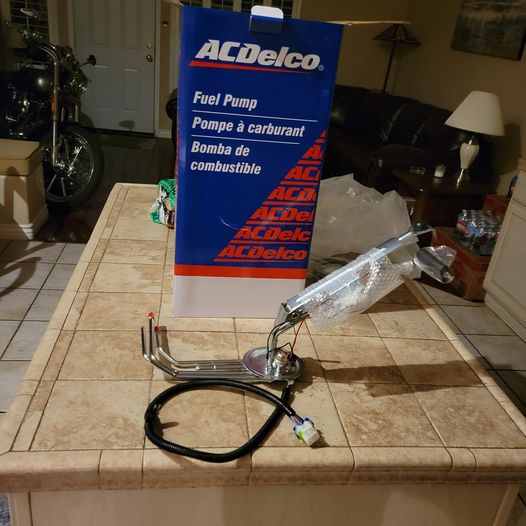
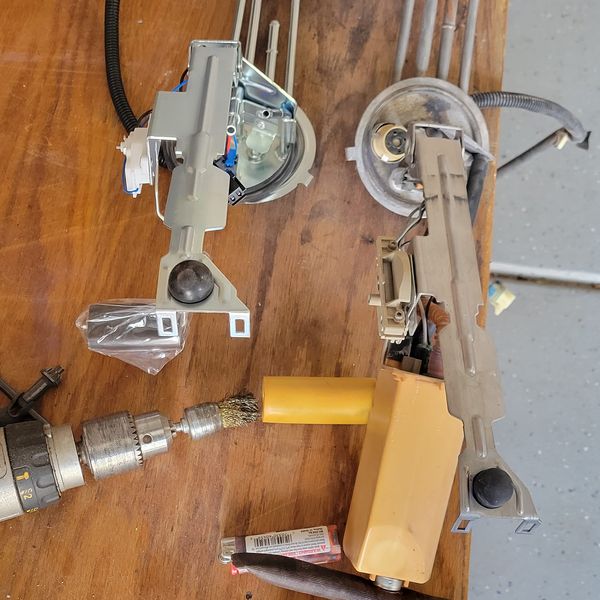
Next up gas tank coming out. Going to replace the fuel pump,
float etc. The right way.
I can finally see it:
=====================================
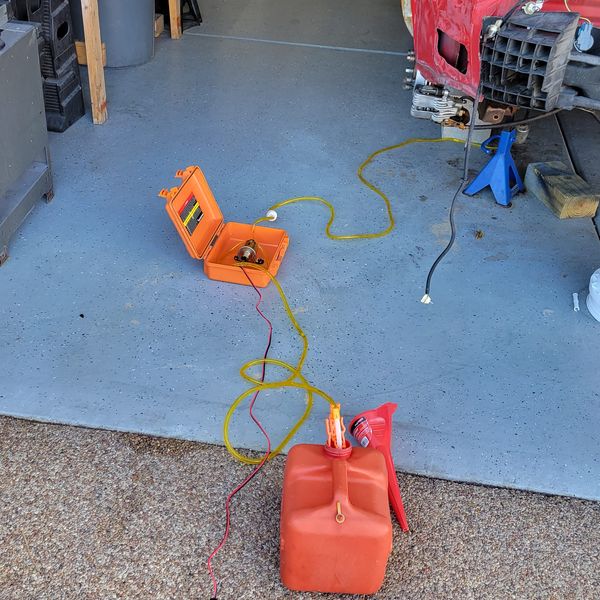
TA 2, day 14. Draining gas, then this tank is coming out. Pretty clean body up there:
New fuel pump asm came today:
=====================================
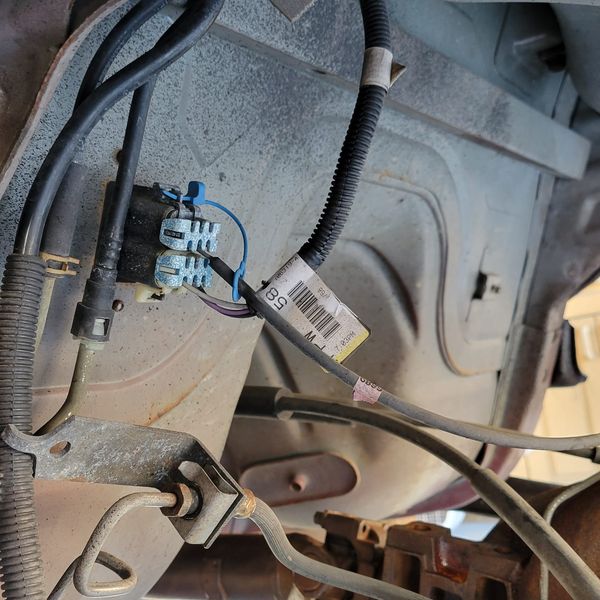
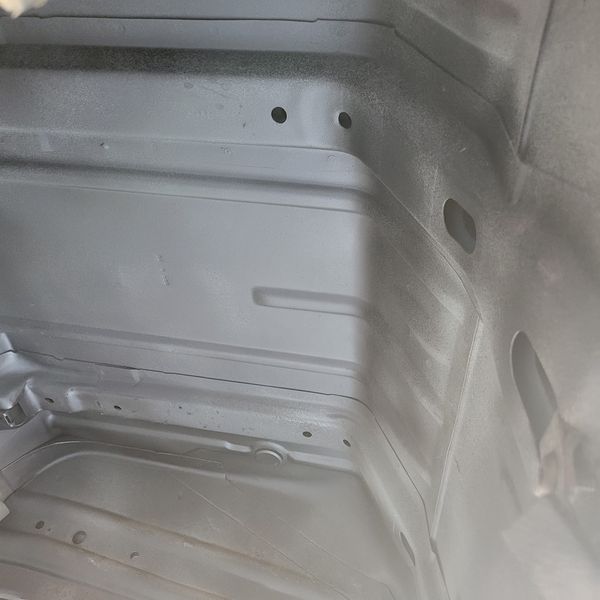
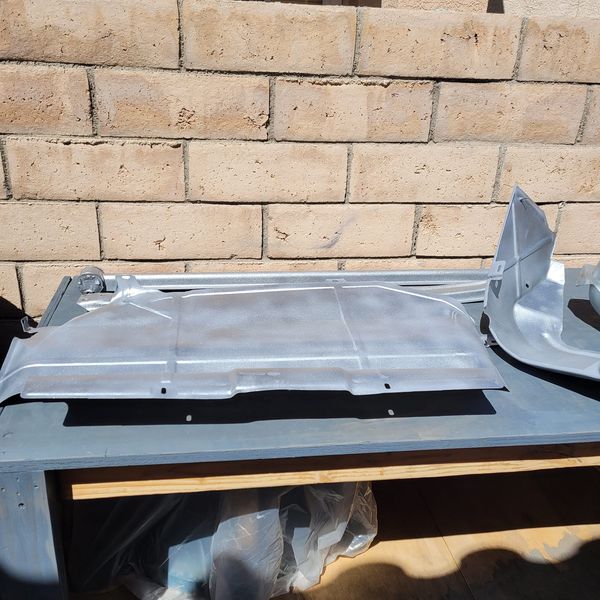
TA 2, day 15. Gas tank out. Body is very clean up there. I will rubber coat the underbody before reassembly.
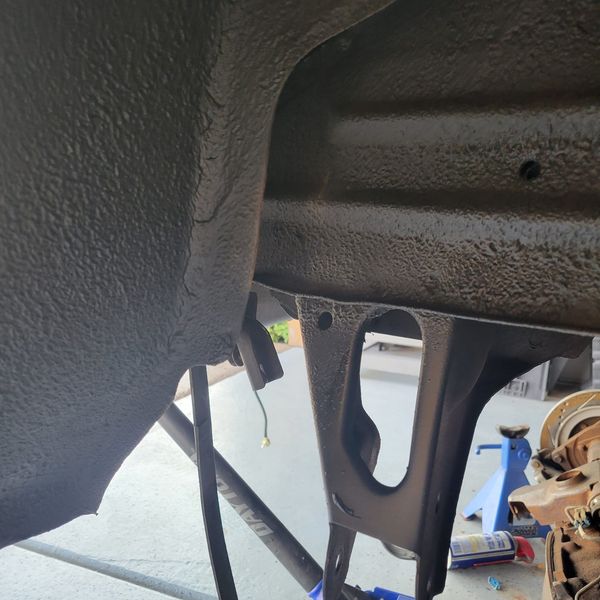
=====================================
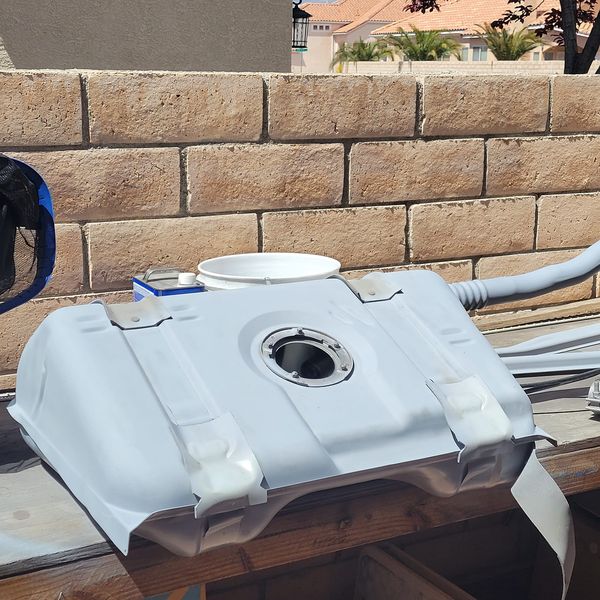
TA 2, day 16. Gas tank washed out, sand blasted, primed and new fuel pump and float asm prep:
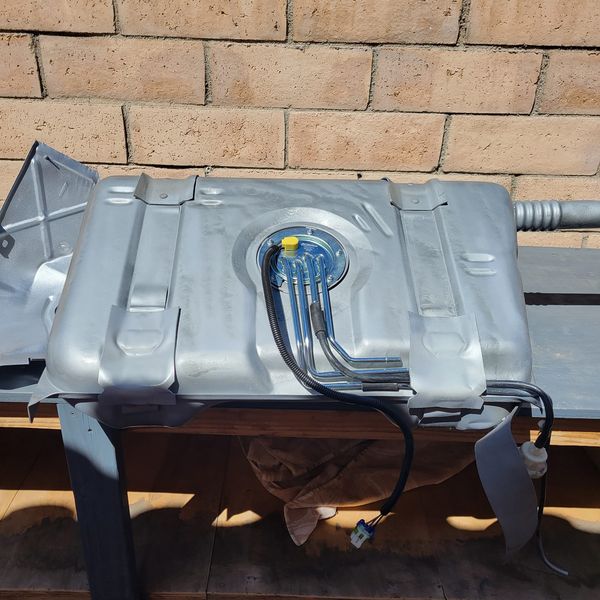
TA 2. Day 16 wrap up: Gas tank asm all together and painted. Tank shielding sand blasted and painted:
=====================================
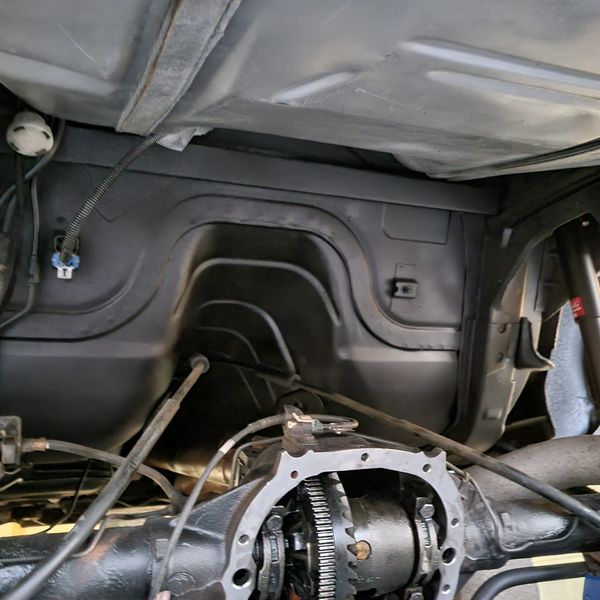
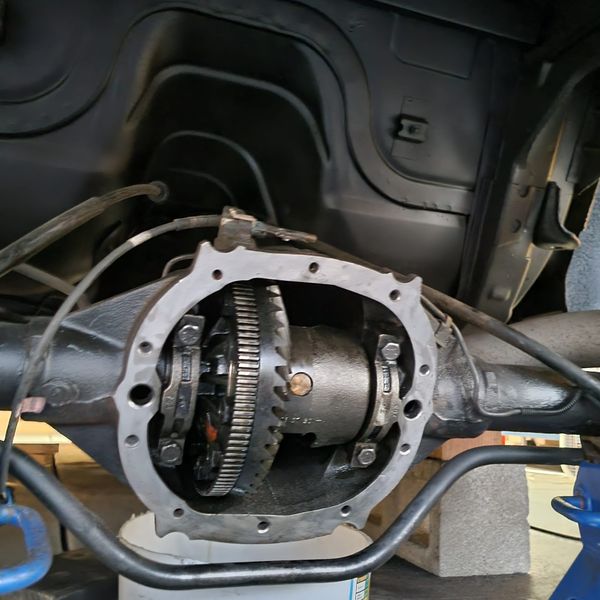
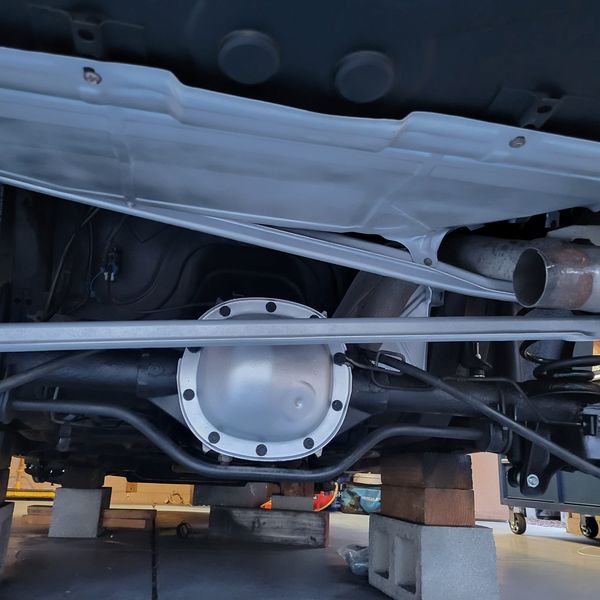
TA 2, Day 17: Undercoated
gas tank area. Gas tank in. Rear end drained, cleaned and prepped.
Looks great. Very few shavings on the magnet. All tight and damage free (106K on
odometer):
=====================================
=====================================
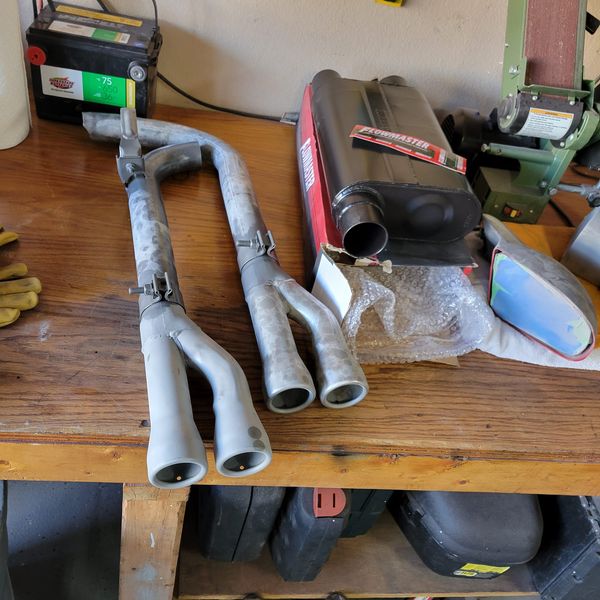
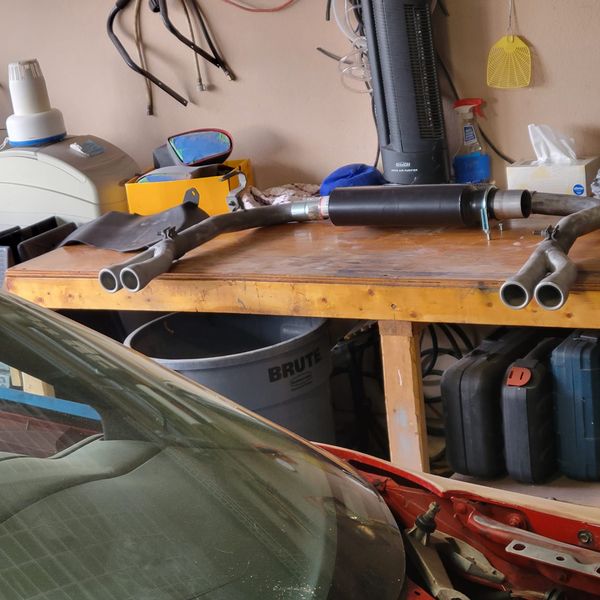
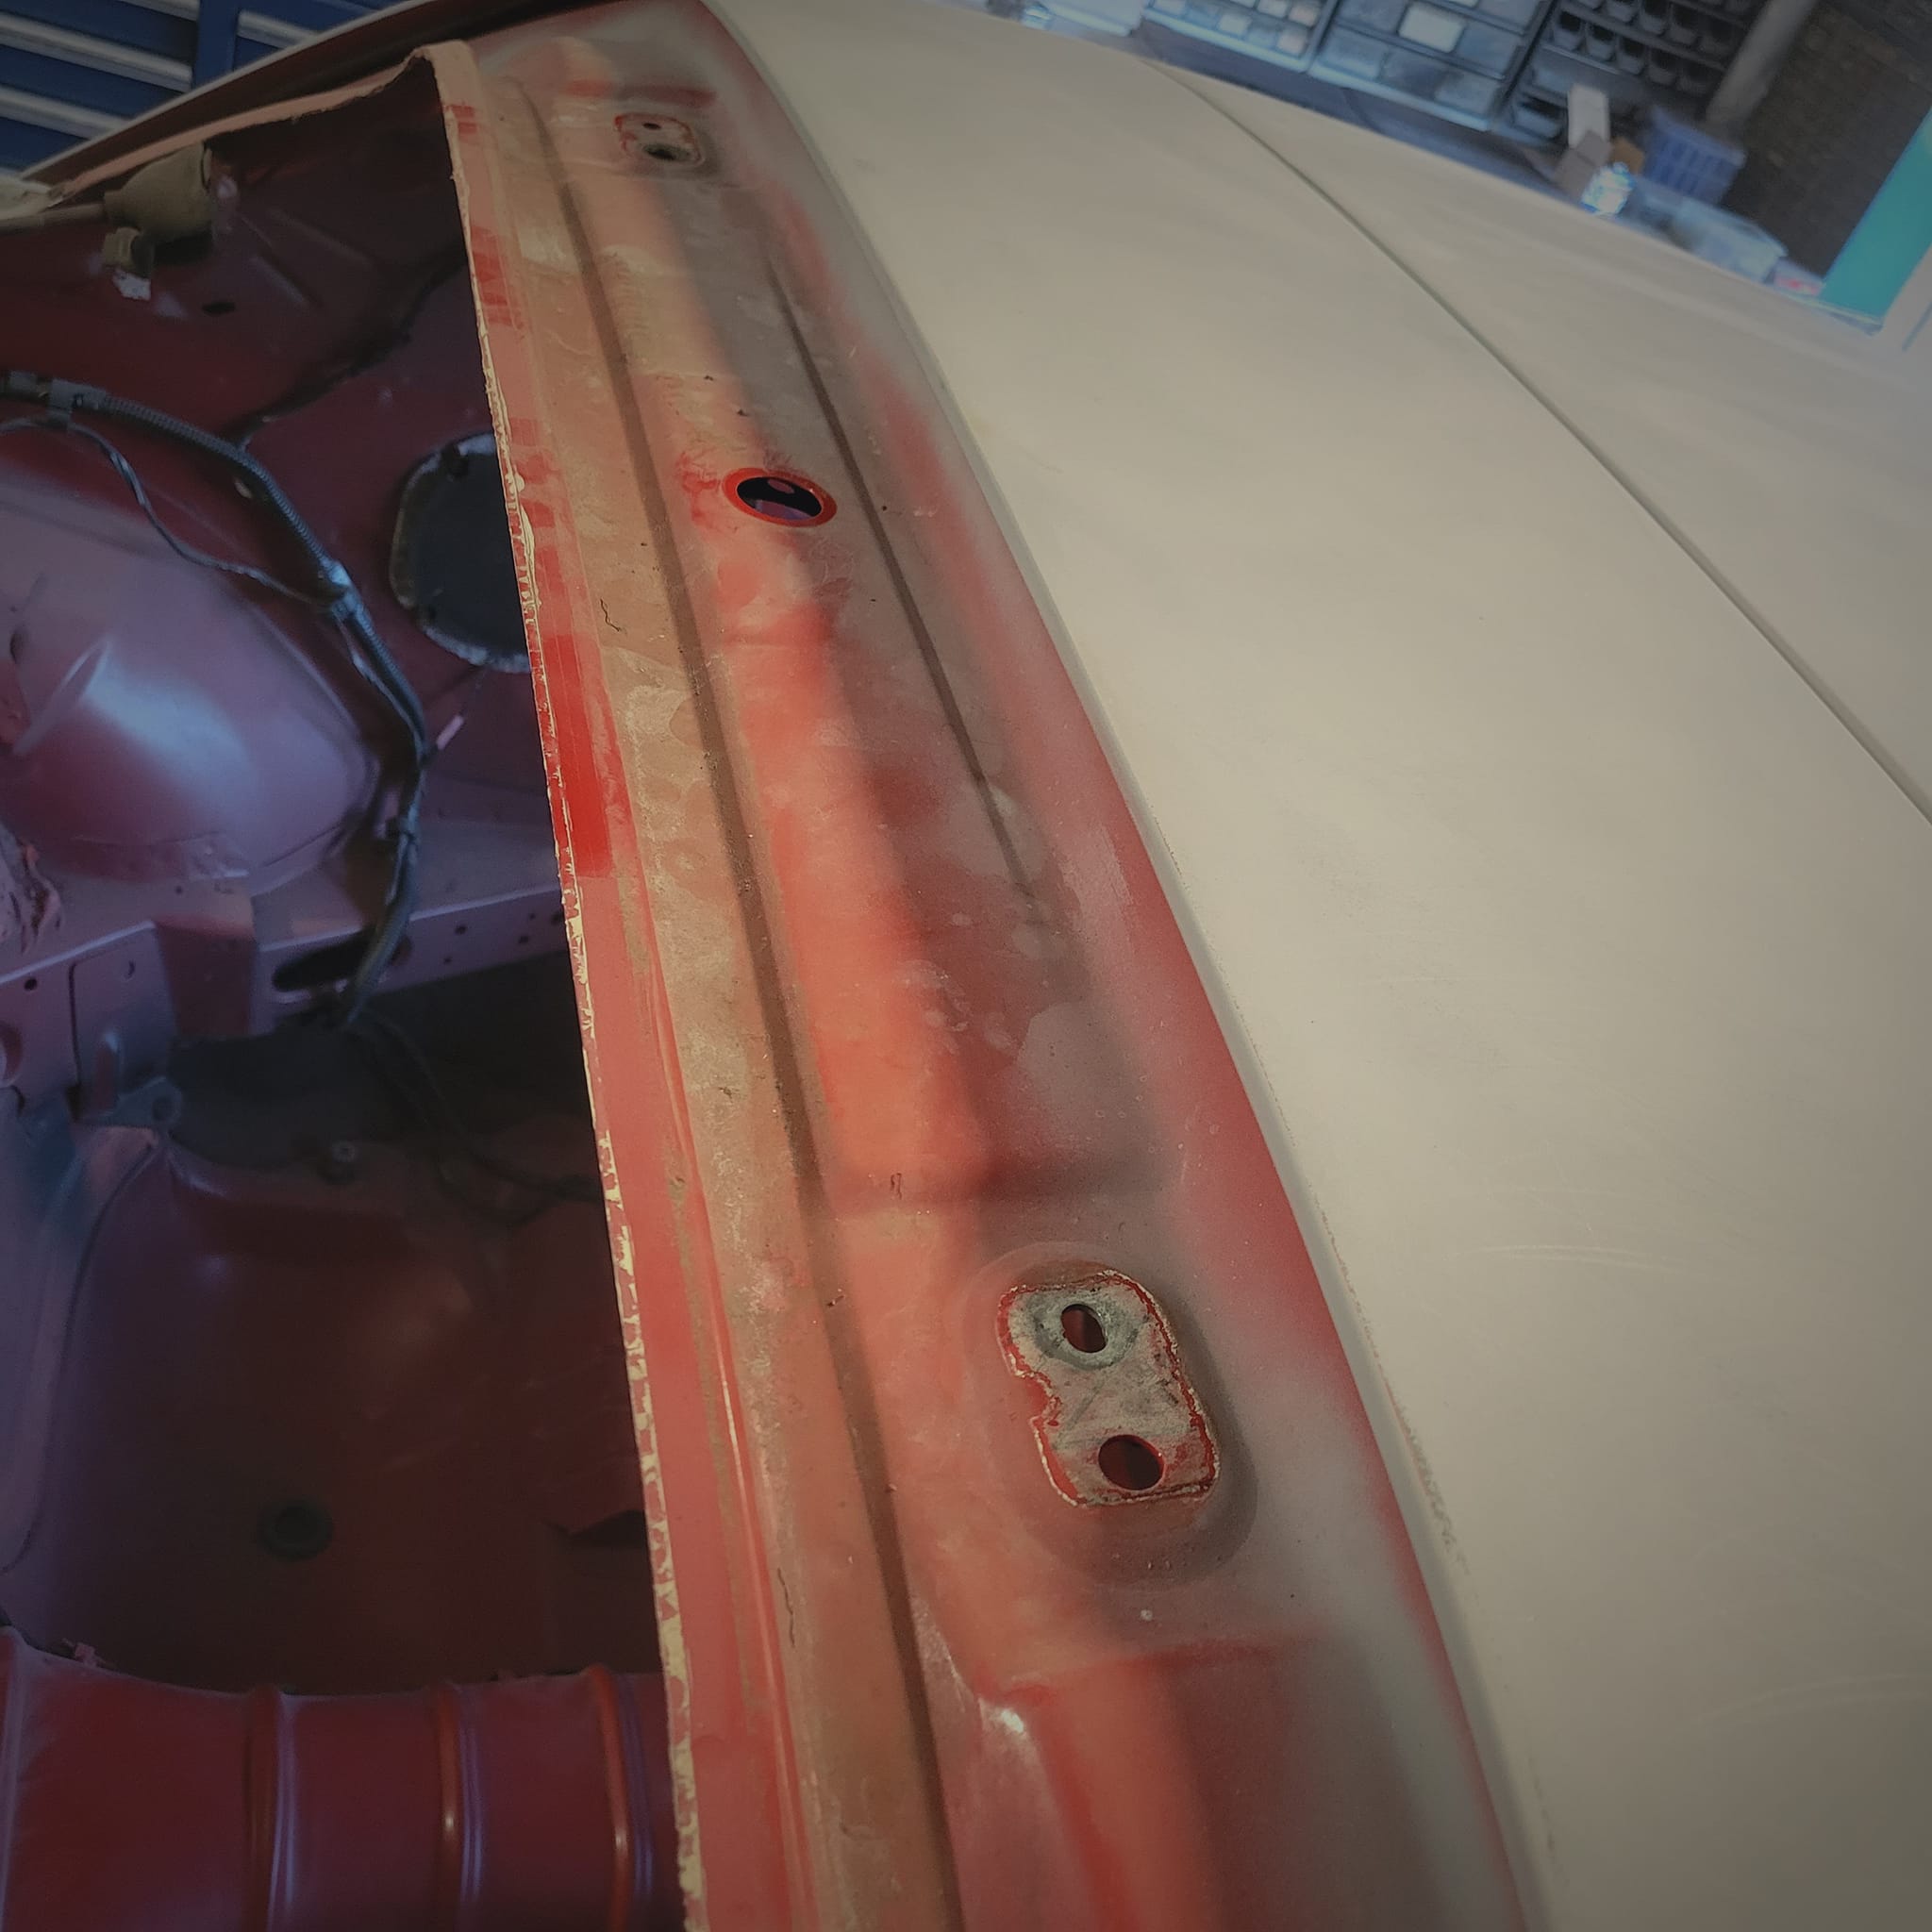
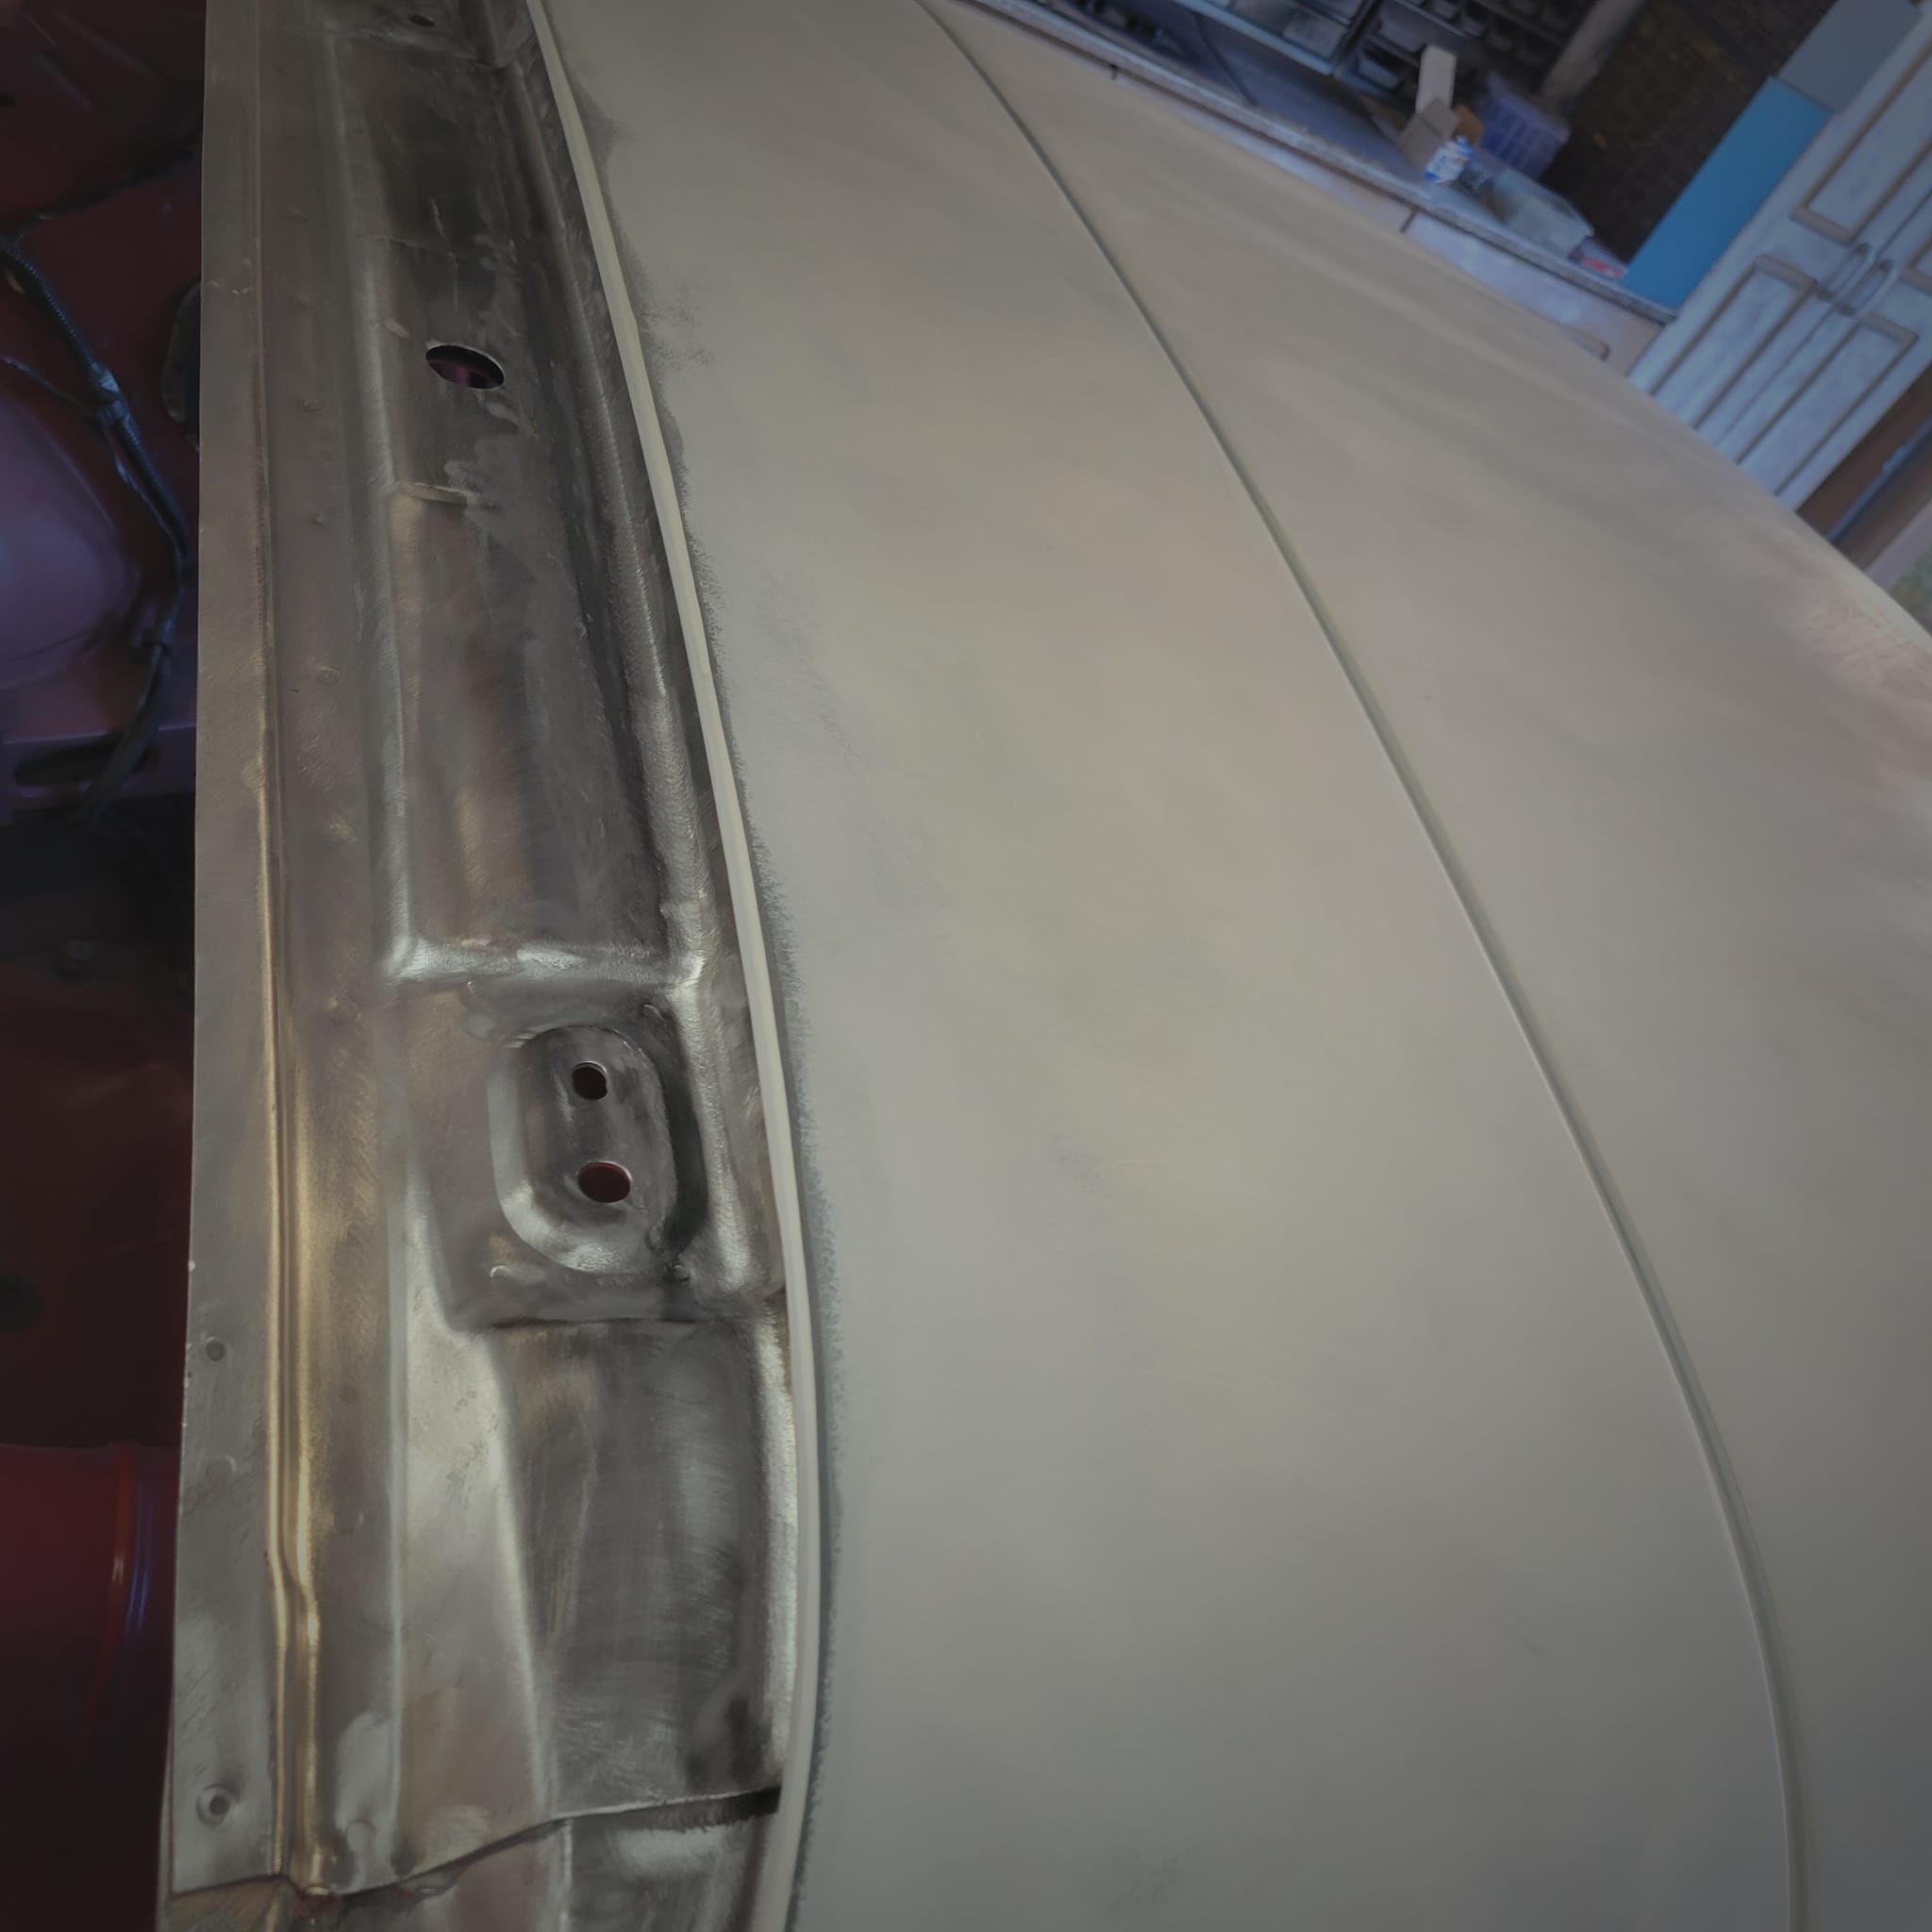
TA 2, day 19: Spent some time sanding edges and seams (thx Pam). Exhaust laid out --> FlowMaster). Wiper blades/arms off. Windshield trim off. hood seat rubber and plastic parts off. Started working on RH body door frame. And, yes, I intentionally broke the windshield so there would be no going back on that (had a dozen rock dings) --> Adios:

=====================================
TA 2, day 20: exhaust getting all welded up:
=====================================
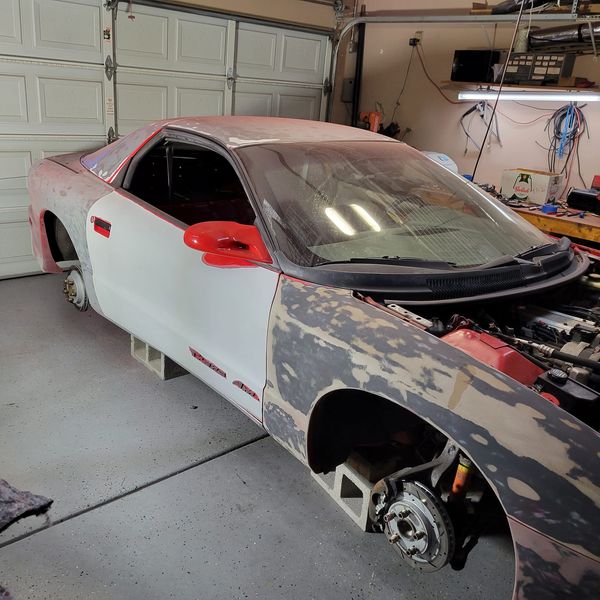
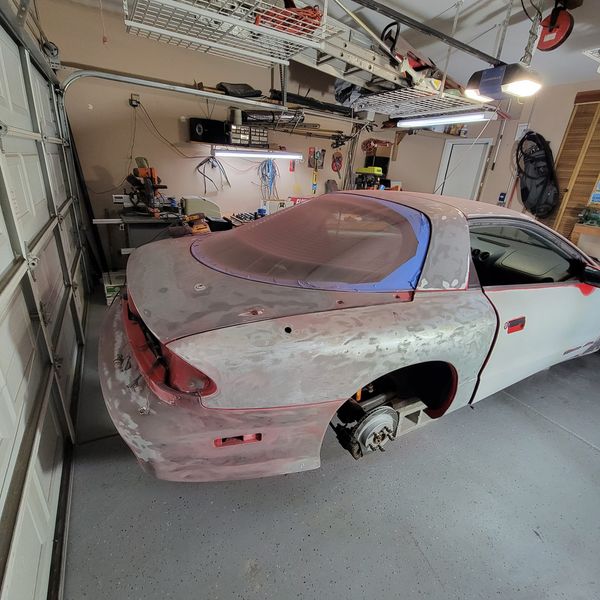
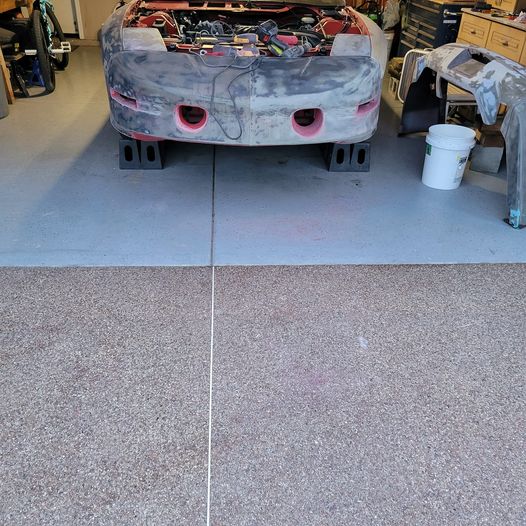
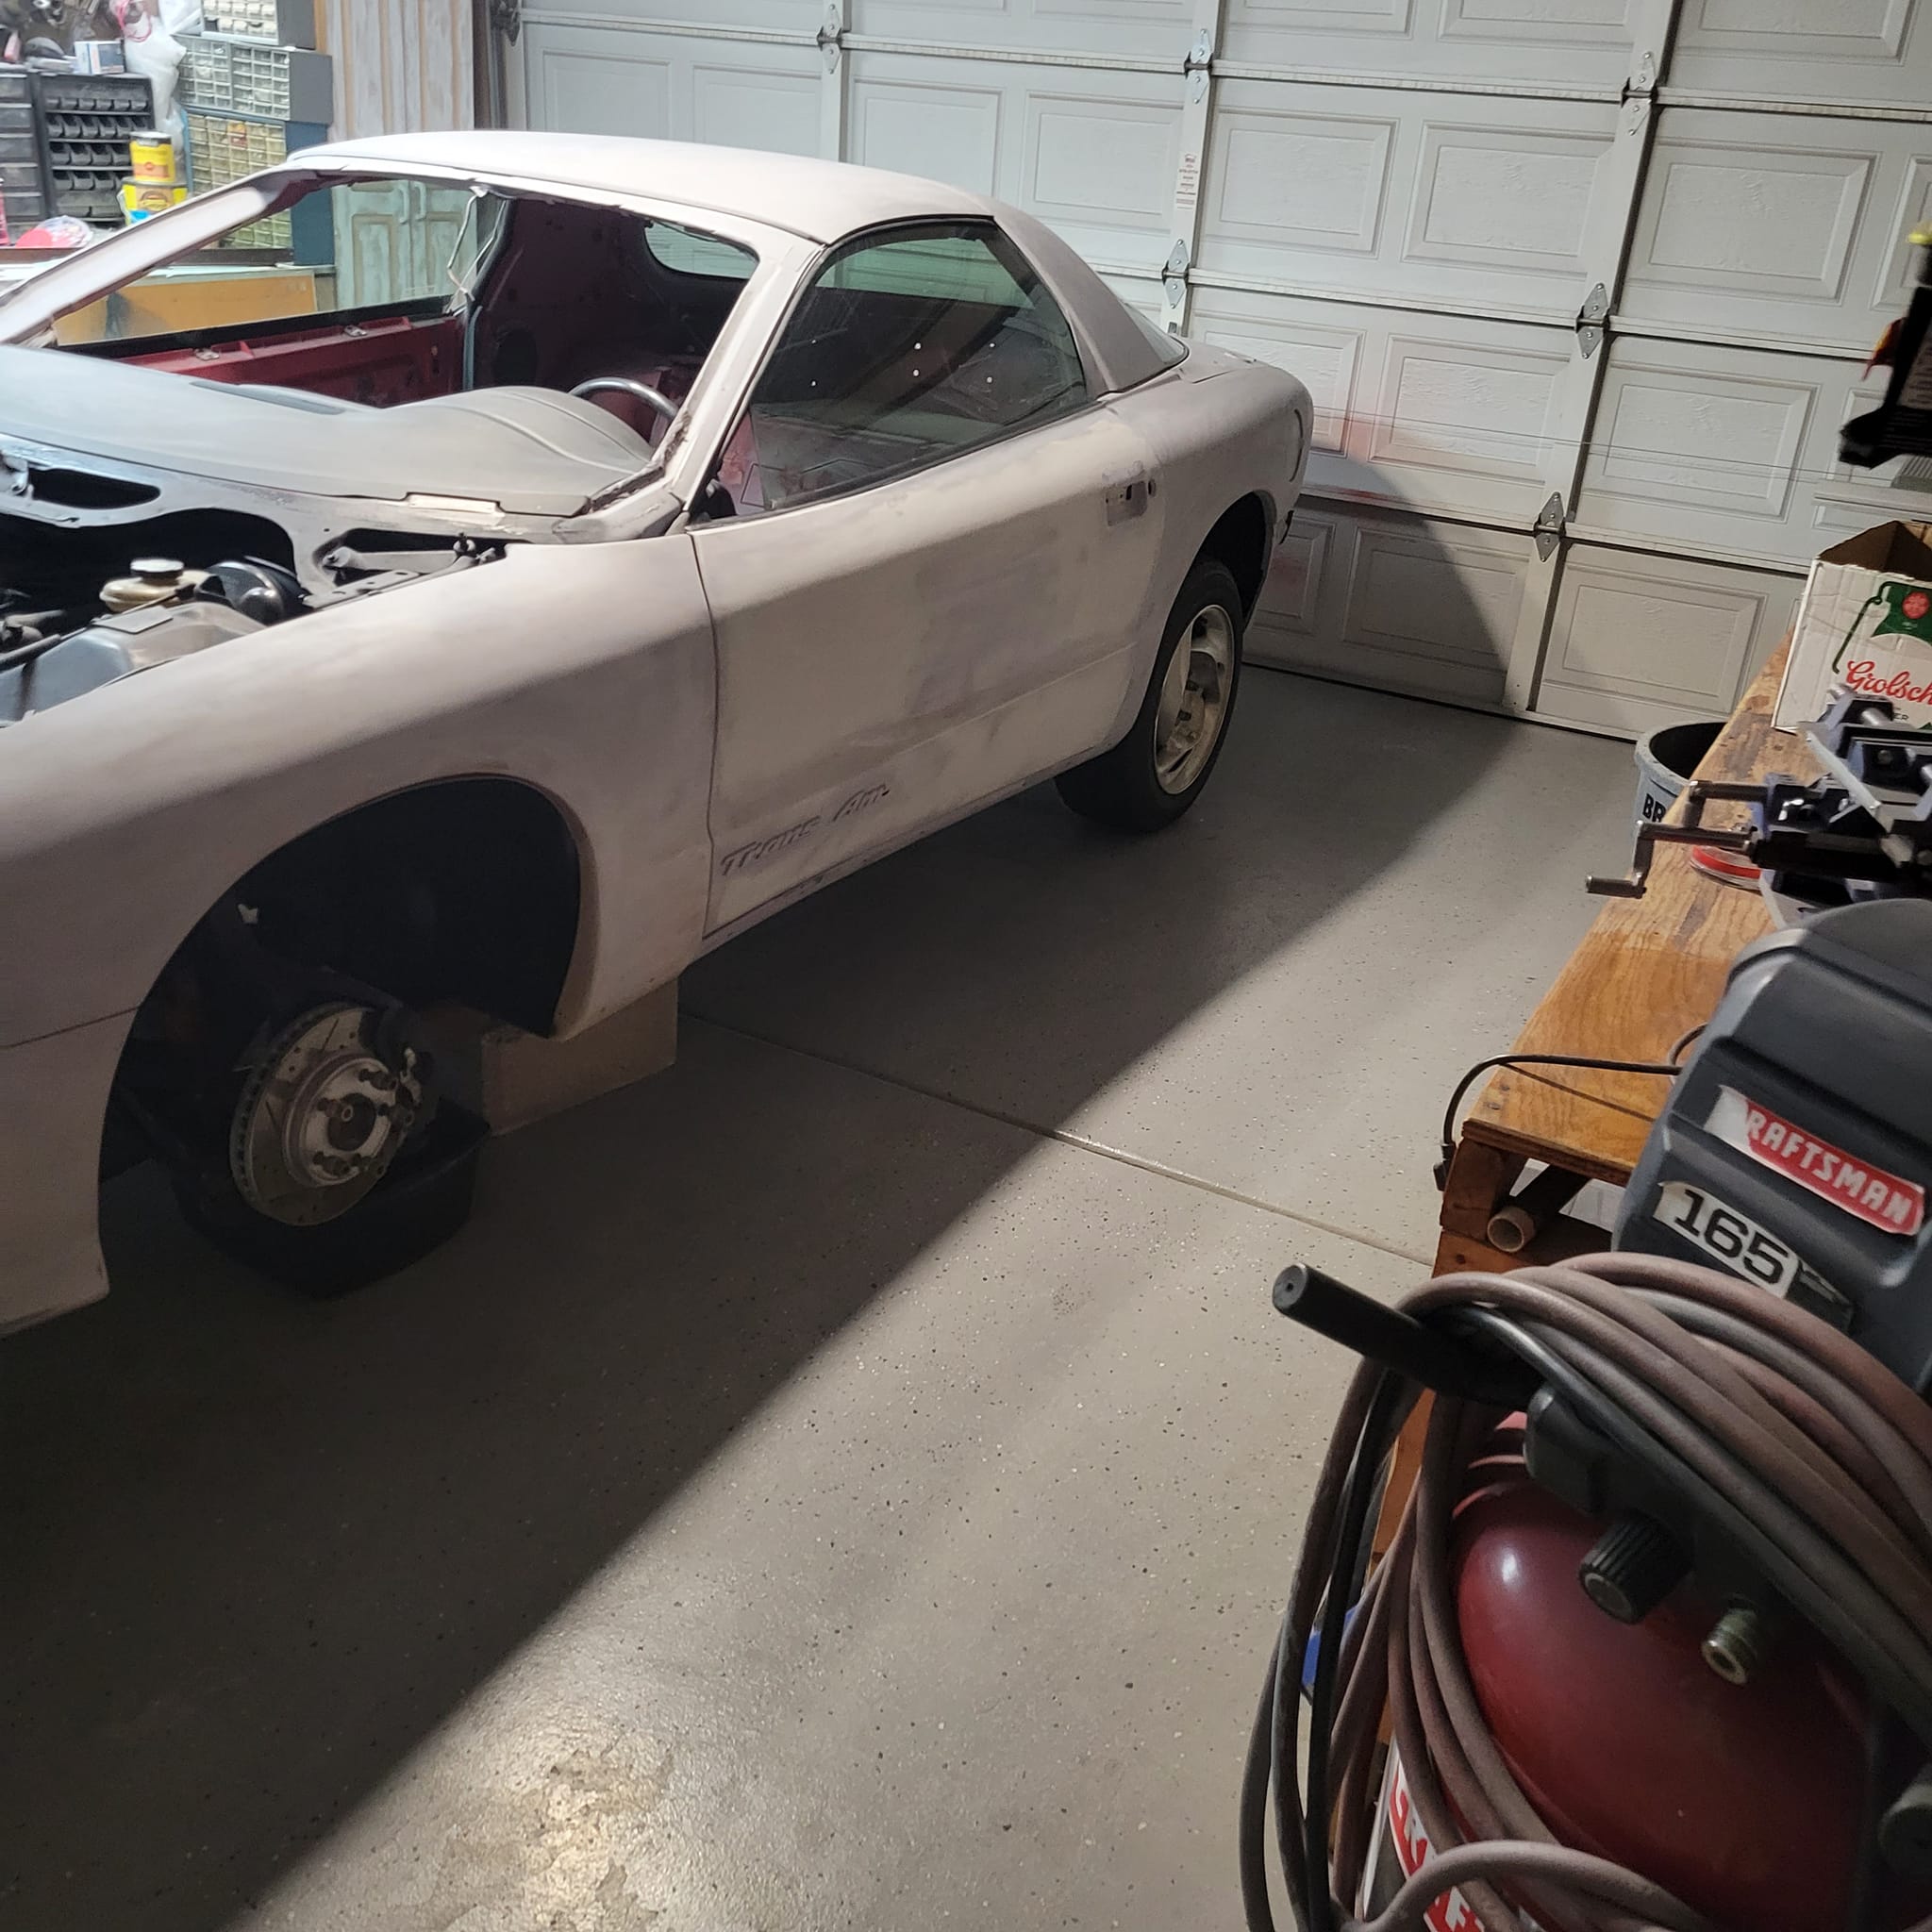
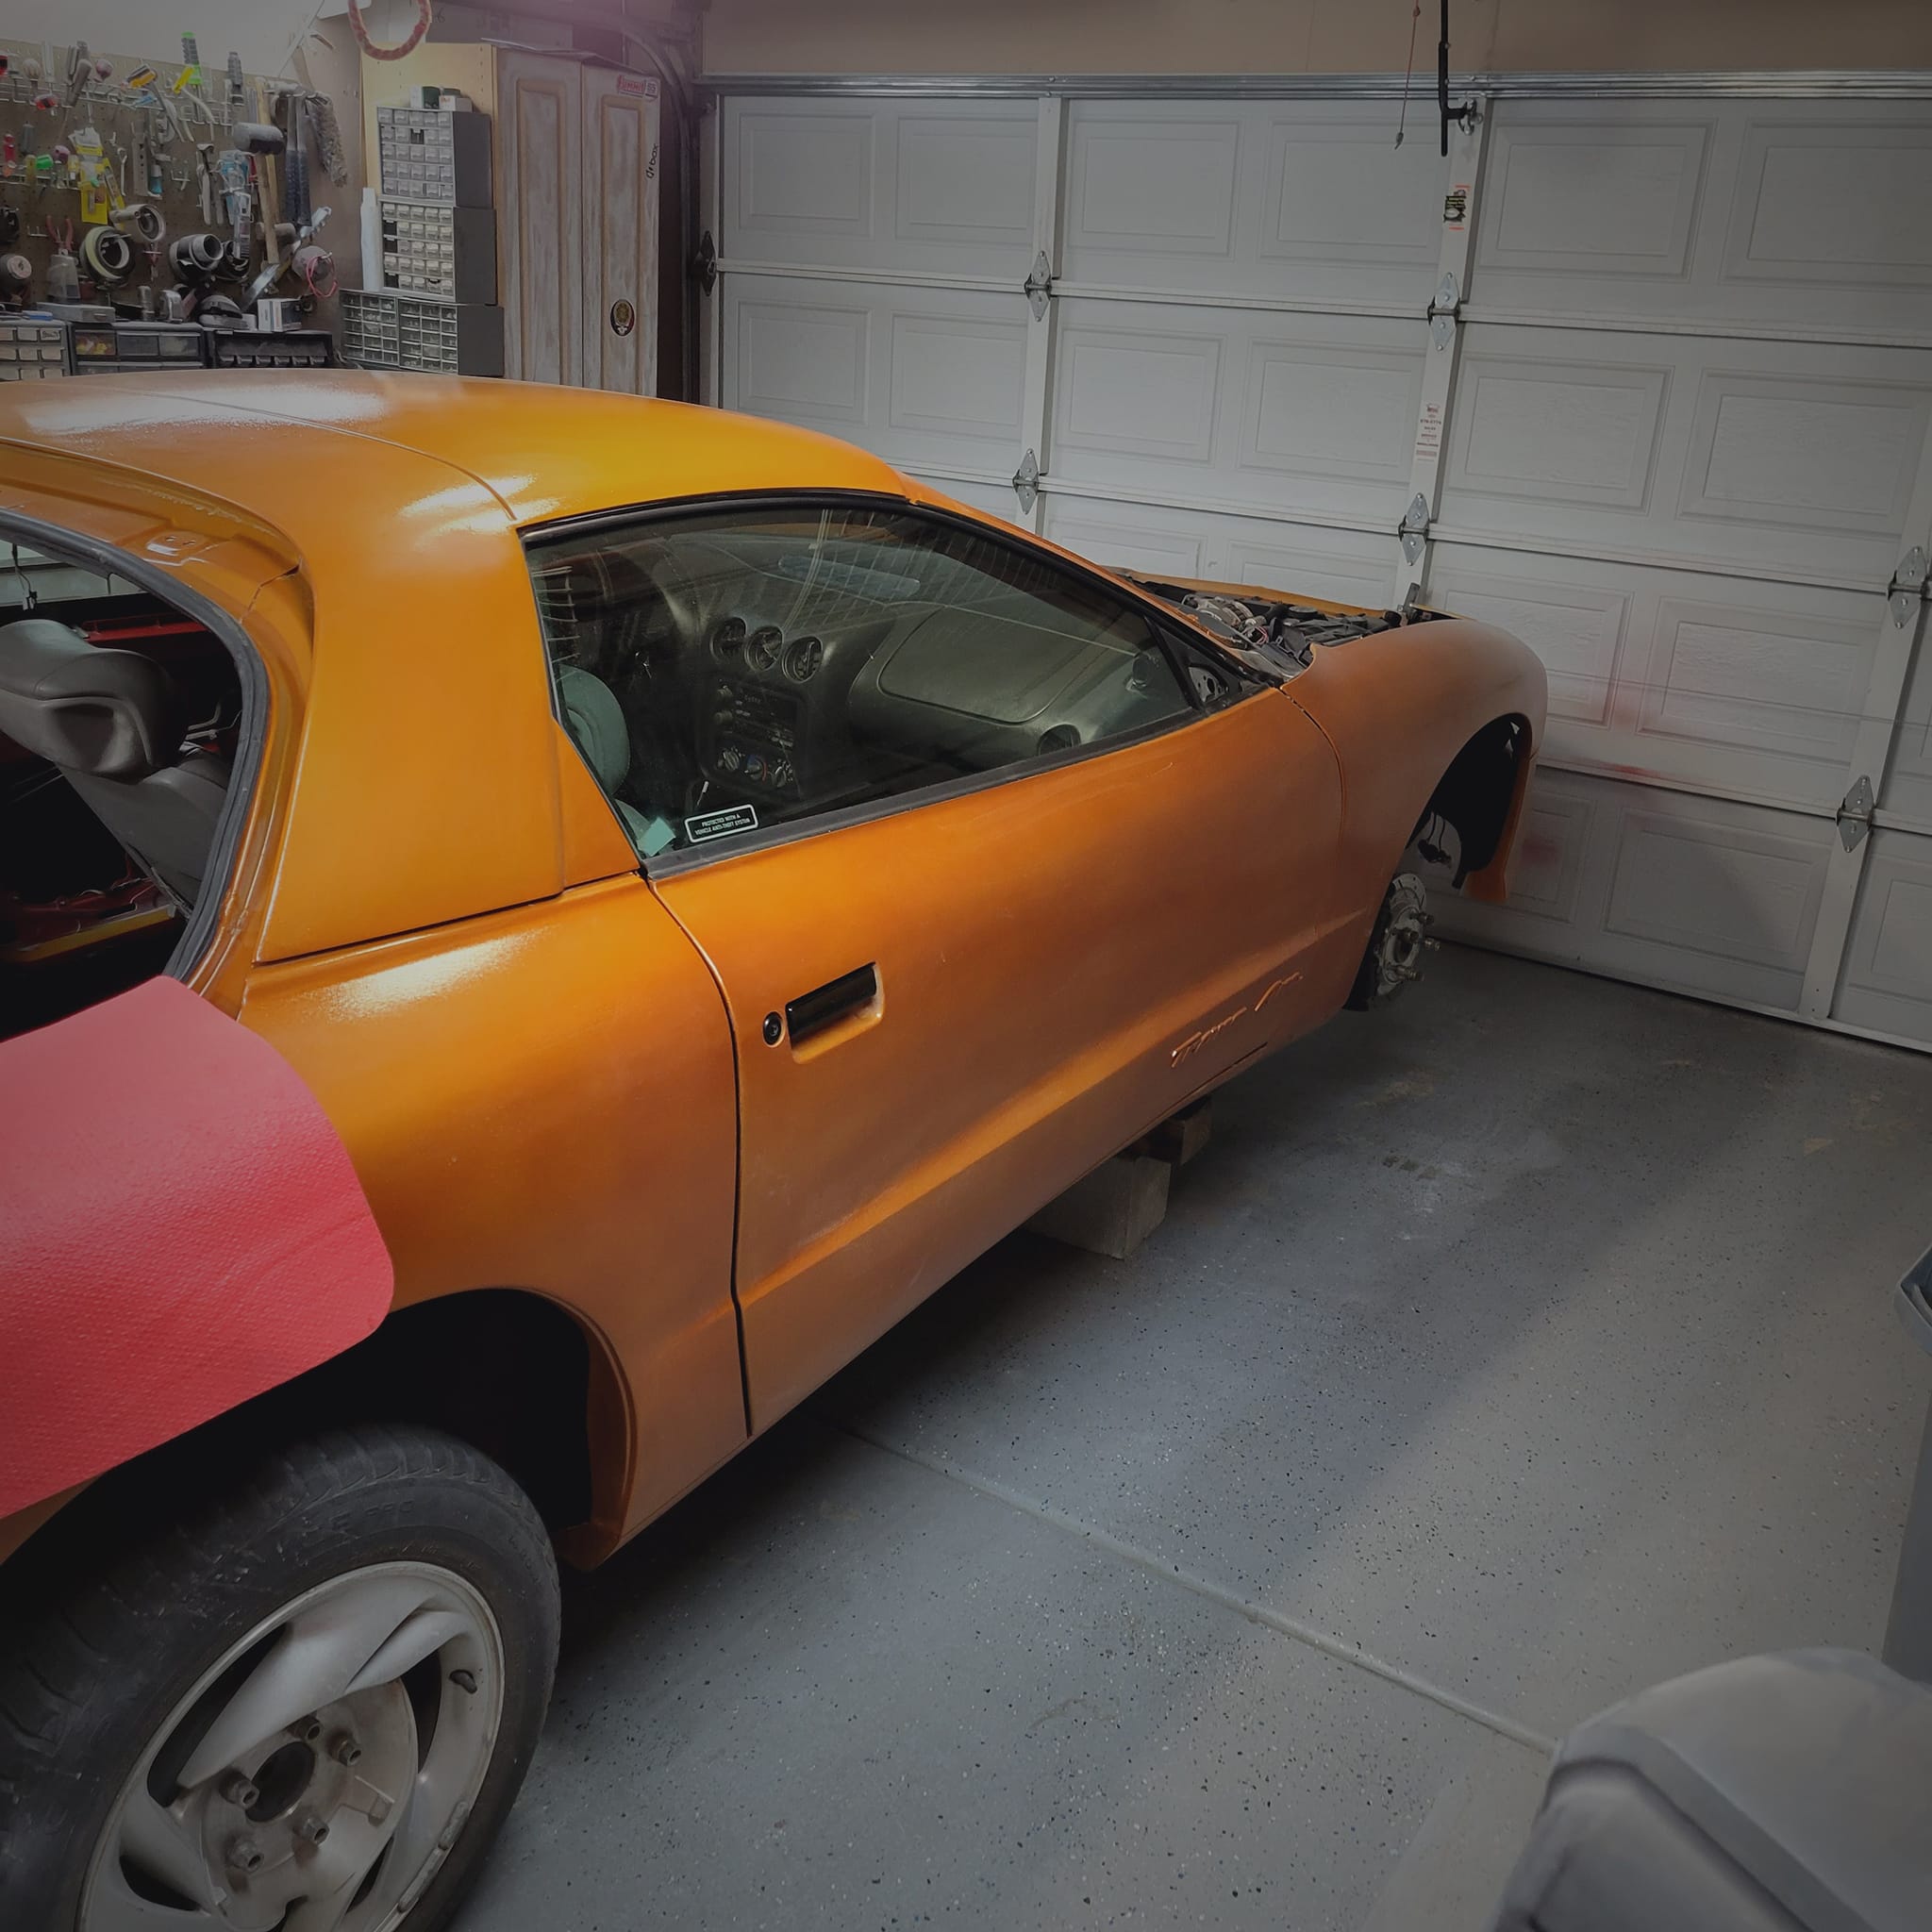
TA 2, day 21: Took it for a drive on all of the new rear end components (sitting on a cement block for a seat). Car sits up real nice now in the back, like it should, on the new shocks and springs. Zigs and zags like it should. No leaks from the gas tank installation (huge sigh of relief).
These wheels and tires will be replaced. They are just for moving the car around. Got some work to do on the right rear quarter panel:
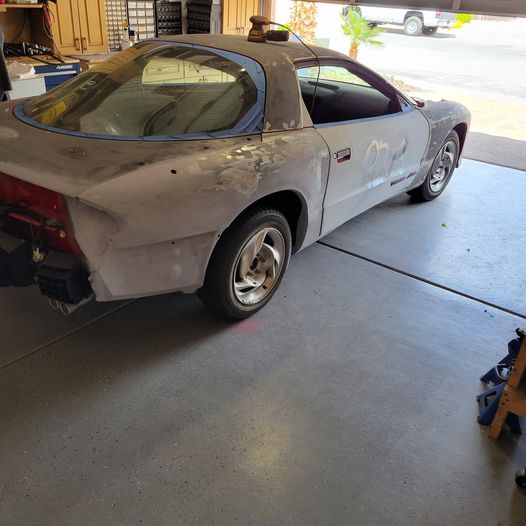
Backed it into the garage. Next up vallances, fog lights and signal housings coming out.
=====================================
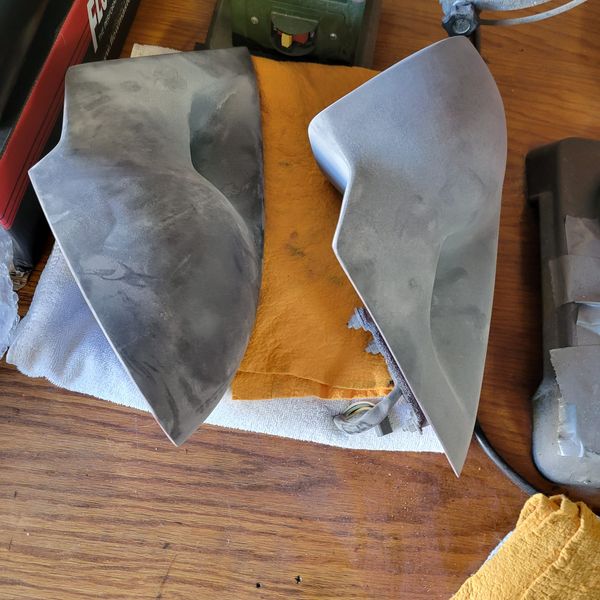
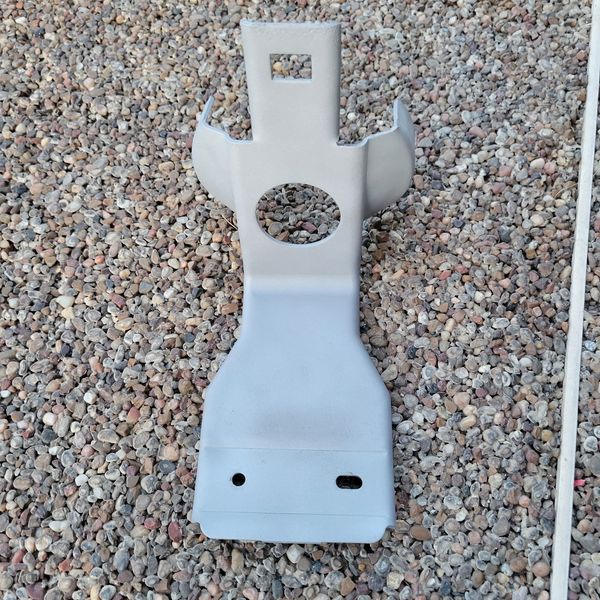
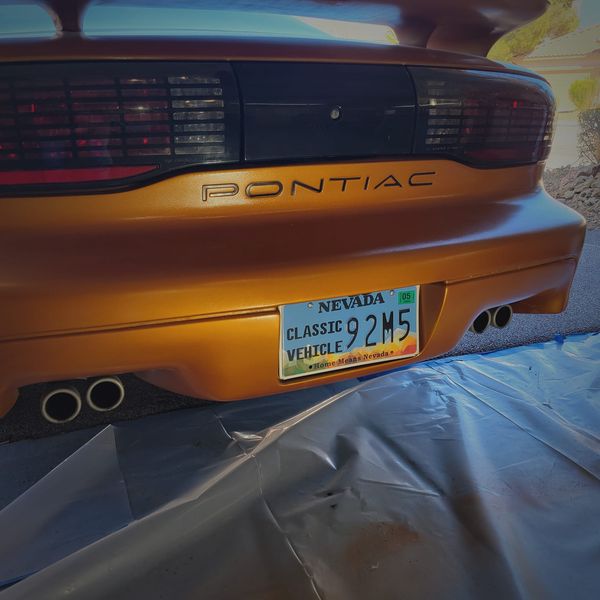
TA 2, day 22: Pulled fog lights and signal light housings. Broke the clear and started sanding the pockets. Took a detour and cleaned up 90% of the back bumper. Even took the time to clean those pesky corners and grooves behind the license plate with 120. Almost ready for finish sanding on those. Gaining serious ground:
Here is a before sand blasting and after sand blasting image of how they cleaned up:
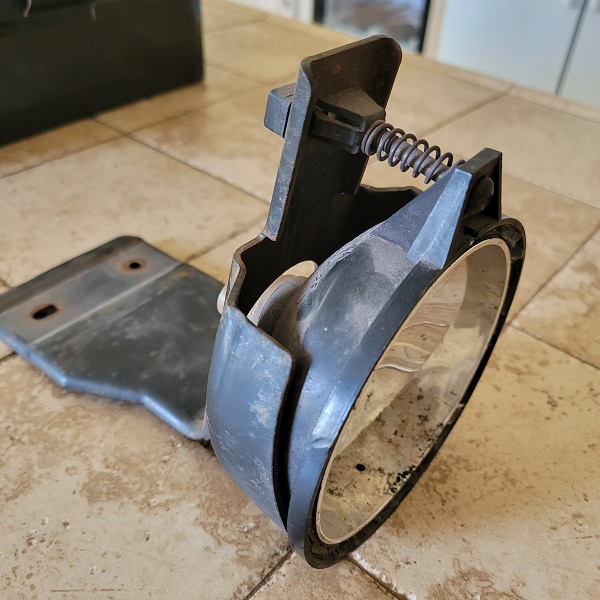
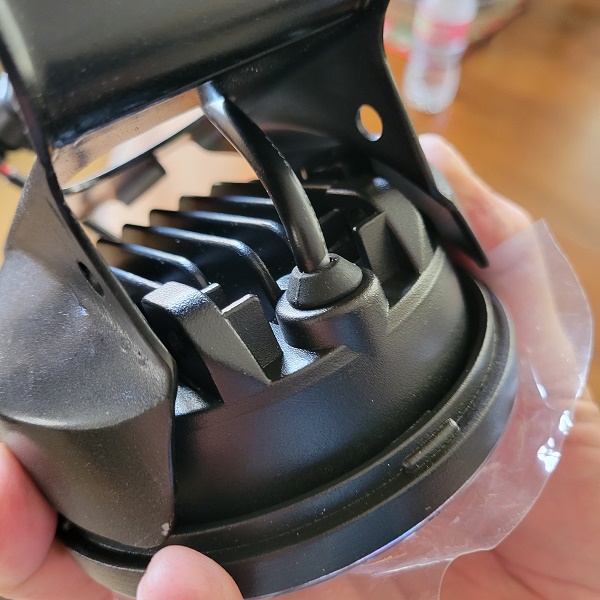
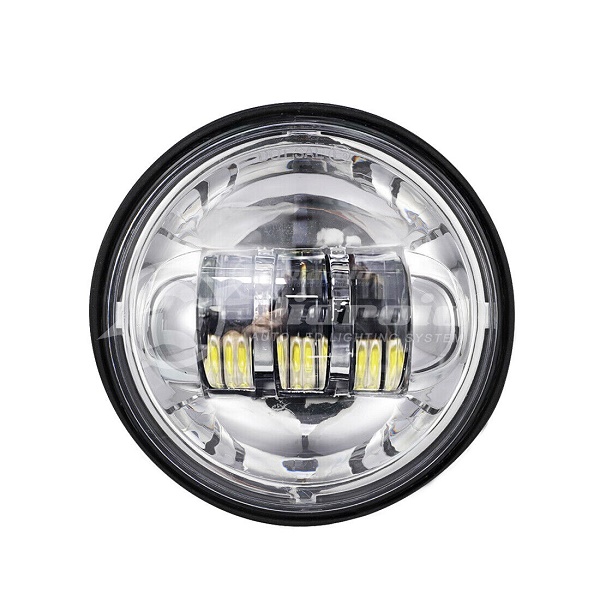
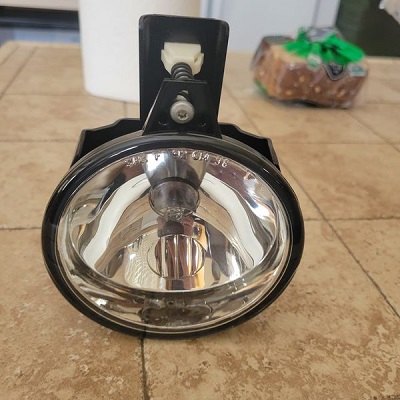
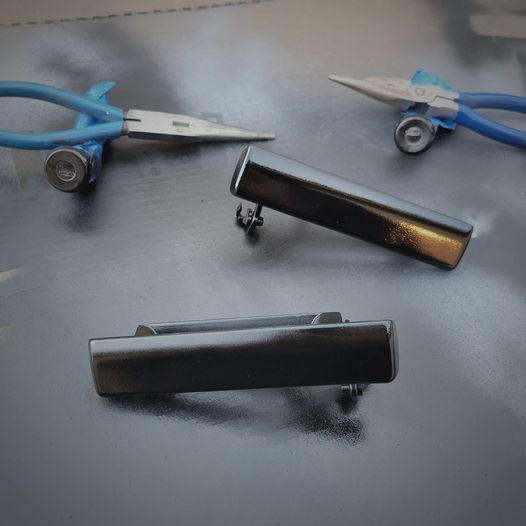
Below are the new LED fog lights that I had planned to install into my old restored brackets. I bought them and they do not fit a 93 Pontiac Trans Am OEM bracket. Typical aftermarket crap. The OEM ones have a 2 point pivot mount and a 3rd mount for vertical adjustment screw.
The aftermarket one has only the two point pivot mount and no provision for the adjusting screw.
Any engineer worth his salt knows 2 point mounting is a pivot. You can't mount a part rotationally secure without 3 attachment points of some sort.
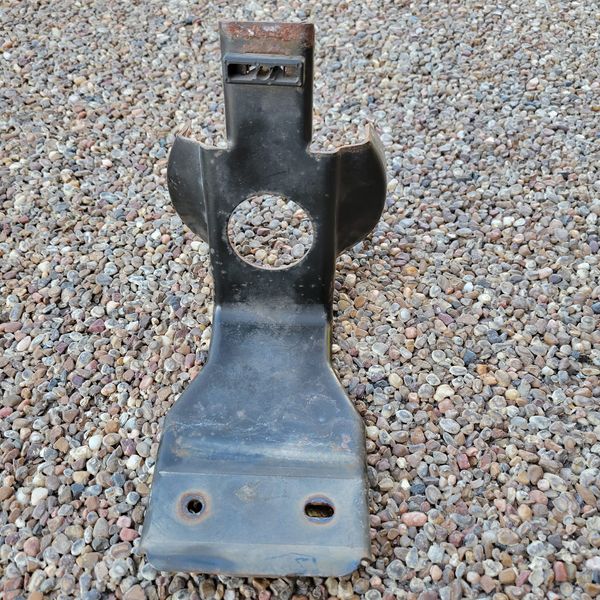
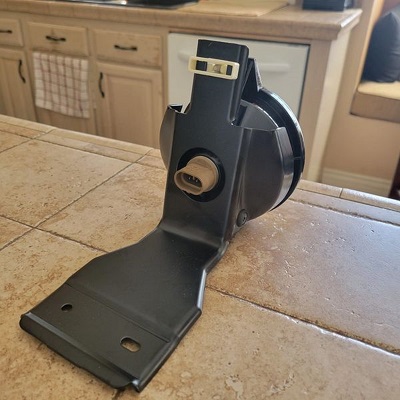
This is what an OEM bracket looks like, with the adjusting screw (3rd attachment point):
=====================================
This is the aftermarket part on a restored OEM bracket (pivot mounting holes over 1/2" off when light is fully inserted and no adjusting screw provision):
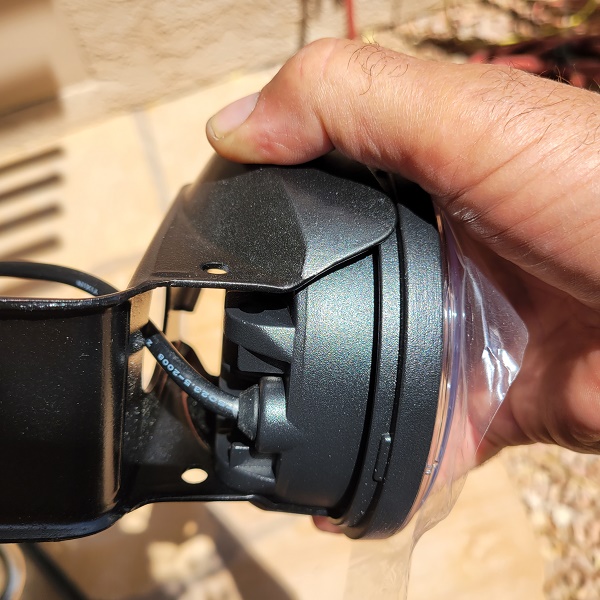
=====================================
Do not buy these for a 93 TA:
Currently for sale on ebay for $31.49 each when you buy 2 (06 May 2023). Link here: For Pontiac Firebird Trans Am 1993-2002 4.5" LED Spot Passing Fog Lights Lamp | eBay
======================================
The search continues for fog lights.
======================================
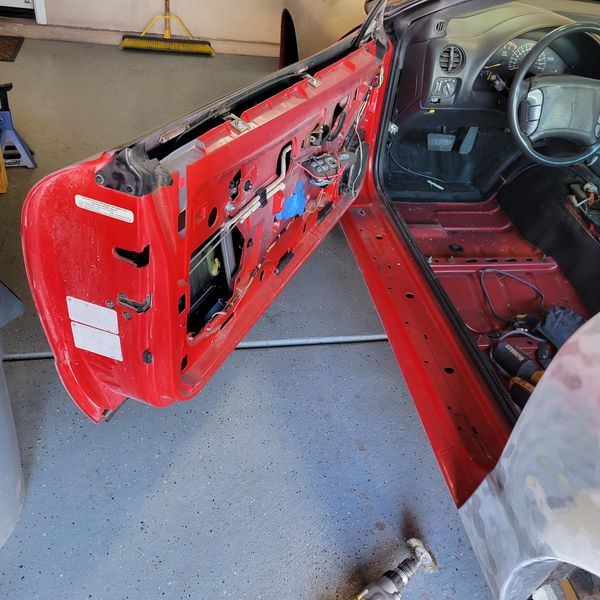
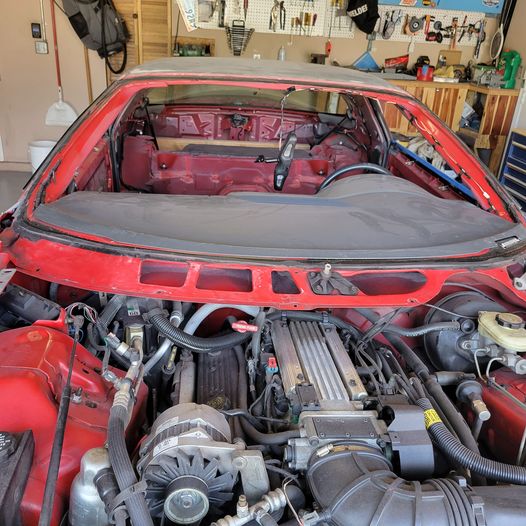
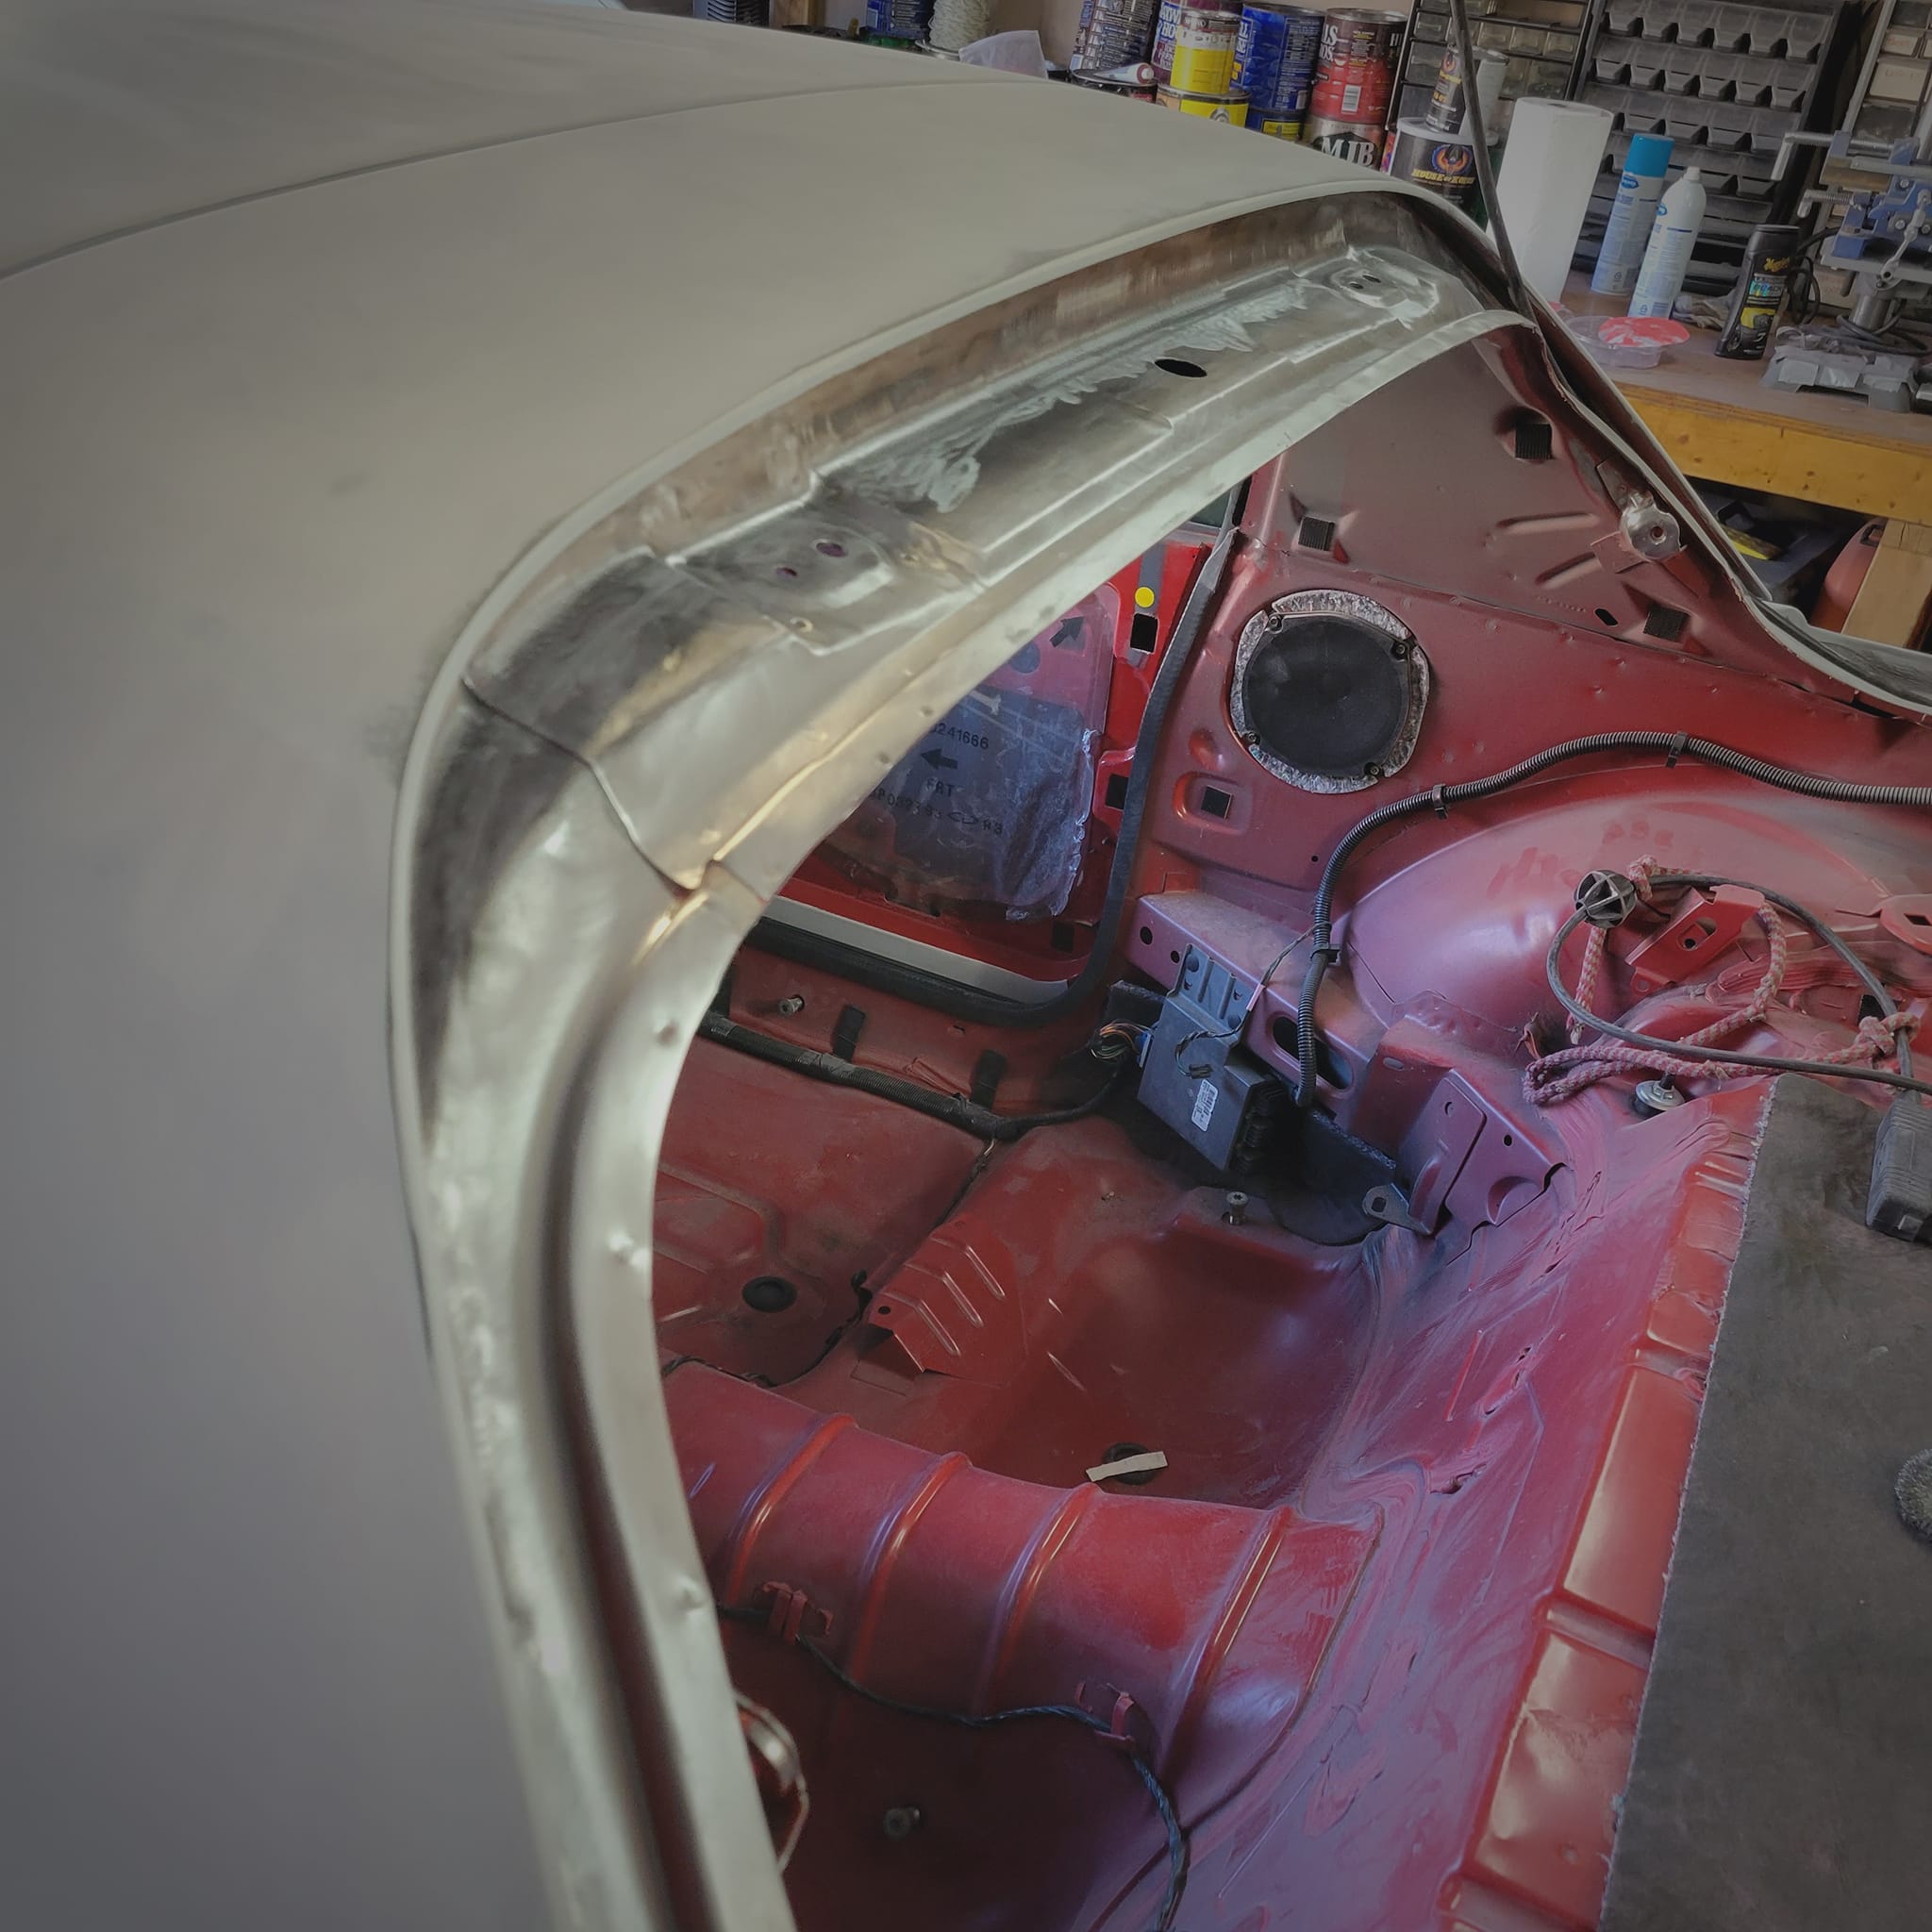
TA 2, Day 23: We pulled the windshield out and chucked it. Pro tip: When removing a windshield rubber seal, take a hand torch and heat up a stiff putty knife. It will cut through that tough rubber seal like butter.
Windshield out:
======================================
This car had real lousy brakes when i bought it. I put good ceramic ones on and it still was less than ideal. I figured out it had a worn out brake booster.
I bought a new one about 6 months ago and couldn't get the old one off without taking half the car apart so left it on a shelf.
Now that the windshield, wiper asm's and such are all off the car, I see a big body cutout there for taking that brake booster out (right side of image above).
It is coming out next and the new one is going in, while I have the clearance to do it easily.
=============================================
93 Trans Am, TA 2, day 24 restoration video:
=============================================
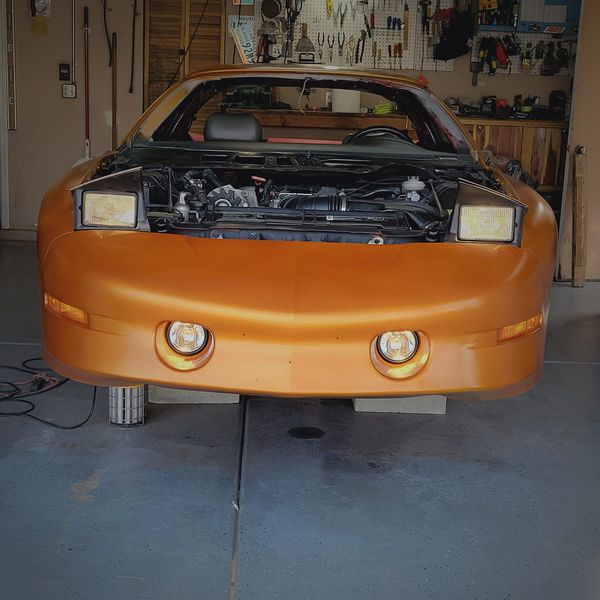
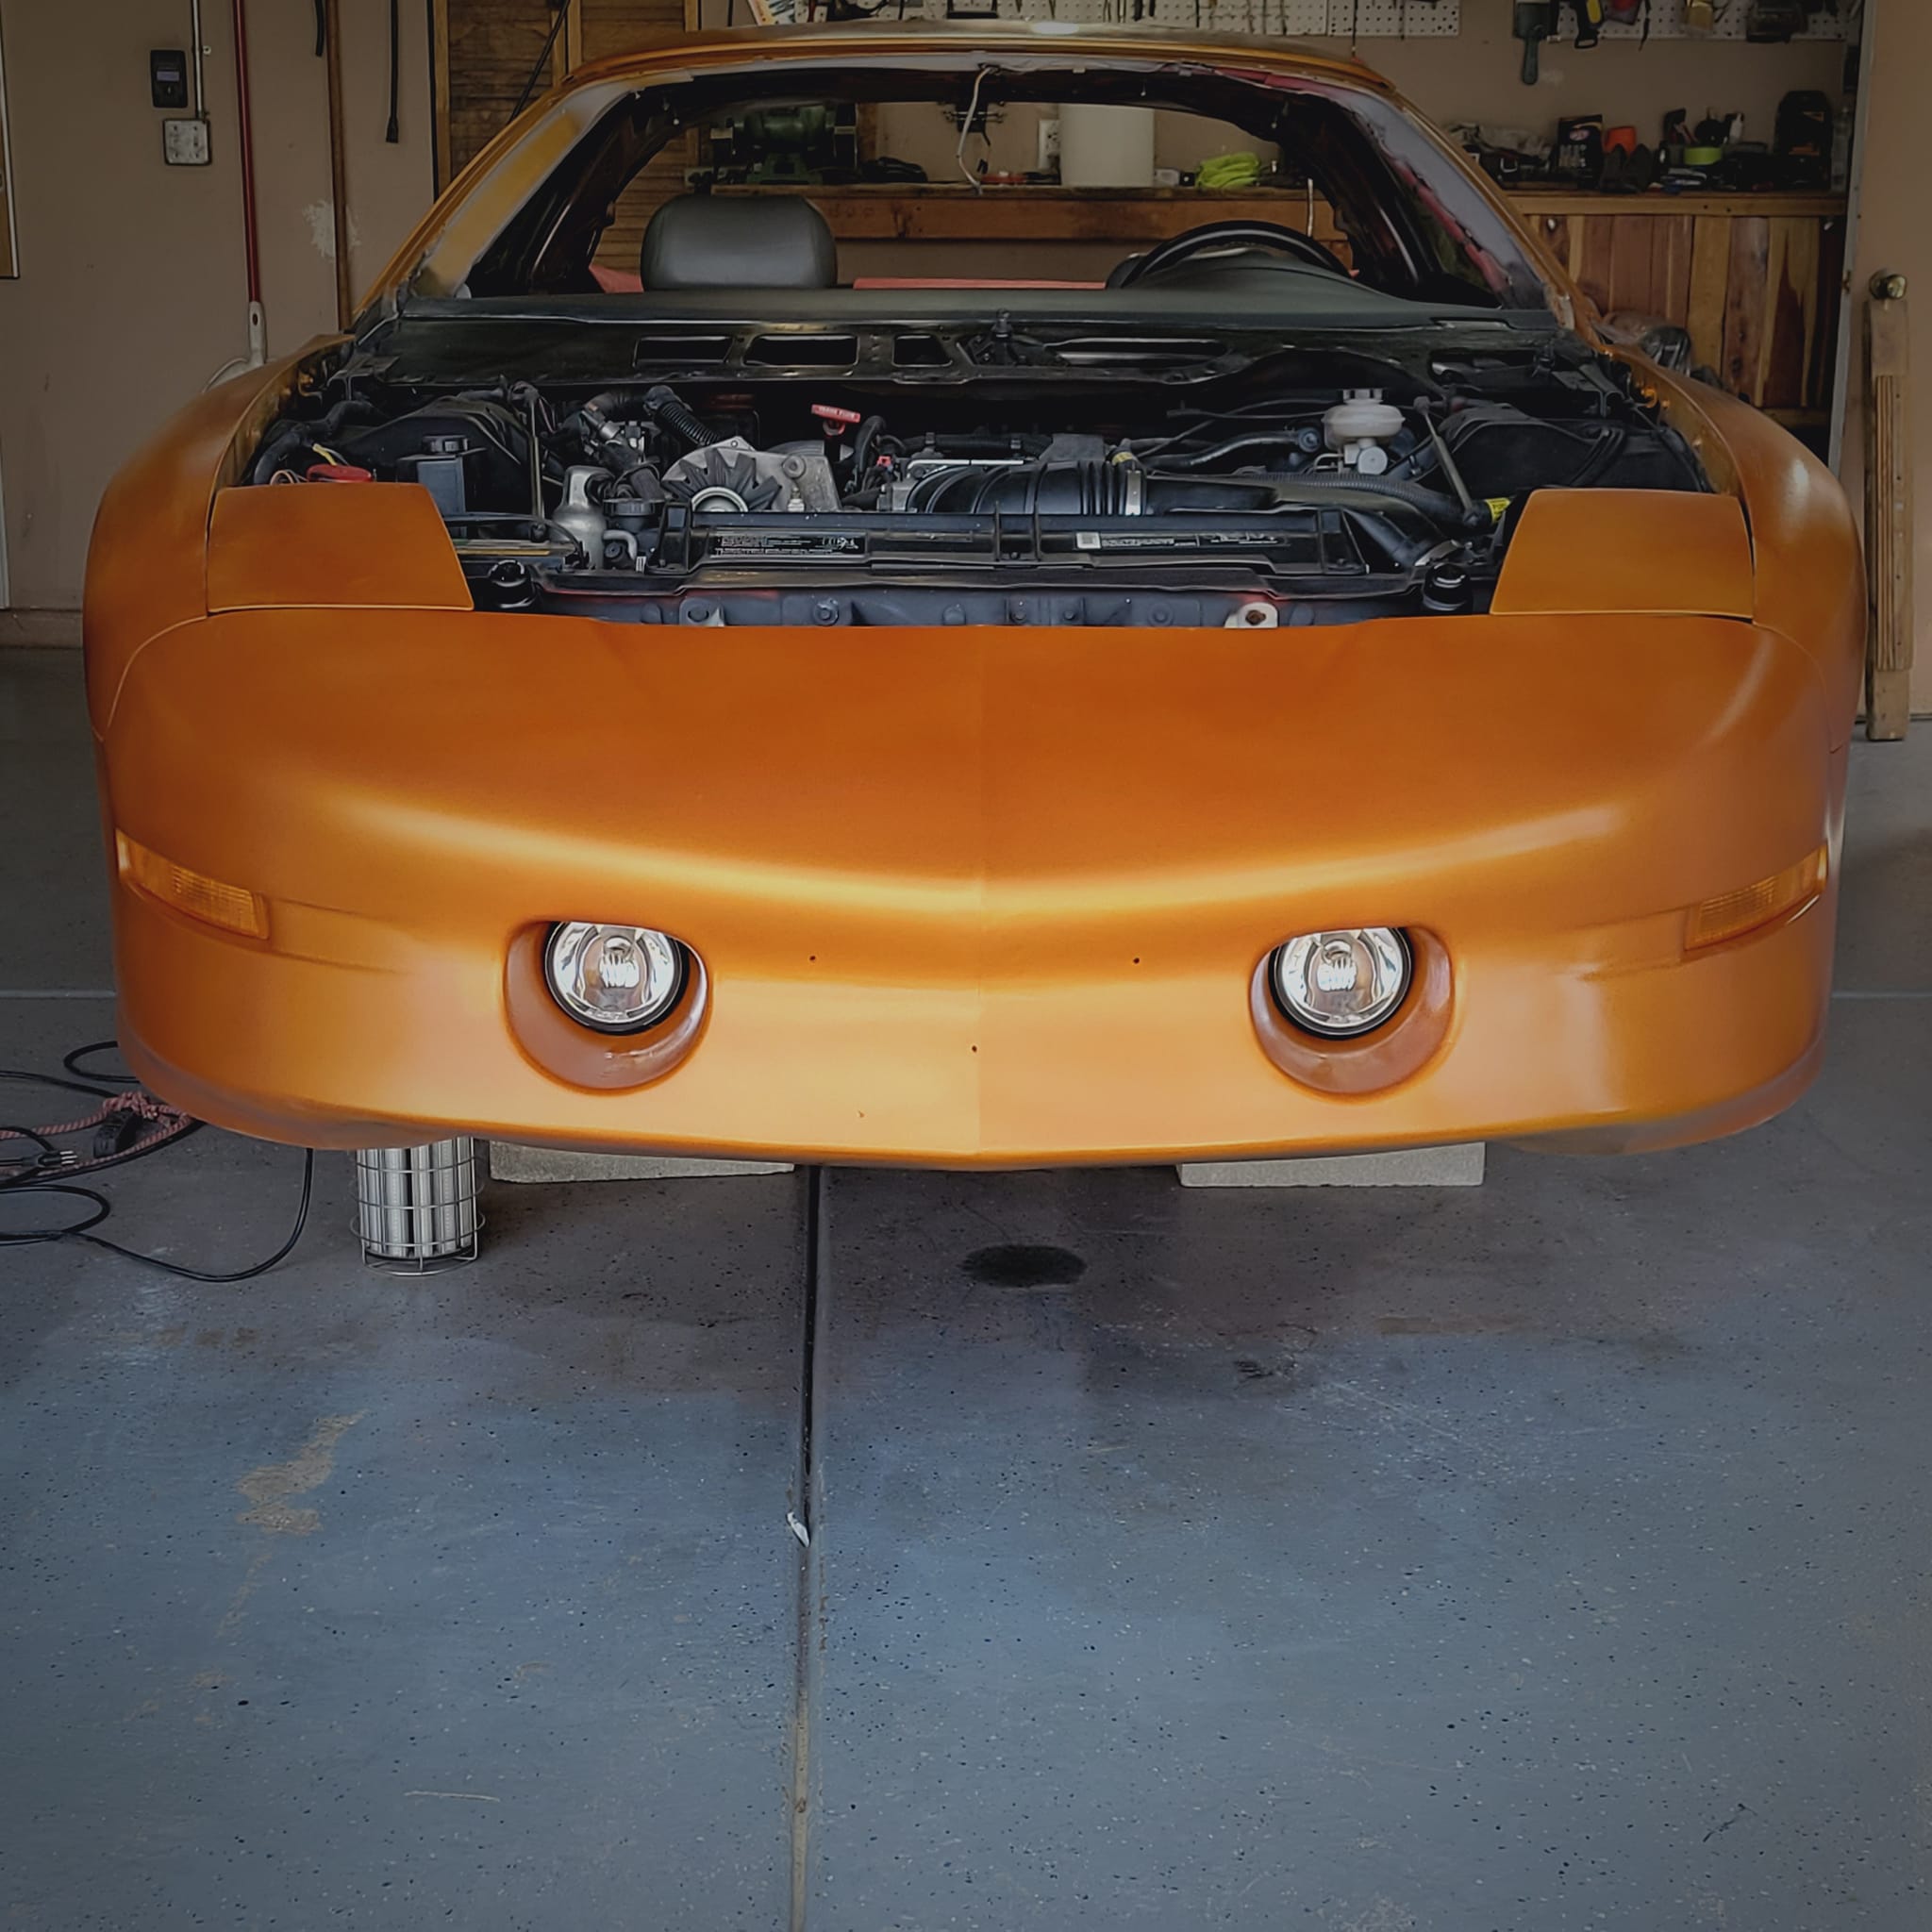
TA 2, day 25: Finished sanding the fog light pockets. Filled in some dings and slopped on 1st light coat of primer to get it all one color. Whole car will get gun painted with primer and sealer in a couple of weeks. Lot still to do before that. Main concern today was to cover the clean bare metal spots.
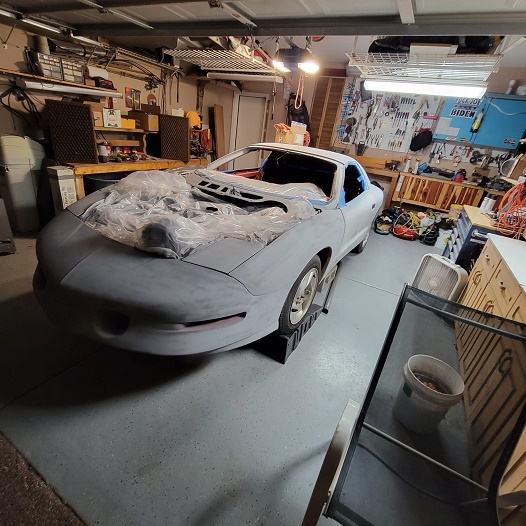
=============================================
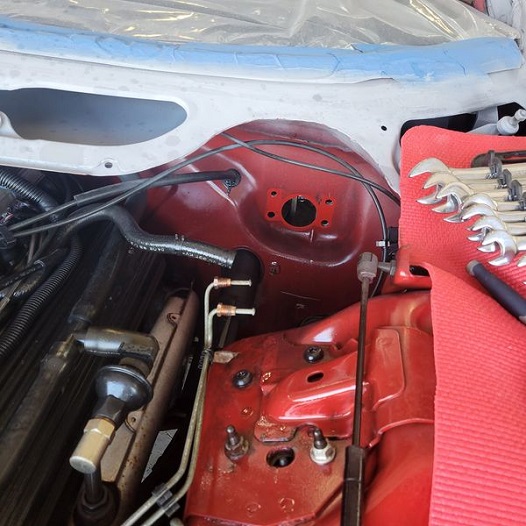
TA2, DAY 26: Removed brake booster and installed new one. No small task. Did more body work.
New brake booster removed:
=============================================
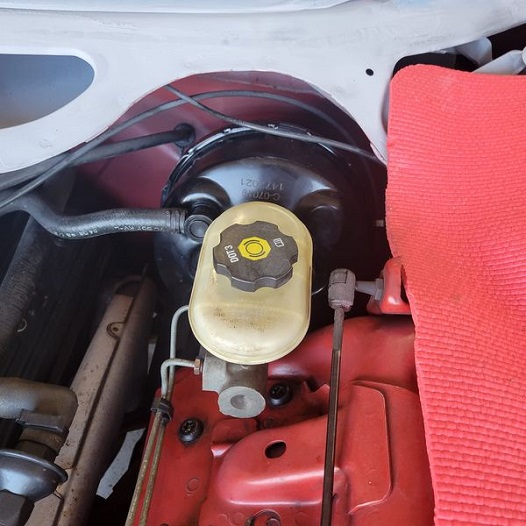
New brake booster installed:
=============================================
TA 2, Day 27:
Walking on sunshine --> Brand new 30 year old GM 93 TA OEM fog lights. Two at $47.00 each, delivered.
=============================================
TA 2, Day 27 video: movies/ta_2_day_27_video_1.mp4
=============================================
TA 2, day 28 video: movies/ta_2_day_28_video_1.mp4
=============================================
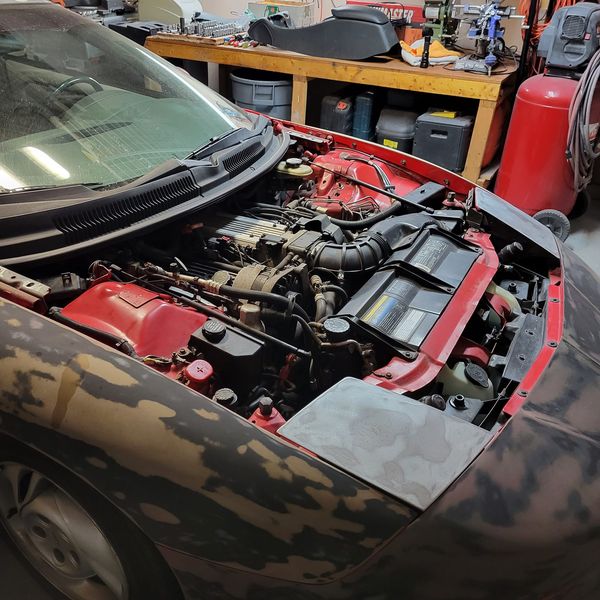
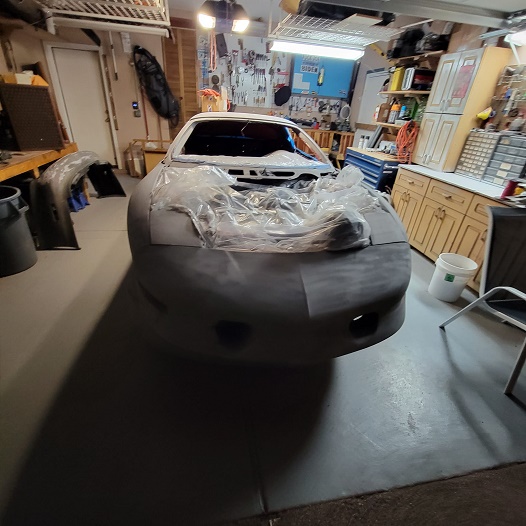
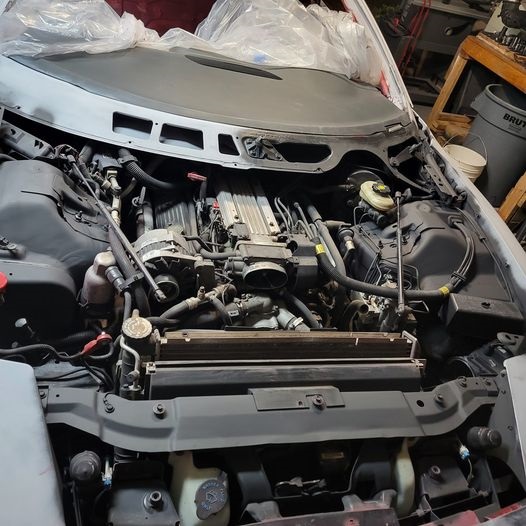
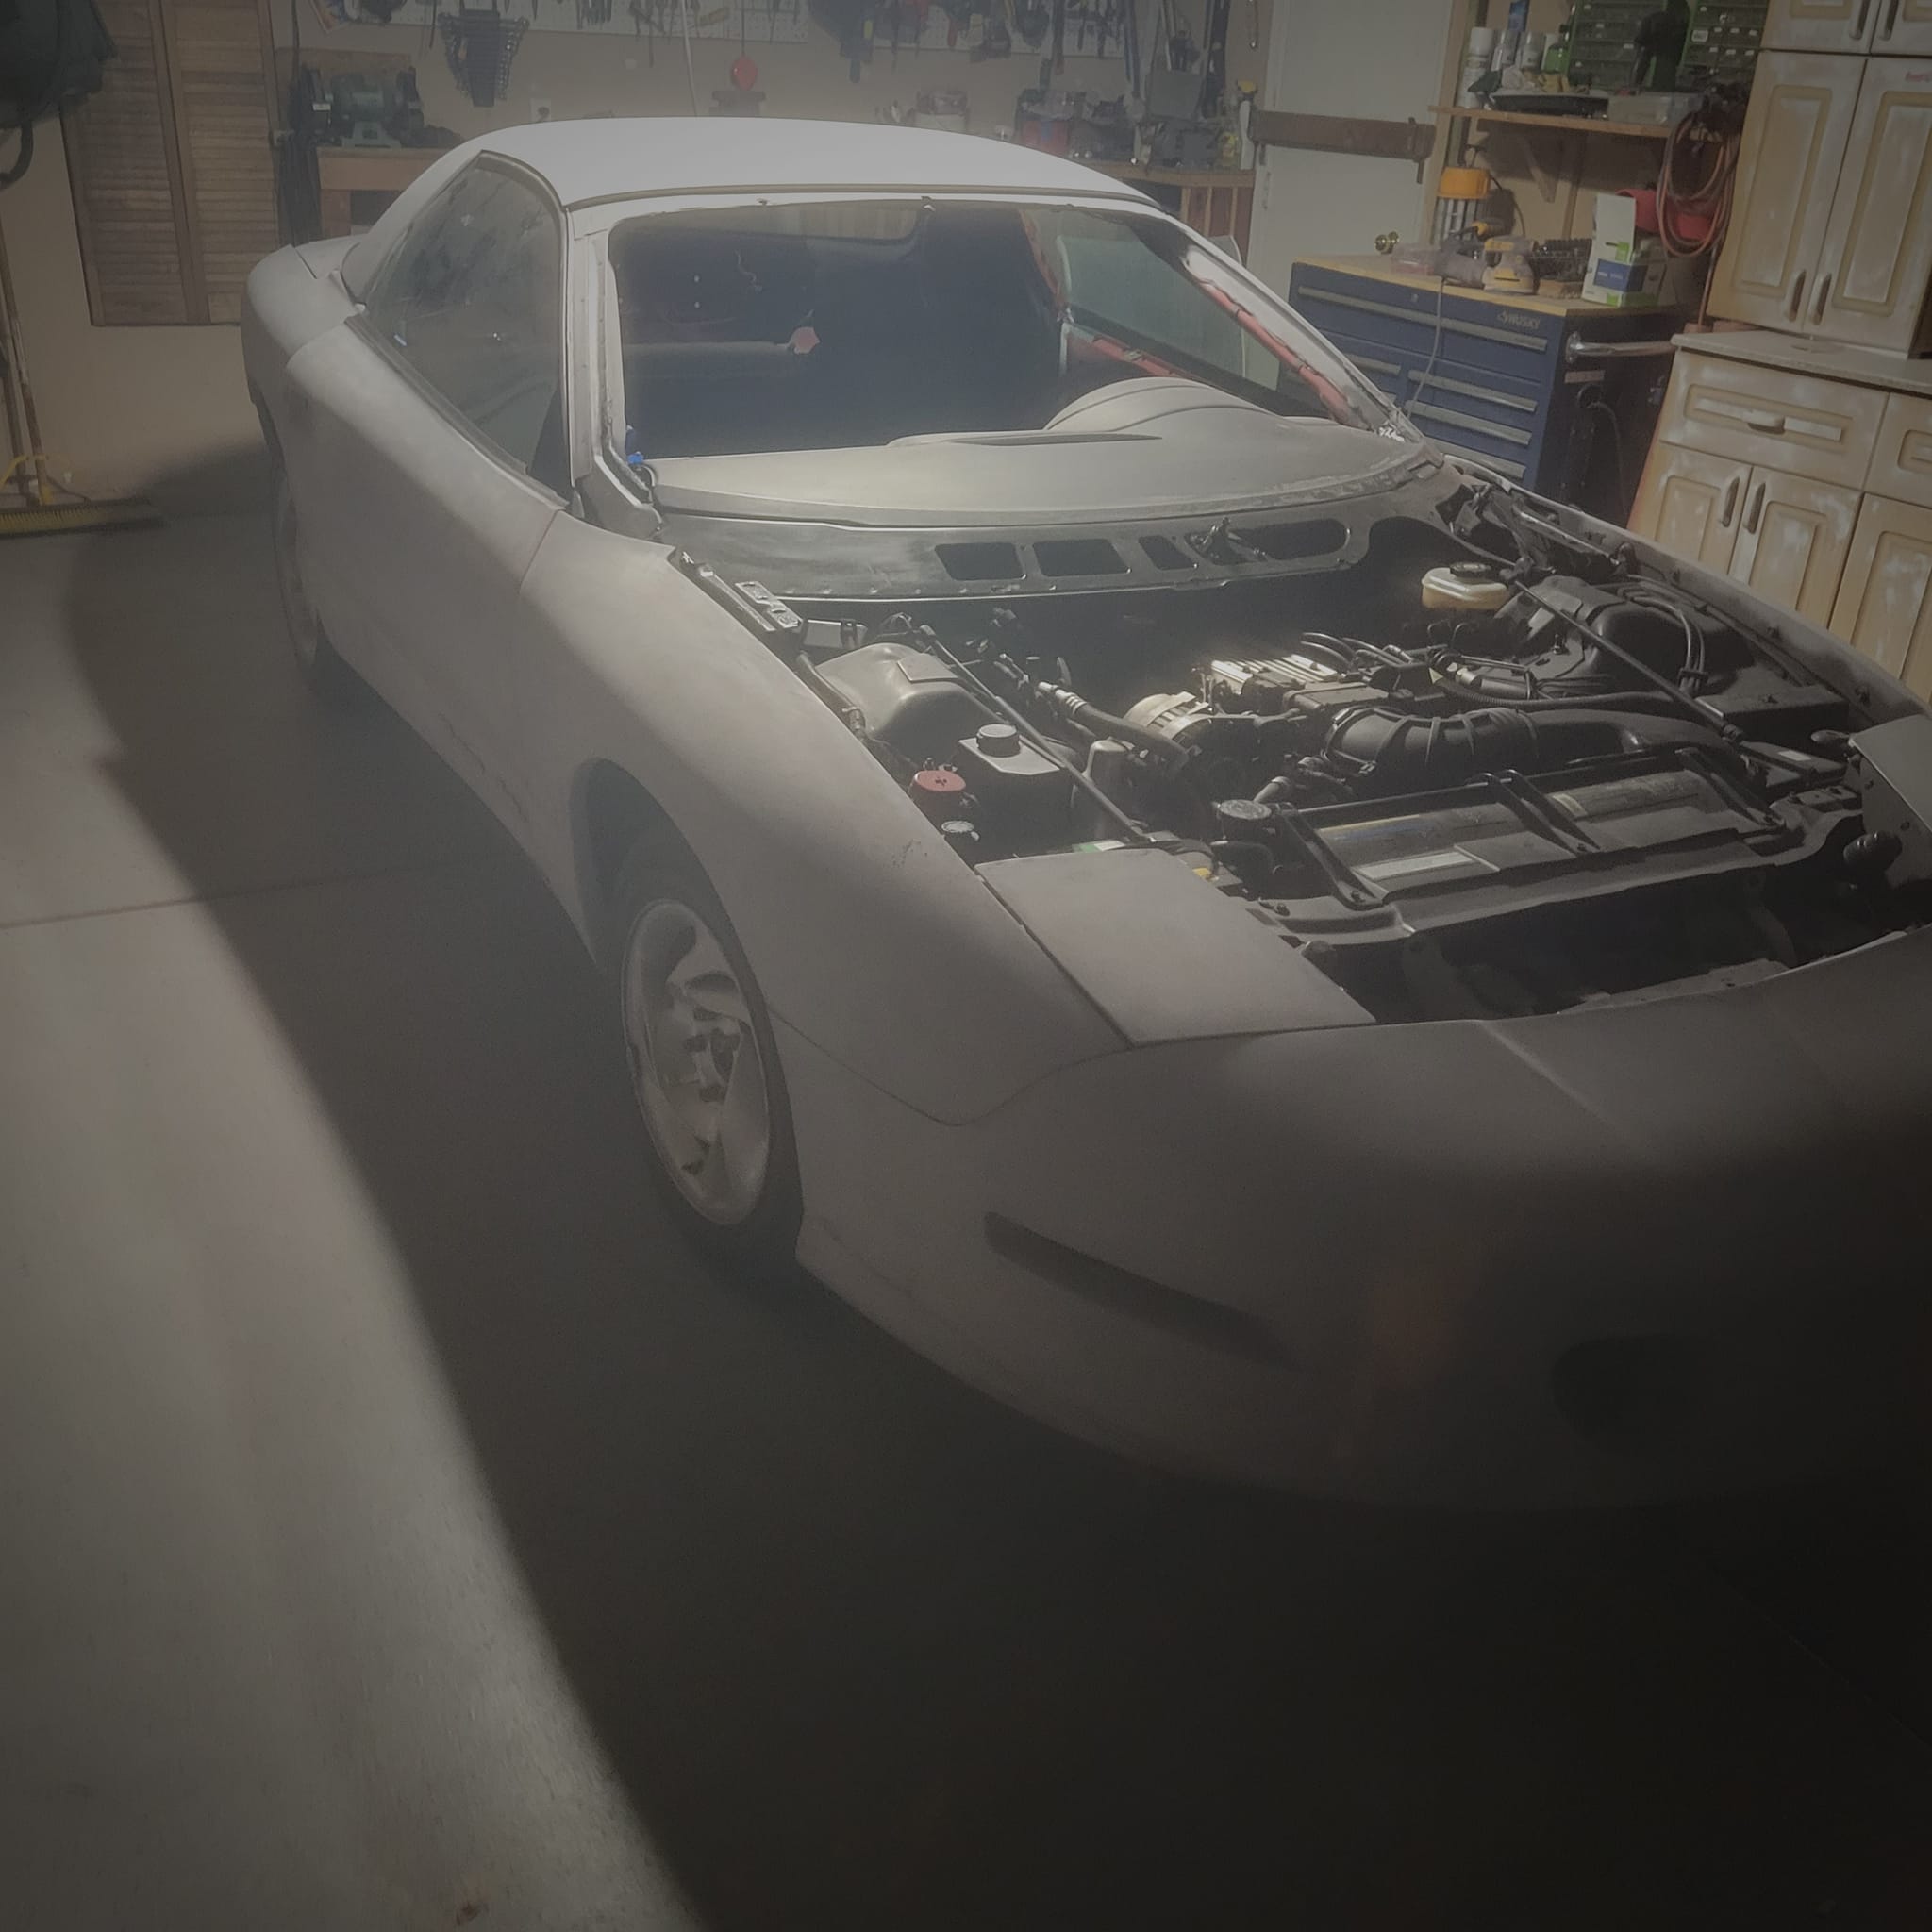
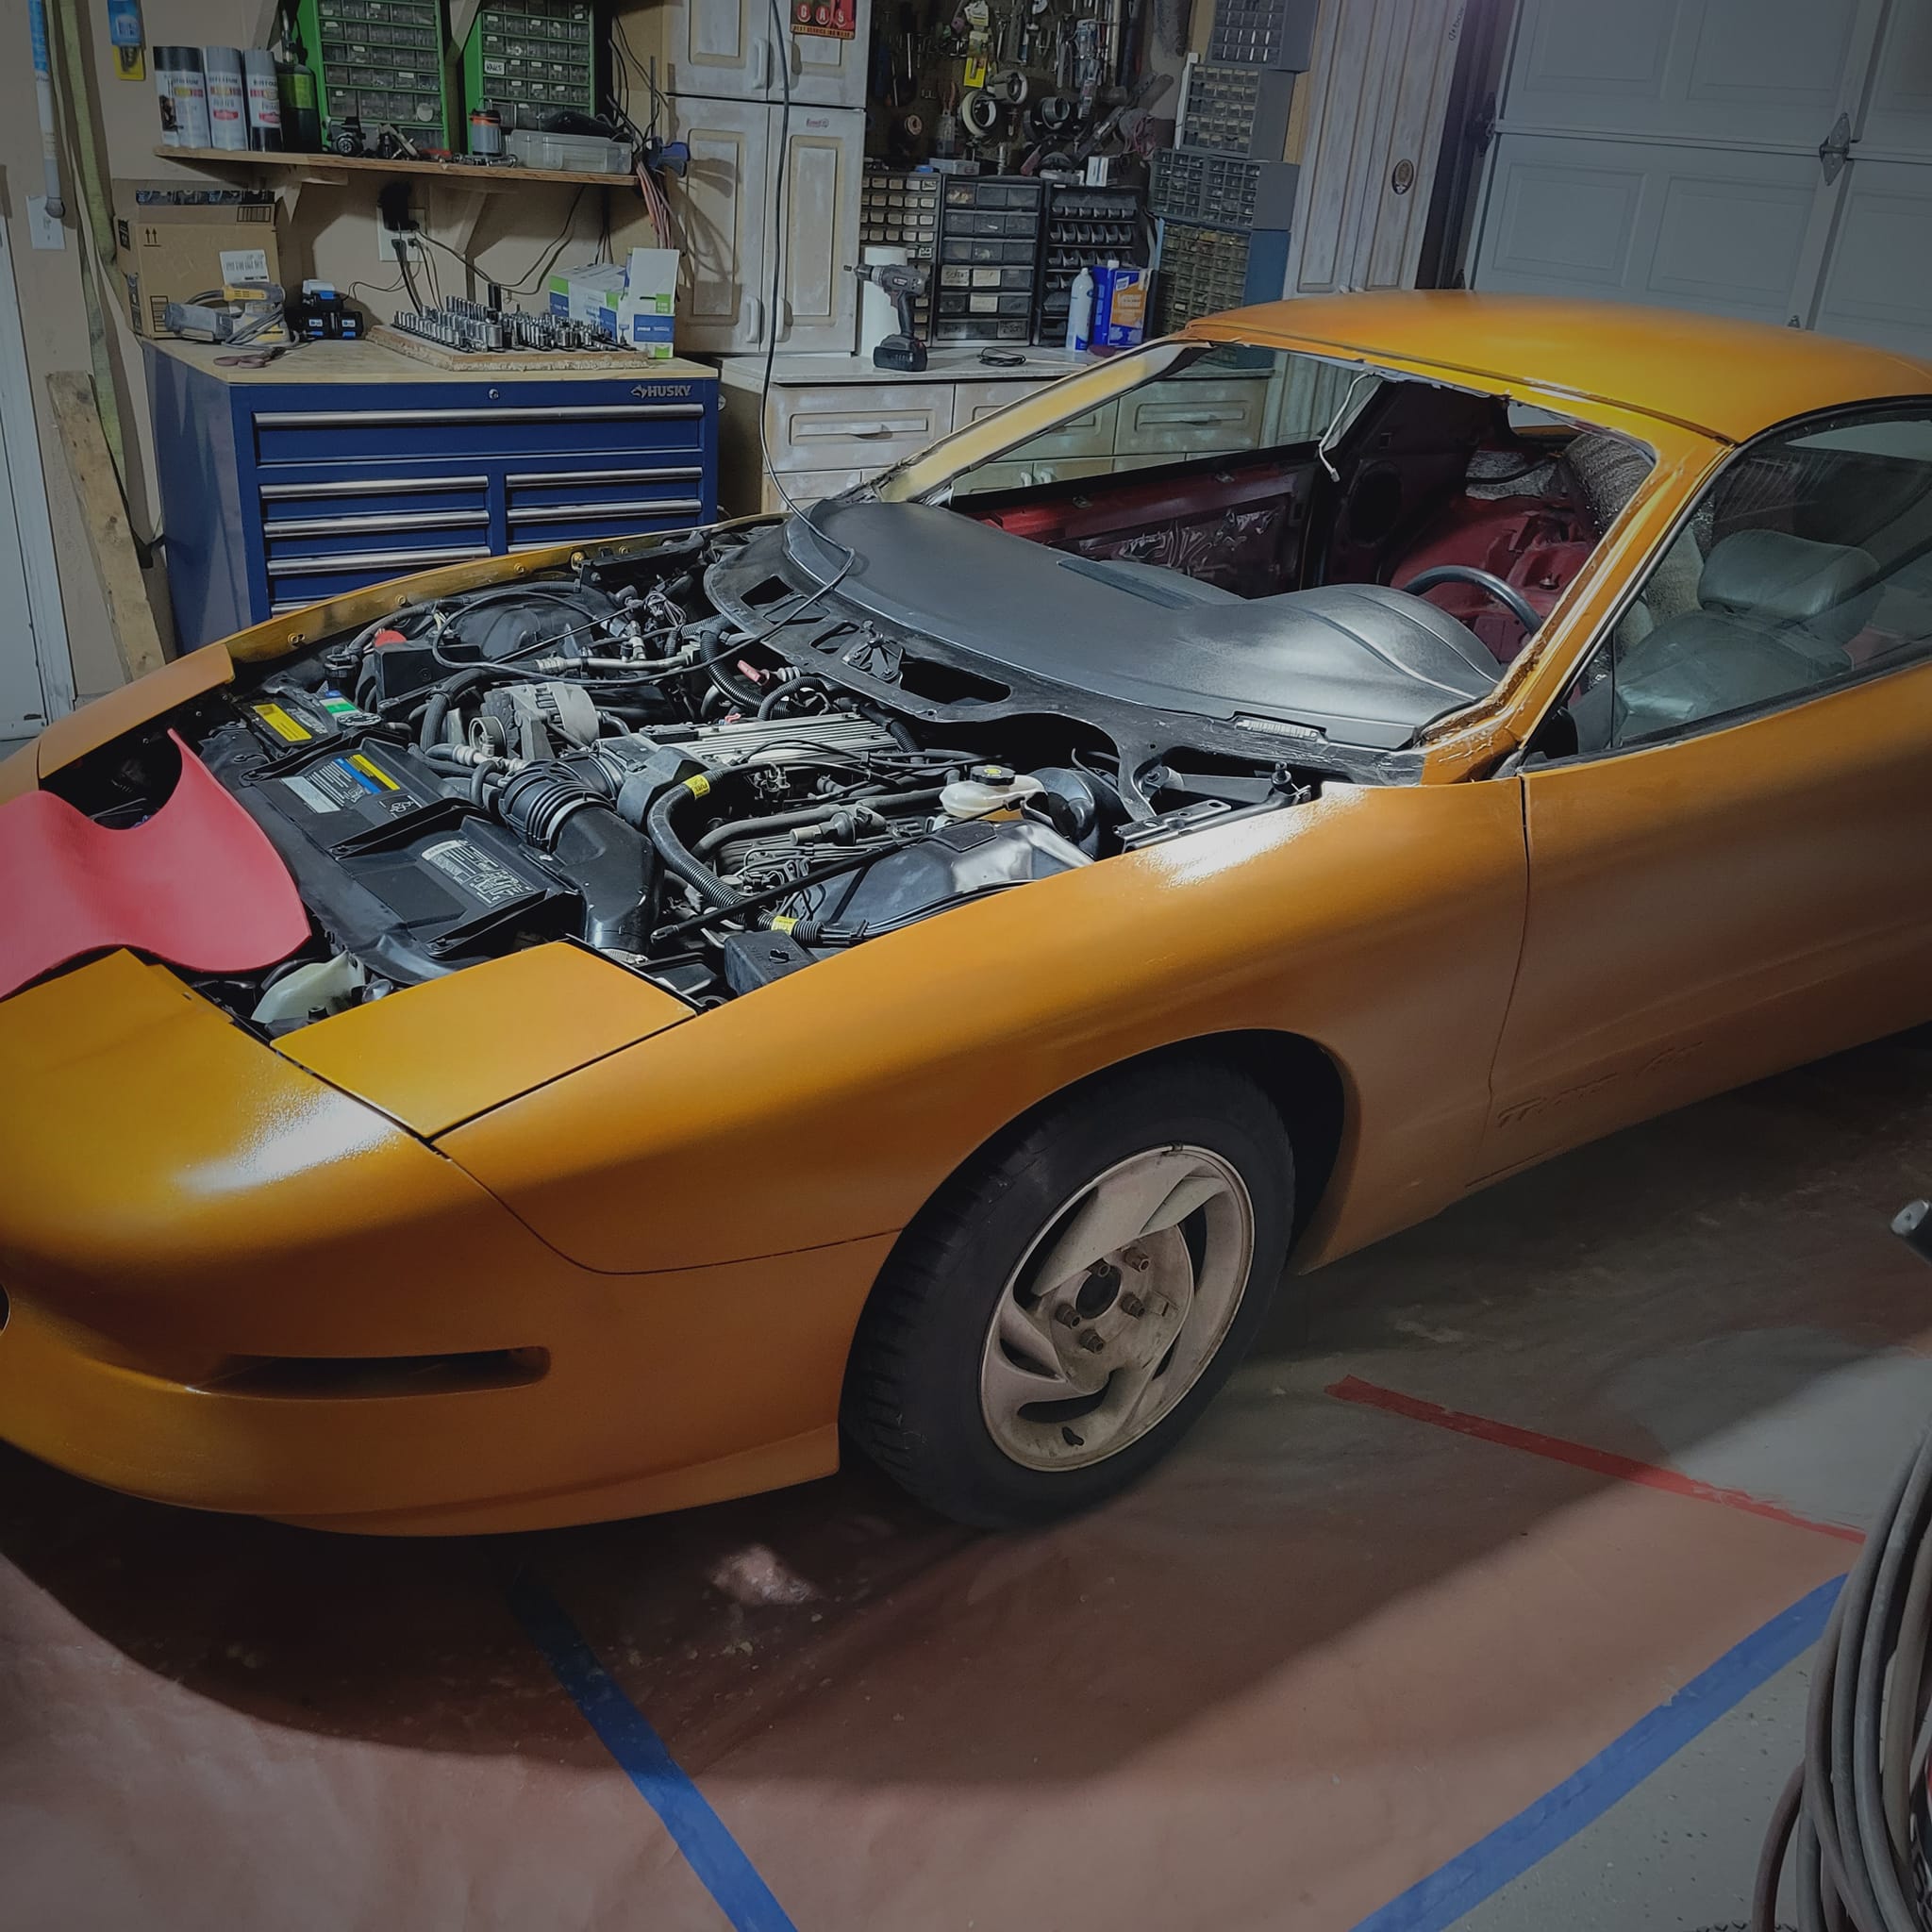
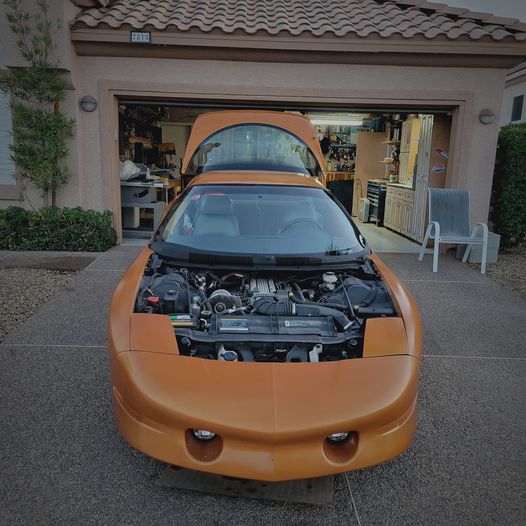
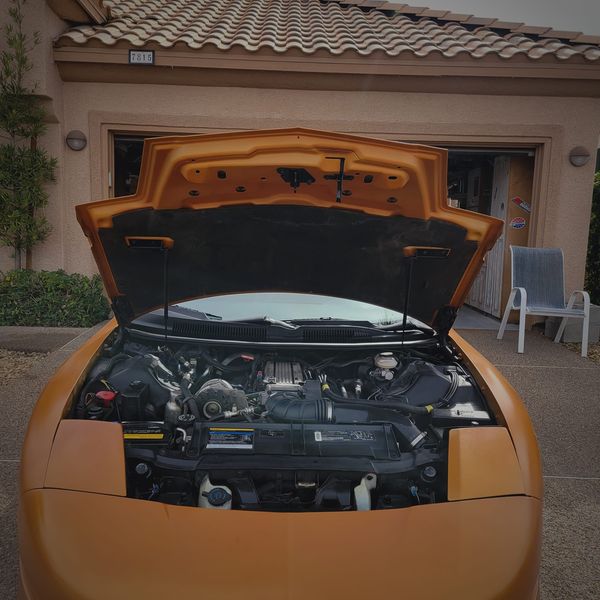
TA 2, day 29: Sprayed red under hood with 2000 degree flat black on what I could reach.
It will look better later once the Pharaoh's gold hood is on and all of the accessories back on.
=============================================
TA 2, day 30 video: movies/ta_2_day_30_video_1.mp4
=============================================
TA 2, day 30 wrap up: Door handle and lock cylinder removal video:
movies/ta_2_day_30_video_2_day_wrap_up.mp4
=============================================
TA 2, day 31 video: movies/ta_2_day_31_video_1.mp4
=============================================
Day 31 side job: Here is how my other 93 Trans Am looks today after I added the black rear marker lights and 3rd brake light.
A huge low cost addition to get rid of the last of the red back there:

=============================================
I do have multiple sets of 93 Trans Am OEM red marker lights and 3rd brake lights if anyone needs (cheap and gently used).
Can text me for info on those: [email protected]
=============================================
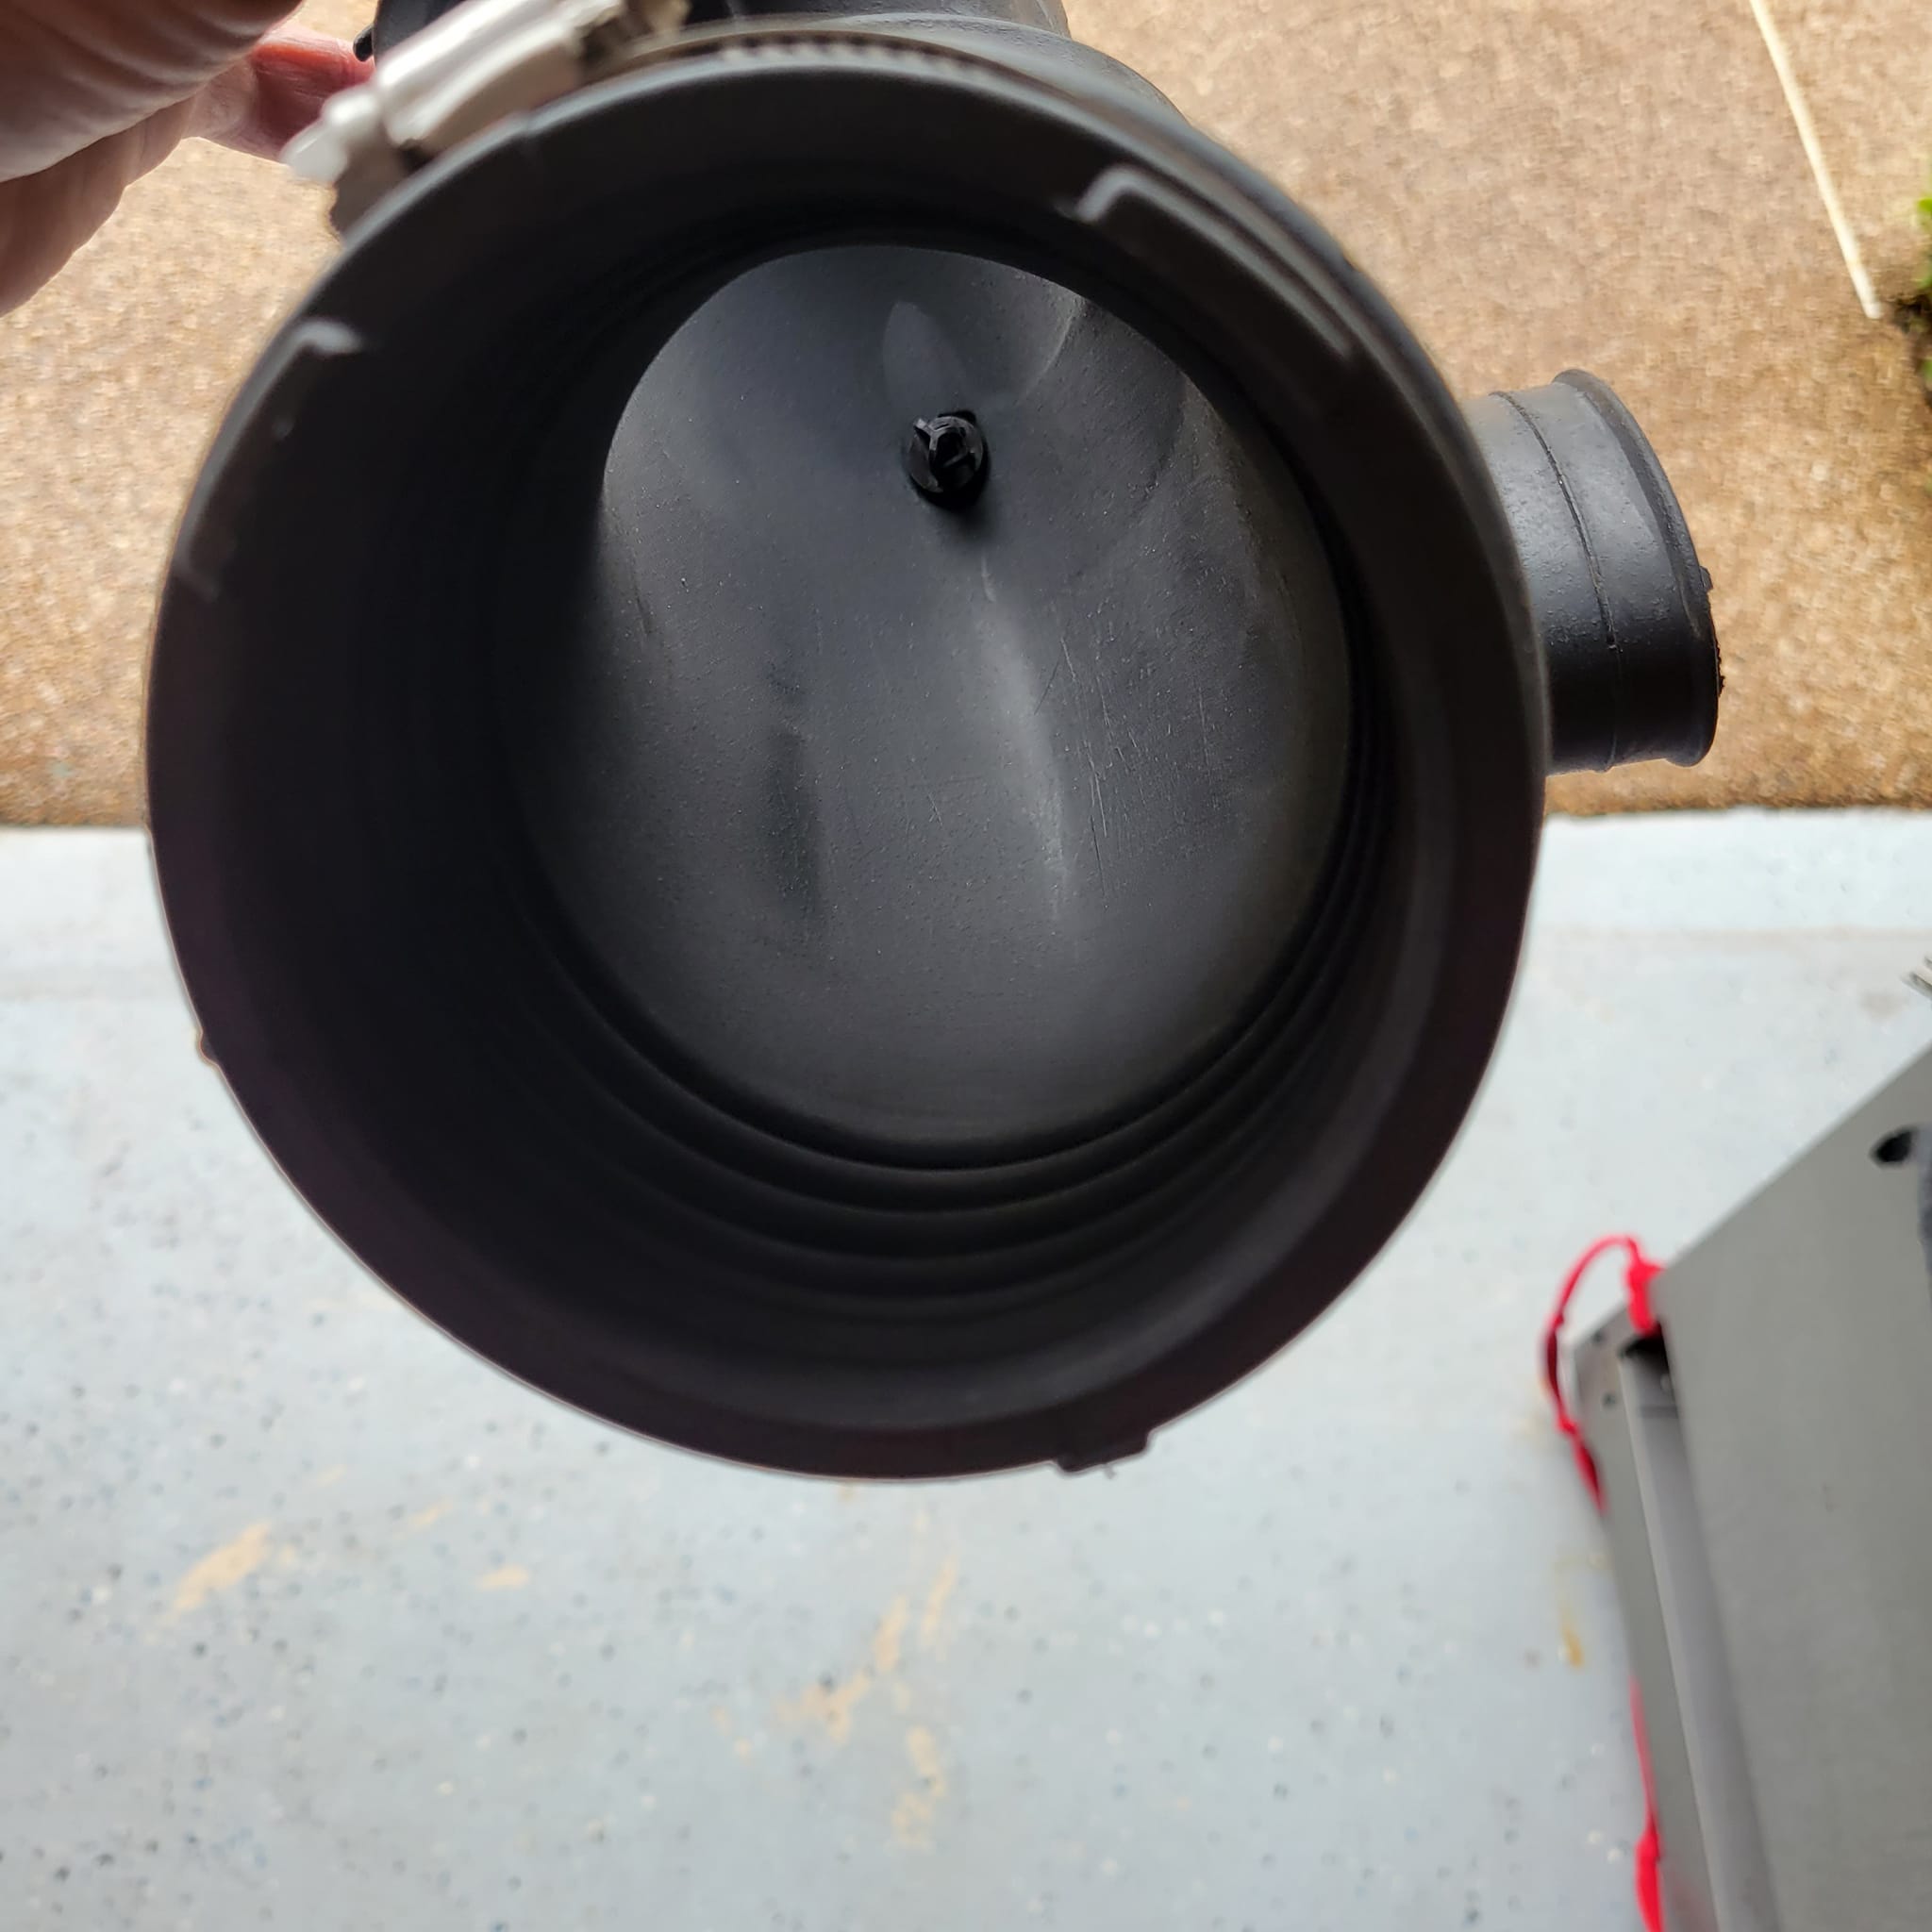
TA 2, day 32: New intake boot, without resonator. Smooth interior laminar flow. New filter. All back together. Next up hatchback comes off. New versus old picture and interior of new one:
New one on left with resonator tube bypass. Old one on right with long resonator tube:

=========
Nice clean air flow in the new one.
=============================================
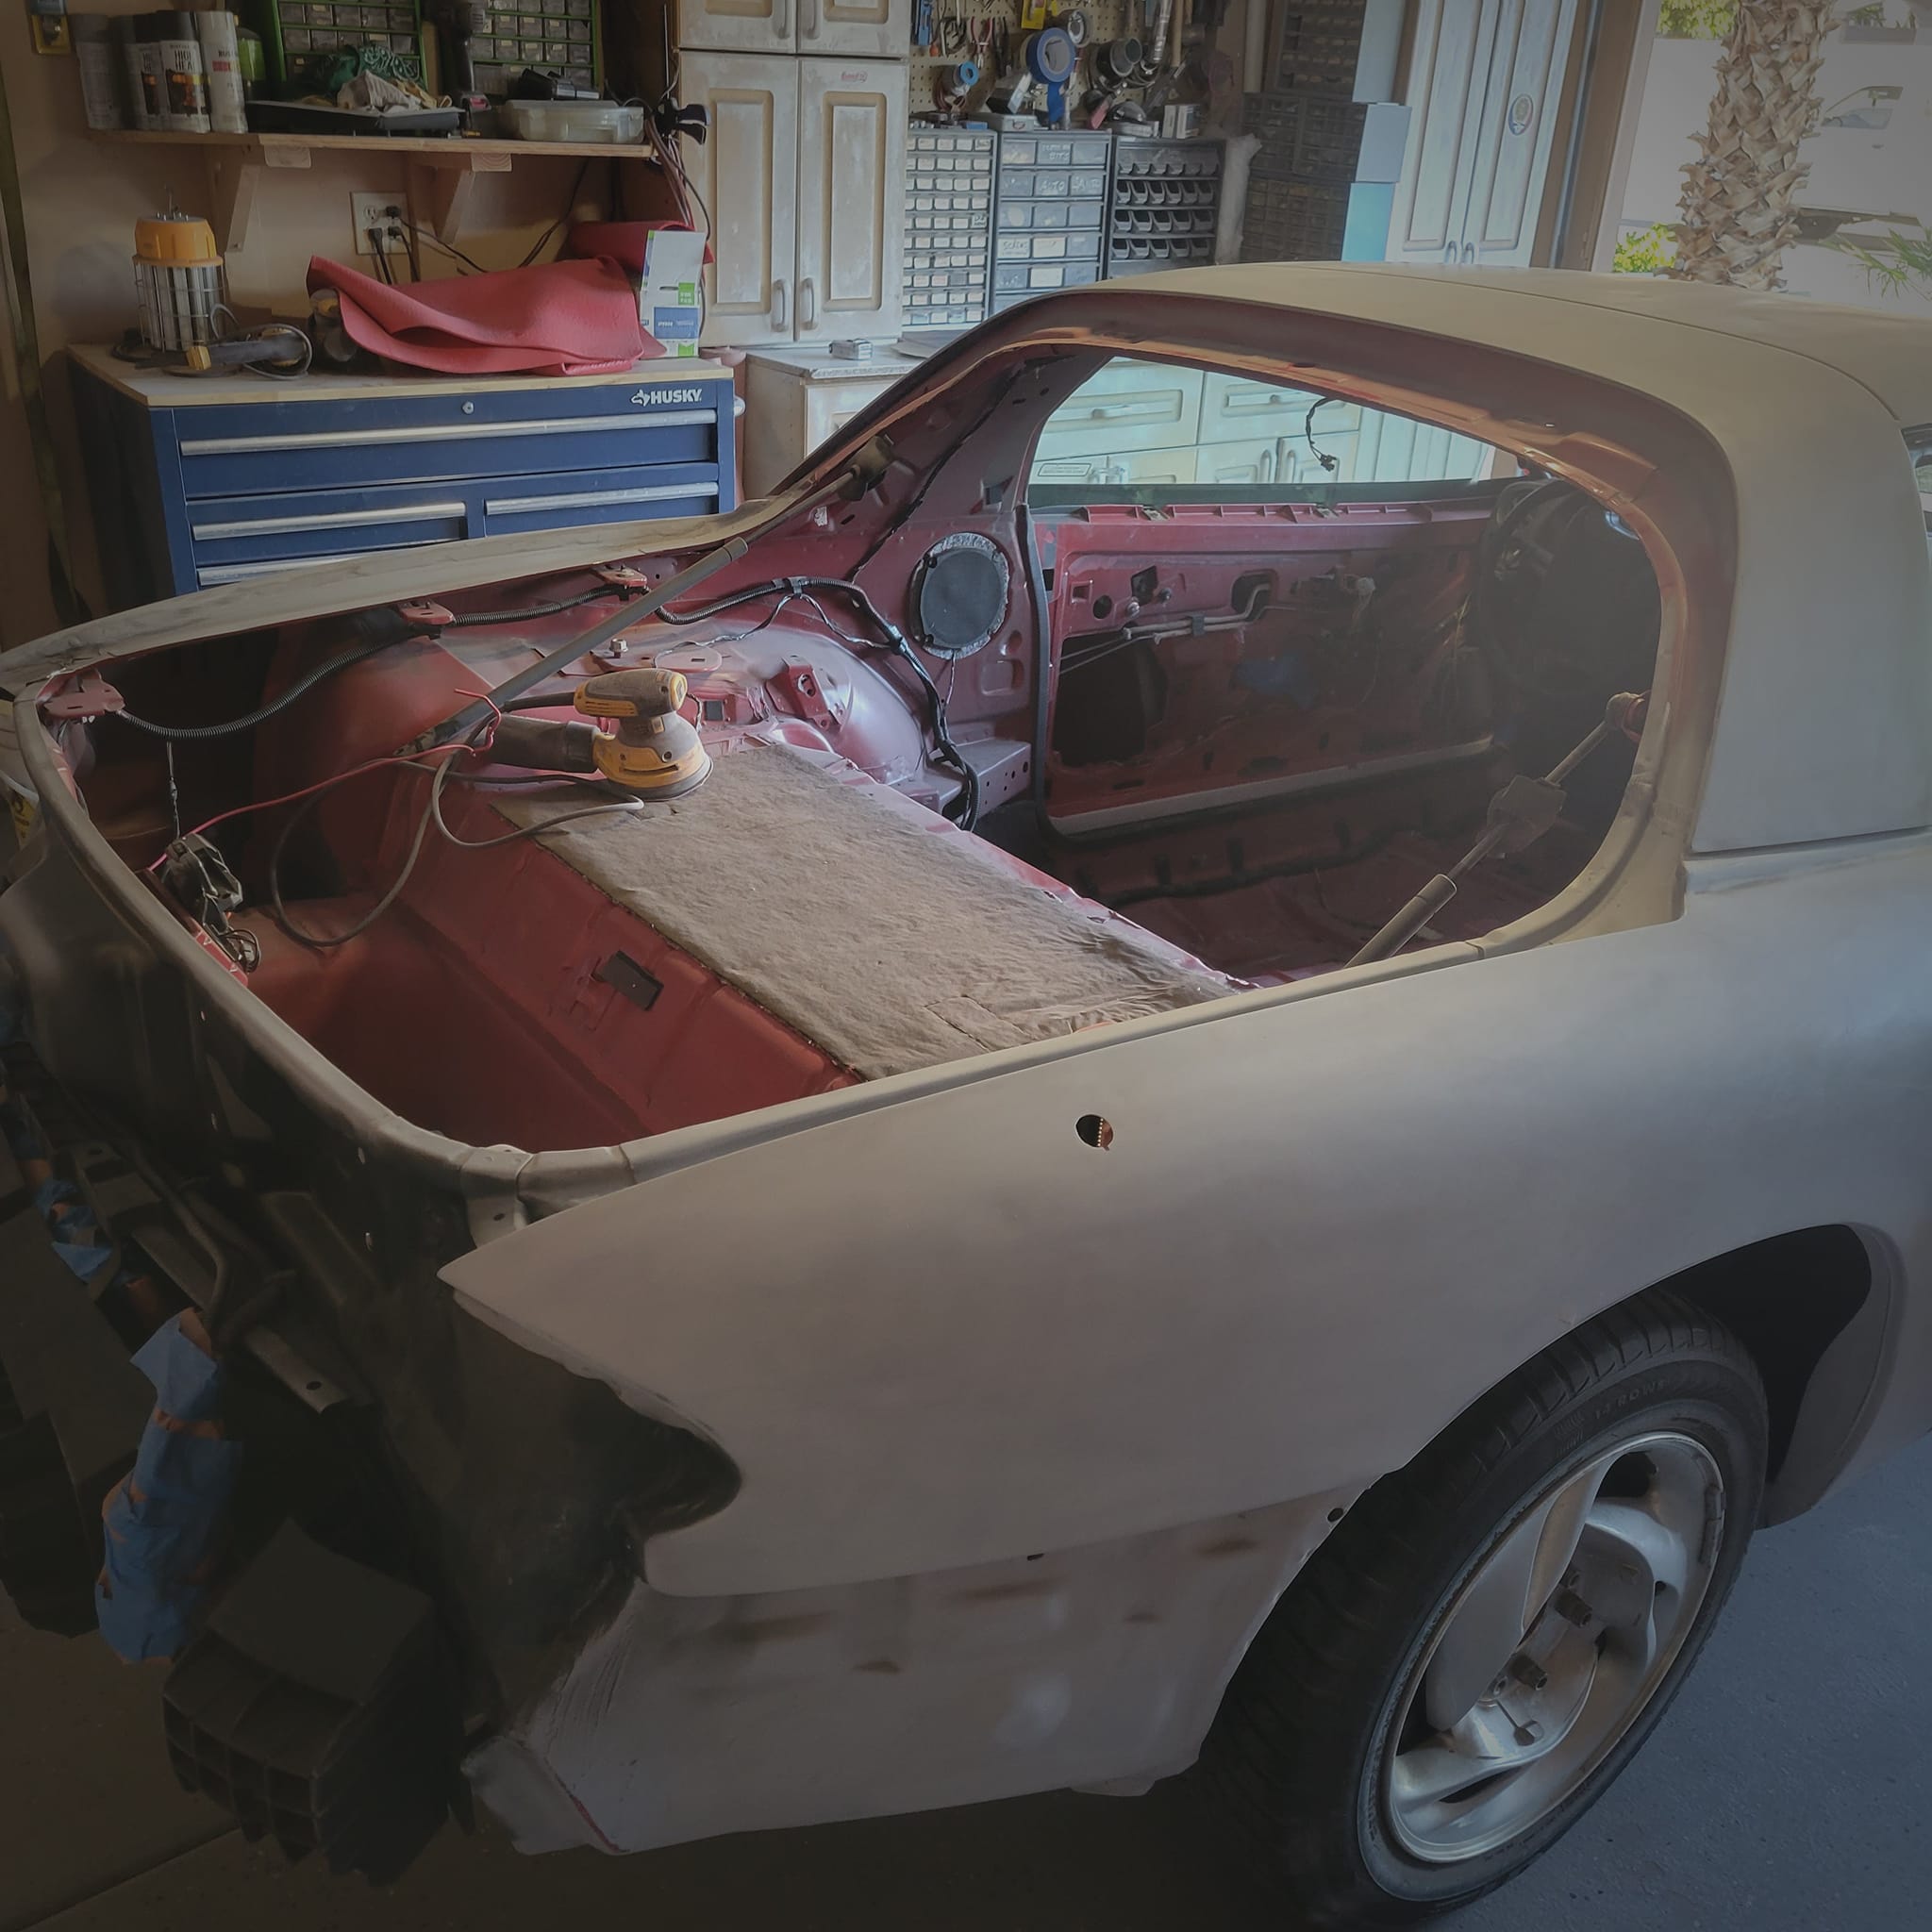
TA 2, day 33: Hand washed it down after finishing quarter panel door dings. Tossed old tape and plastic:
=============================================
TA2, day 34: pulled wheel wells. Time to wash out inner door jambs, and dirty wheel wells. Then prime and paint all of that flat black:
=============================================
TA 2 day 35, 36, 37 & 38: Put in a new master cylinder to go along with my new brake booster. Bled it all out. Premium brakes now. Finished underside painting. Put the car outside under its car cover. Sandblasted hood hardware and hood inserts. Still picking at it. Hood underside getting some love. Final cleanup of hood tomorrow, then on to the underside of the spoiler:
=============================================

=============================================
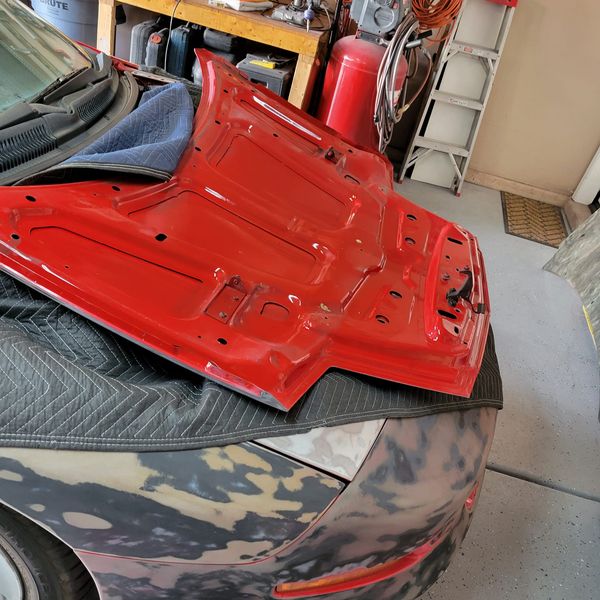
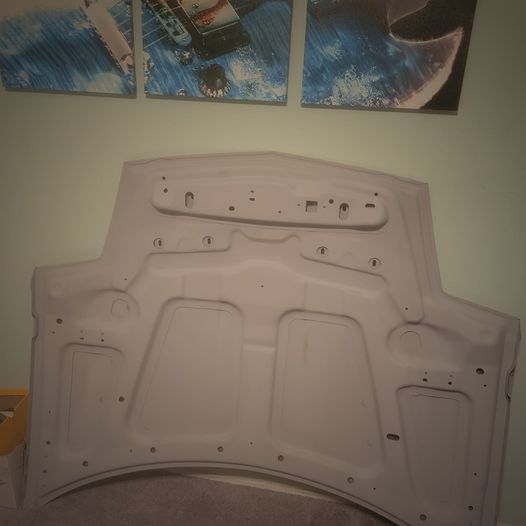
TA 2 Day 40: Finished initial prime on the spoiler top and bottom, the hood top and bottom and the hood inserts. Finished the hood hardware --> high heat flat black with clear on top. Mirror housing fine sanding tomorrow and base priming. I sand blasted those so just need to smooth them out a bit before priming. Then will get it back inside to do the door frames and jambs. Hood safely back in the house:
=============================================
TA 2 Day 41: Car back inside. Cleaned up the fog light and turn signal pockets. Full 220 prep sand of whole car. Today we finish the door jambs and underside of the hatchback. Then its final wash down, taping and ready to start spraying paint next week:
=============================================
TA 2 day 42: finished the door jambs and removed the hatchback.
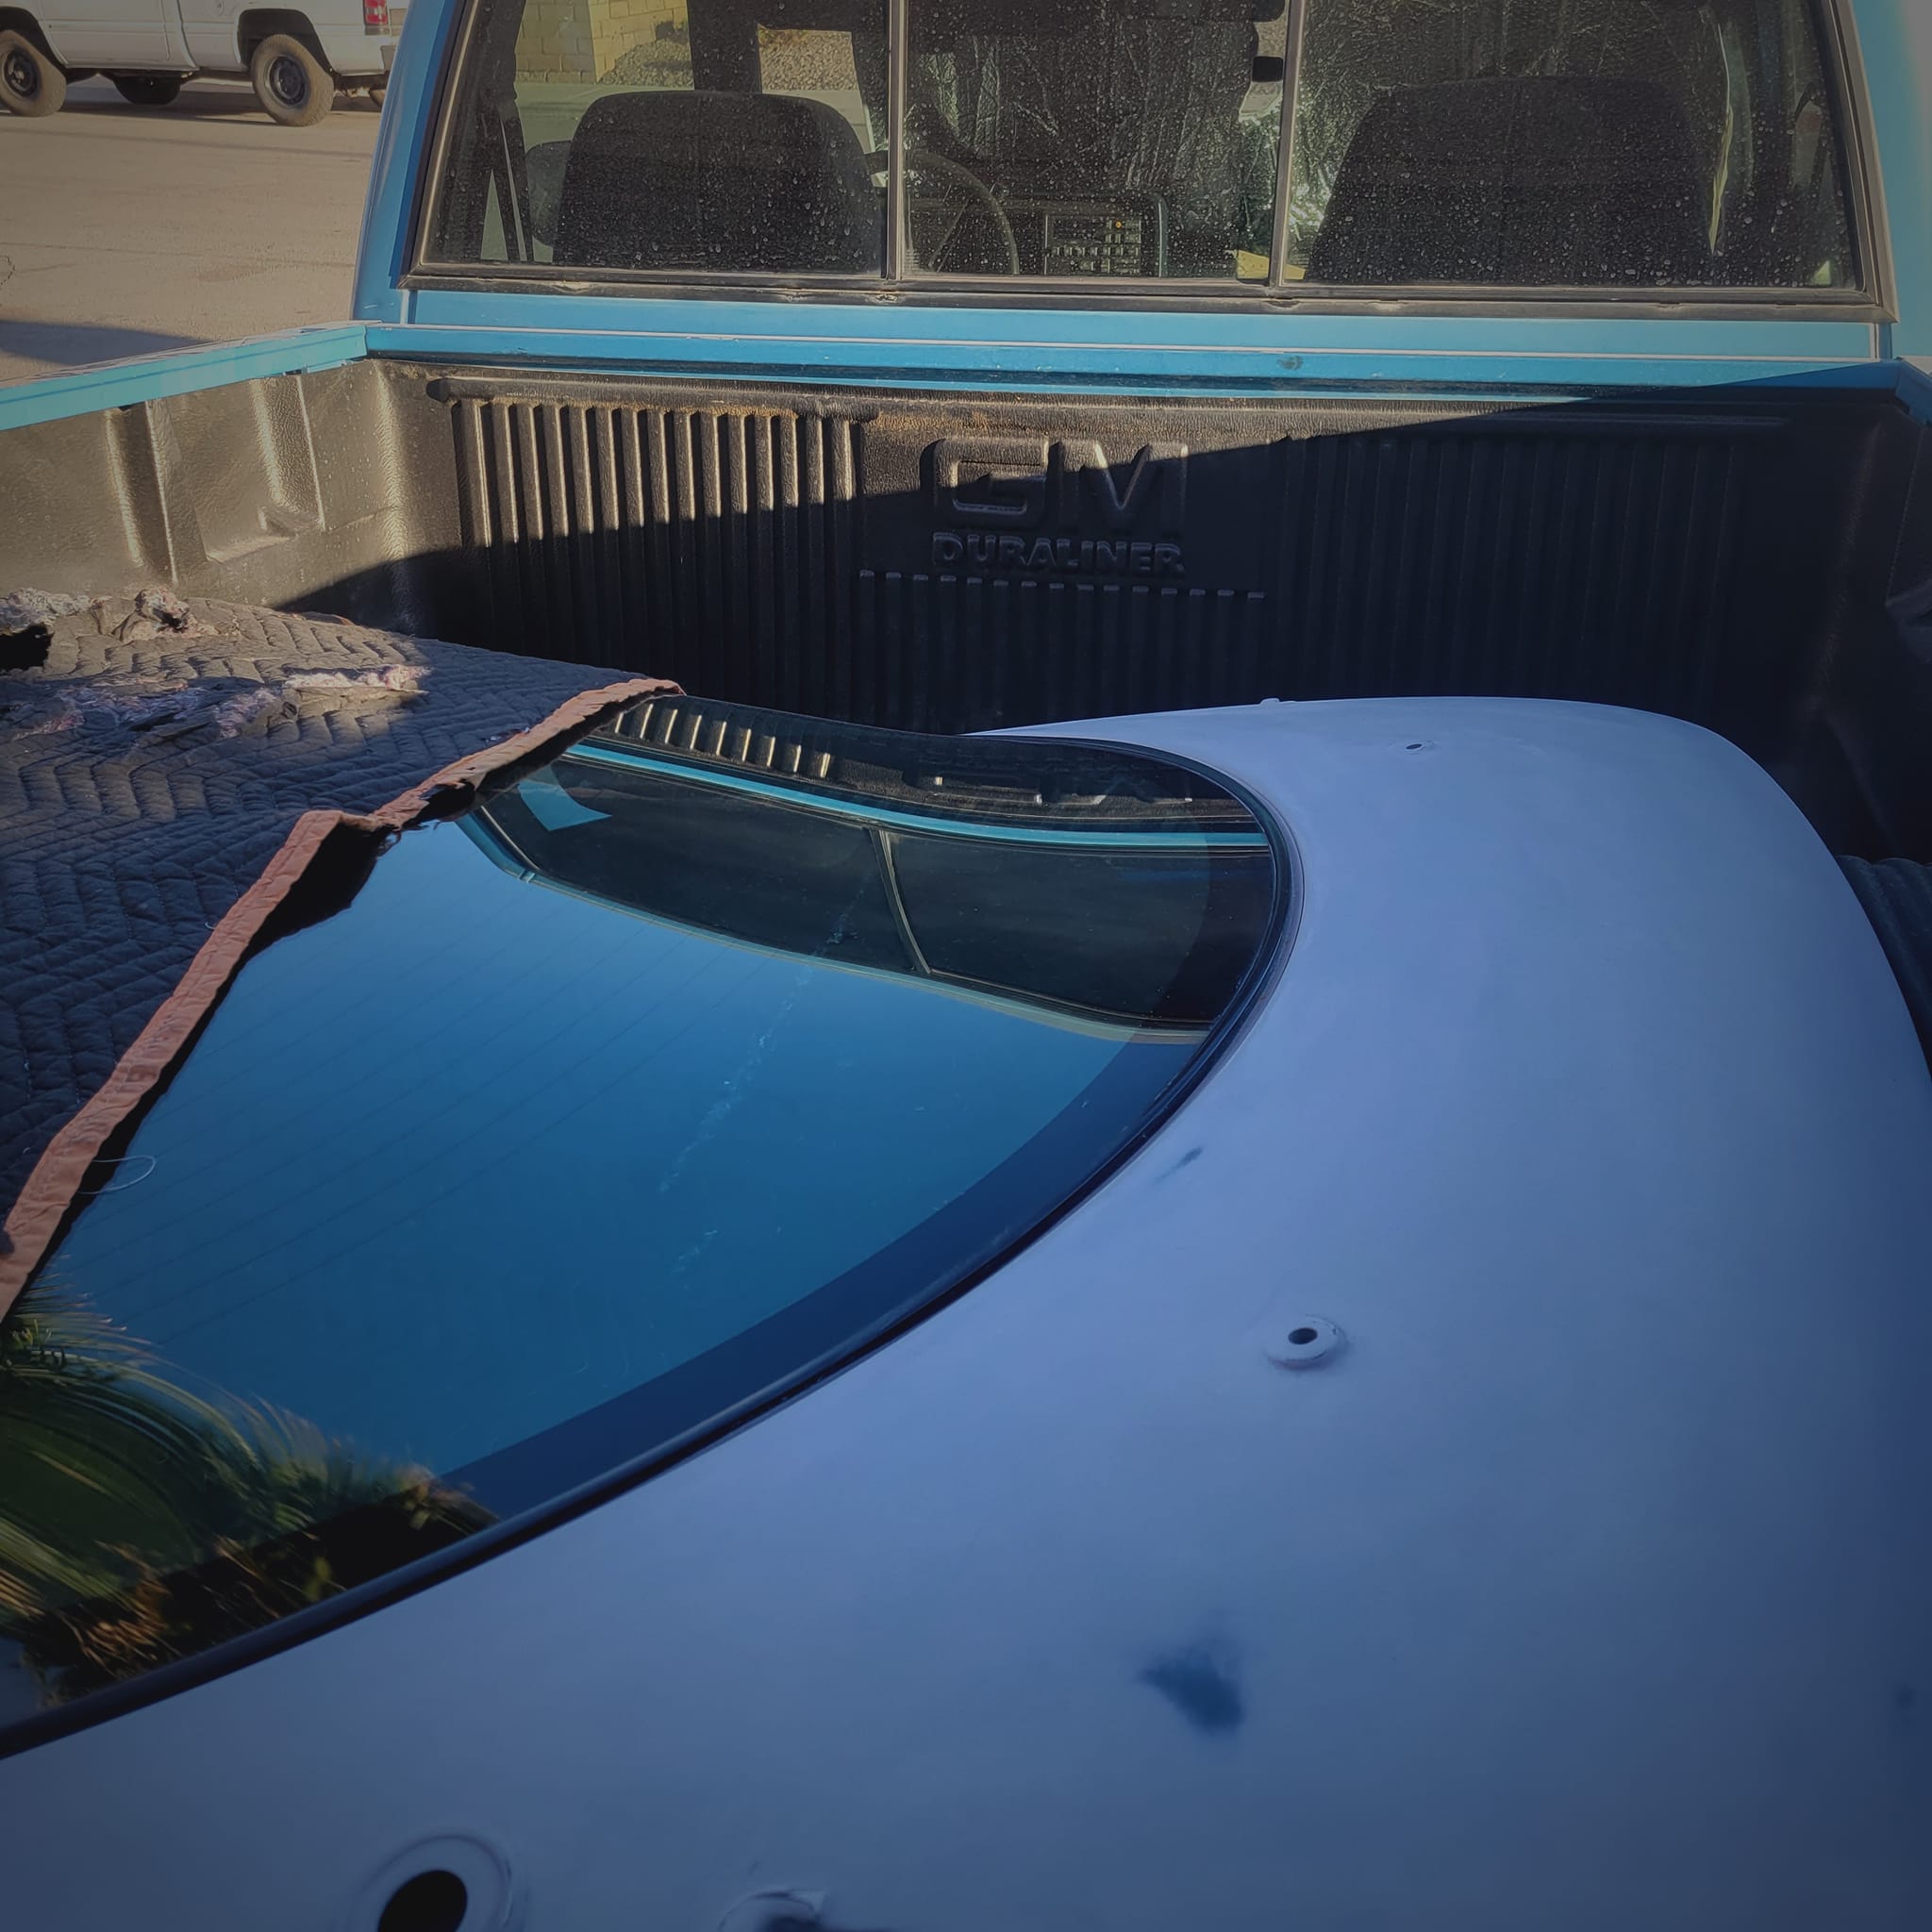
=============================================
TA2 day 43: today I finish the last of the sanding,, the area up under the hatchback pivot area.
=============================================
=============================================
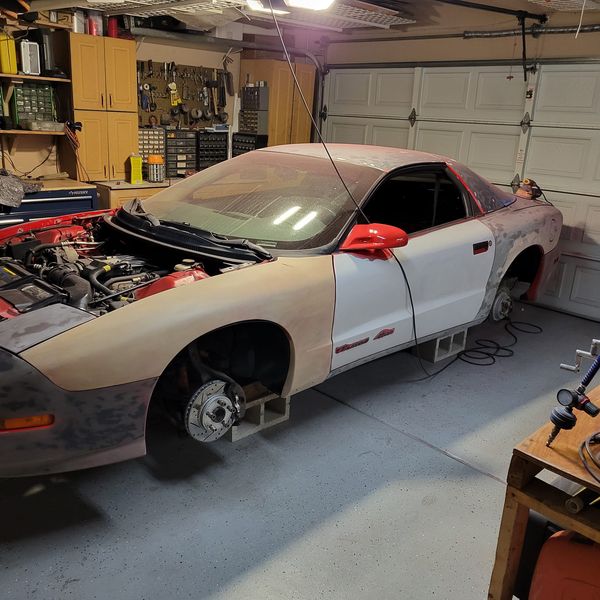
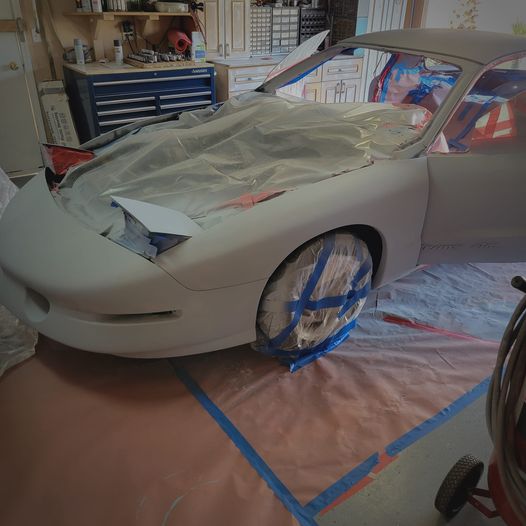
TA2 day 44: Put her outside. Cleaning garage to paint prep. To the untrained eye, she looks rough:

=============================================
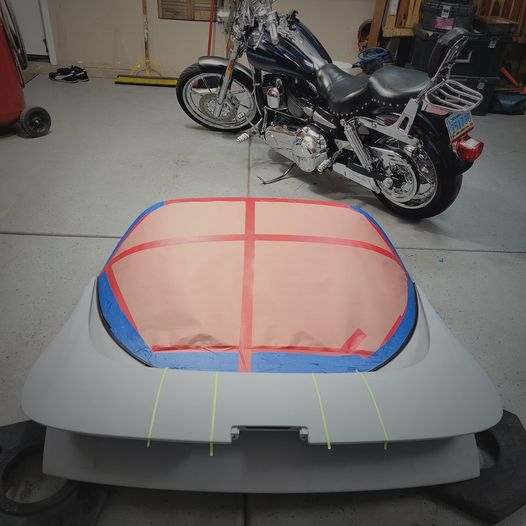
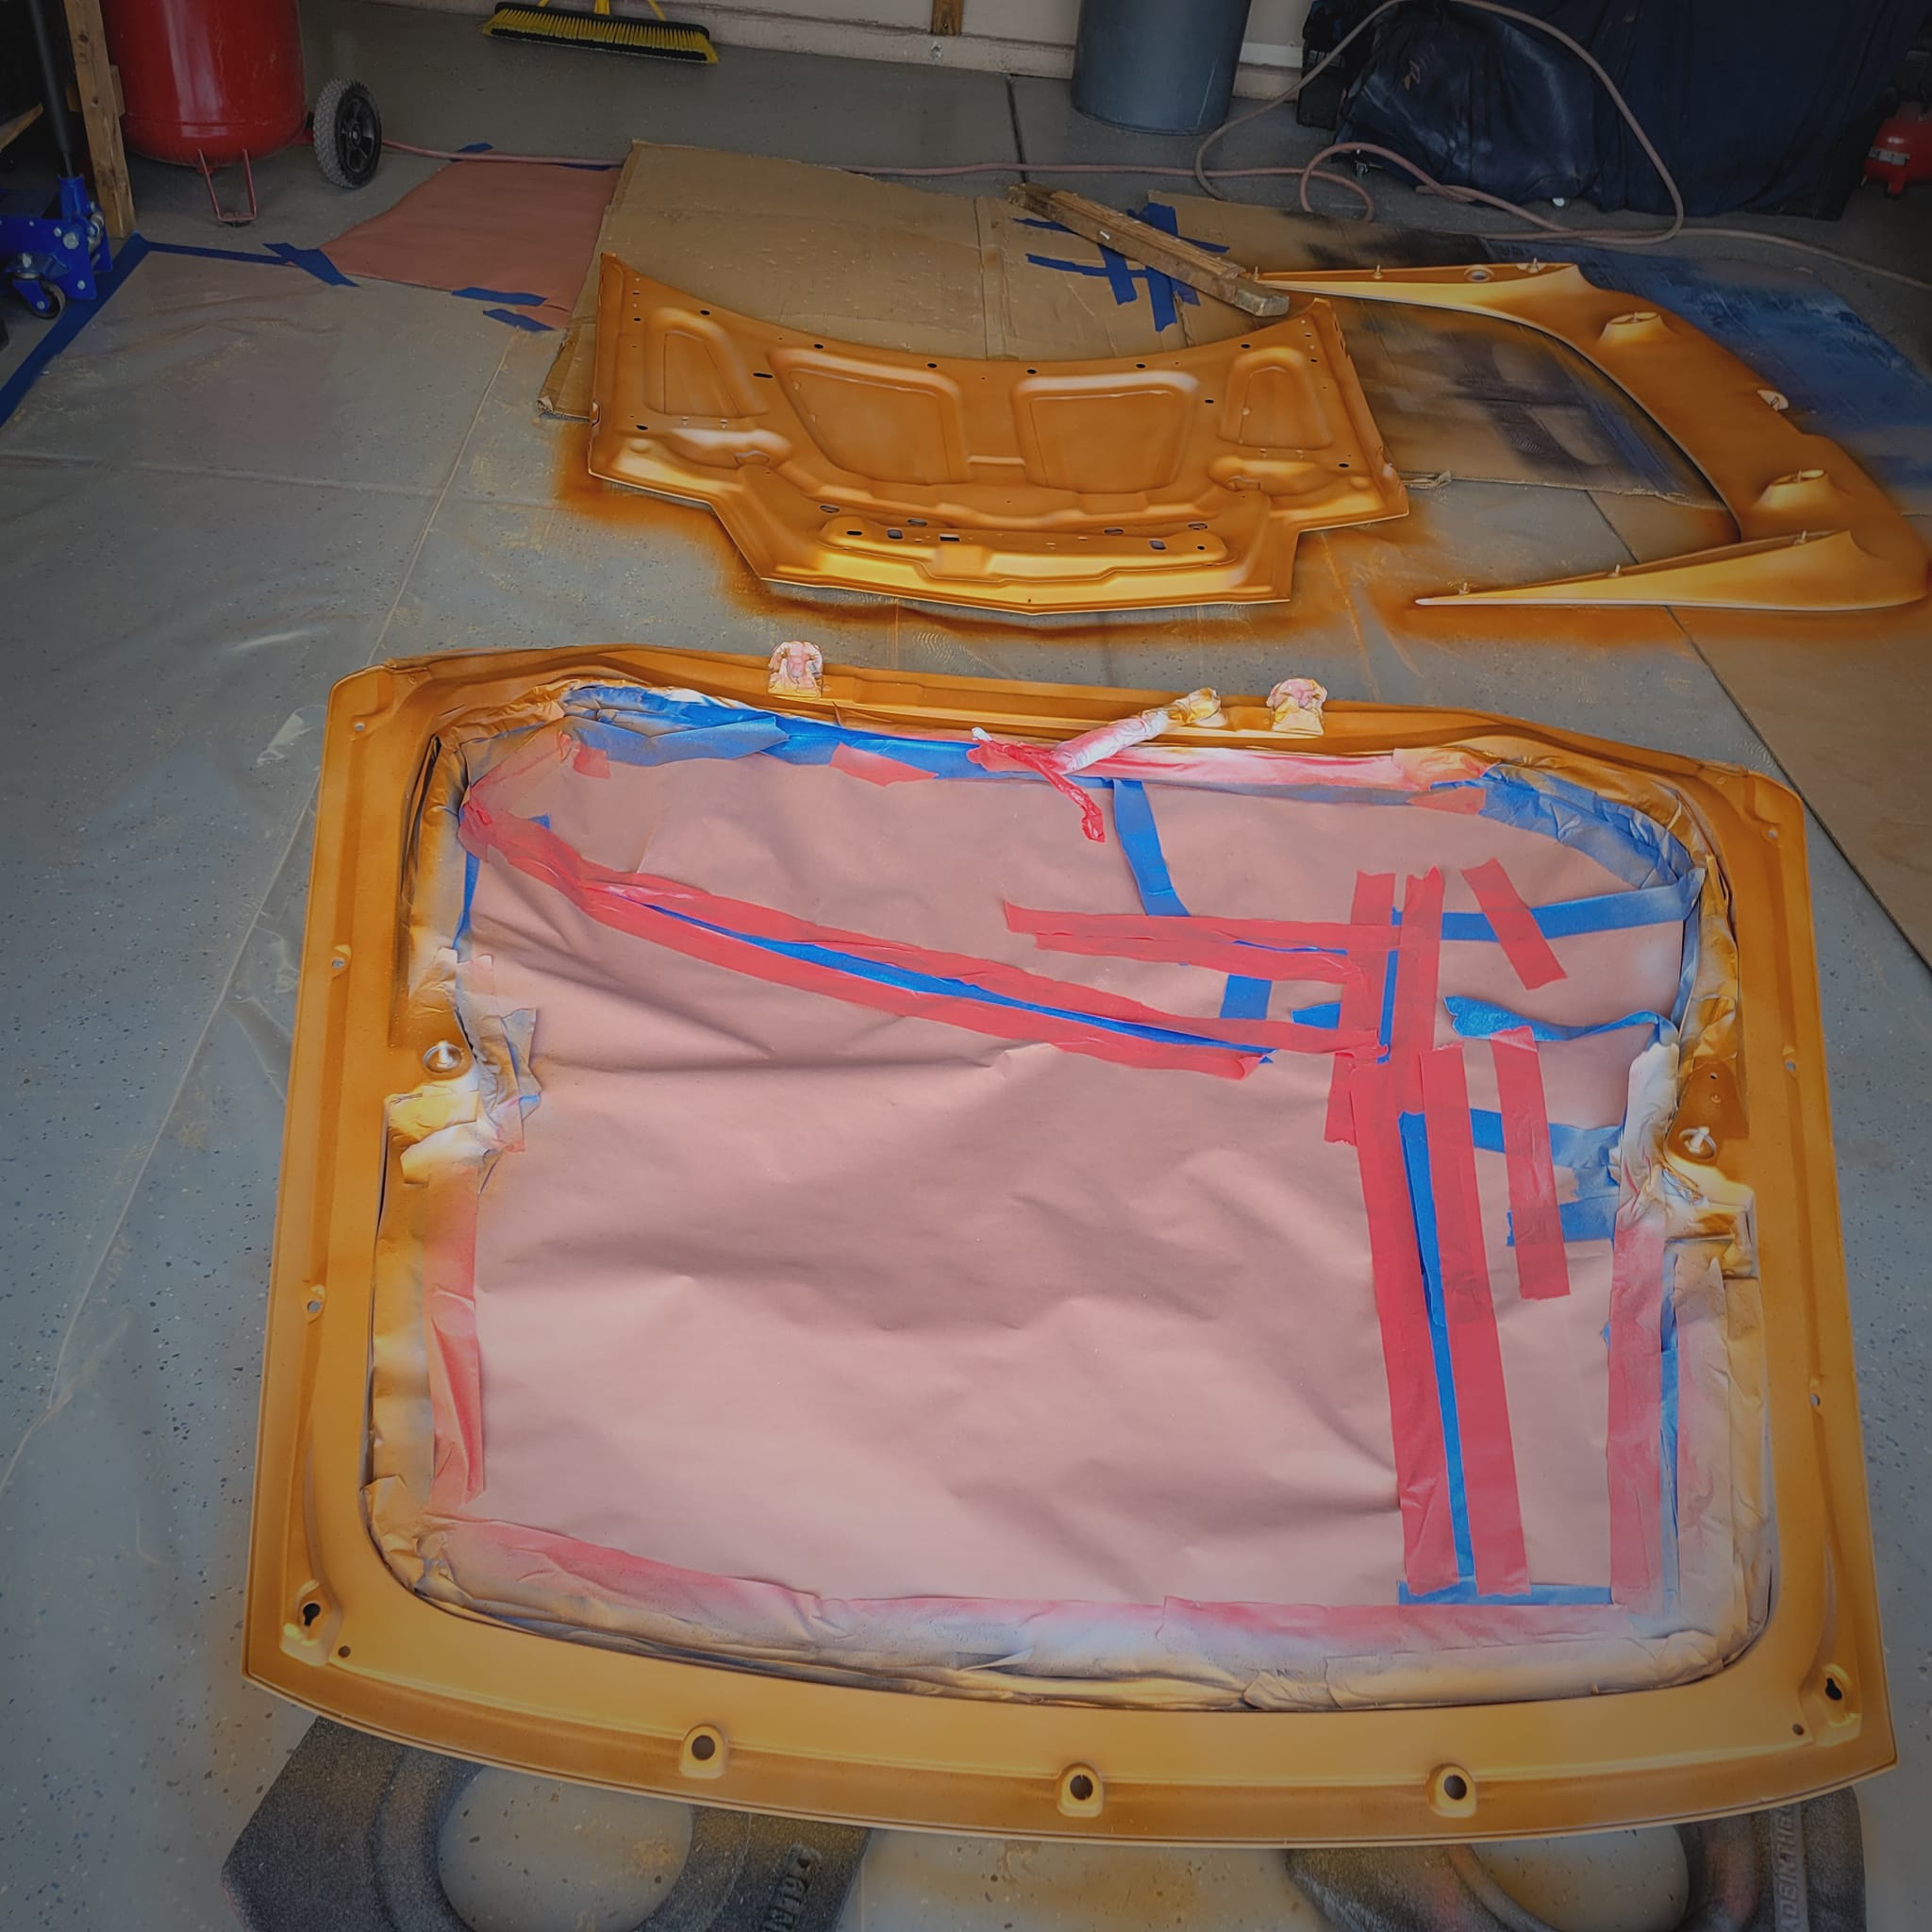
TA2 day 45: 3 coats of hardened spray primer done on top sides of hood, spoiler, side mirror housings, and hood pull cups. Doing rear bumper today and the bottom of the hood and spoiler. Pharaoh's Gold this week, maybe with some candied orange. Will play with mixes Monday.
=============================================
=============================================
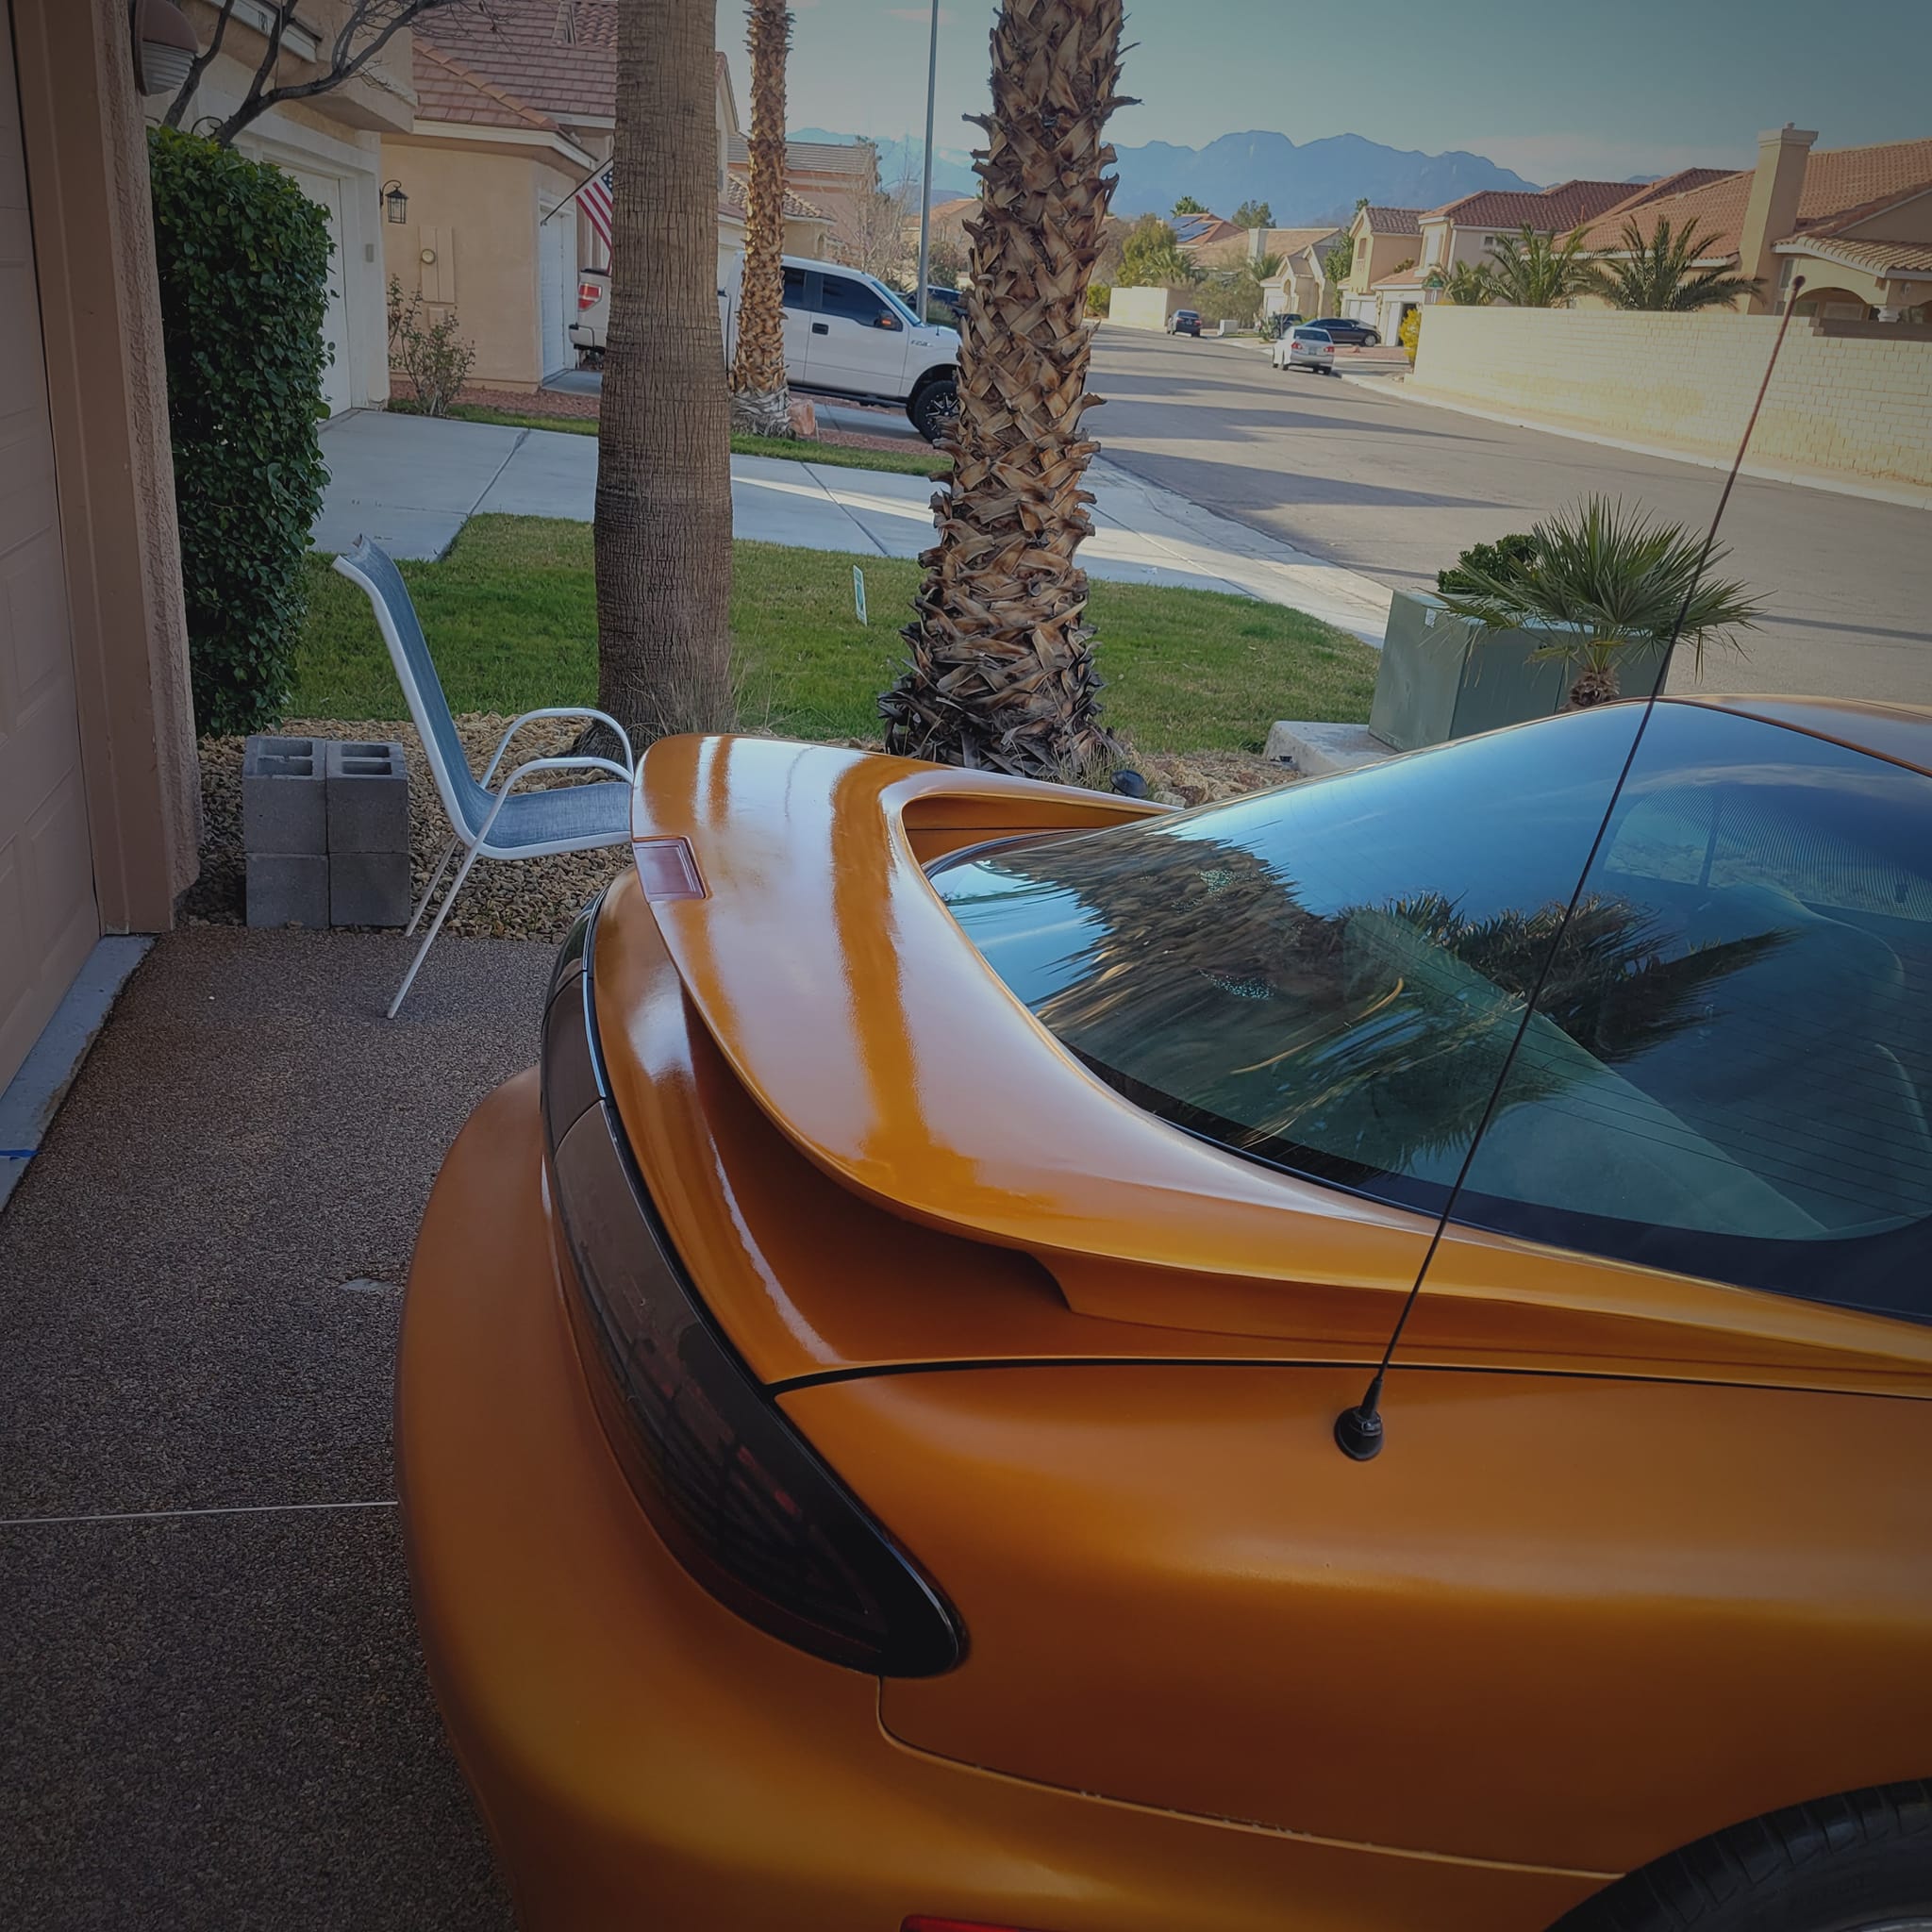
TA 2, Day 48: Sprayed 2 coats of Pharaoh's Gold and started clear coating:
![]()
![]()
![]()
![]()
![]()
=============================================
TA 2, Day 48: Part 2: Third coat of HOK Klear USC 01-->
![]()
![]()
![]()
=============================================
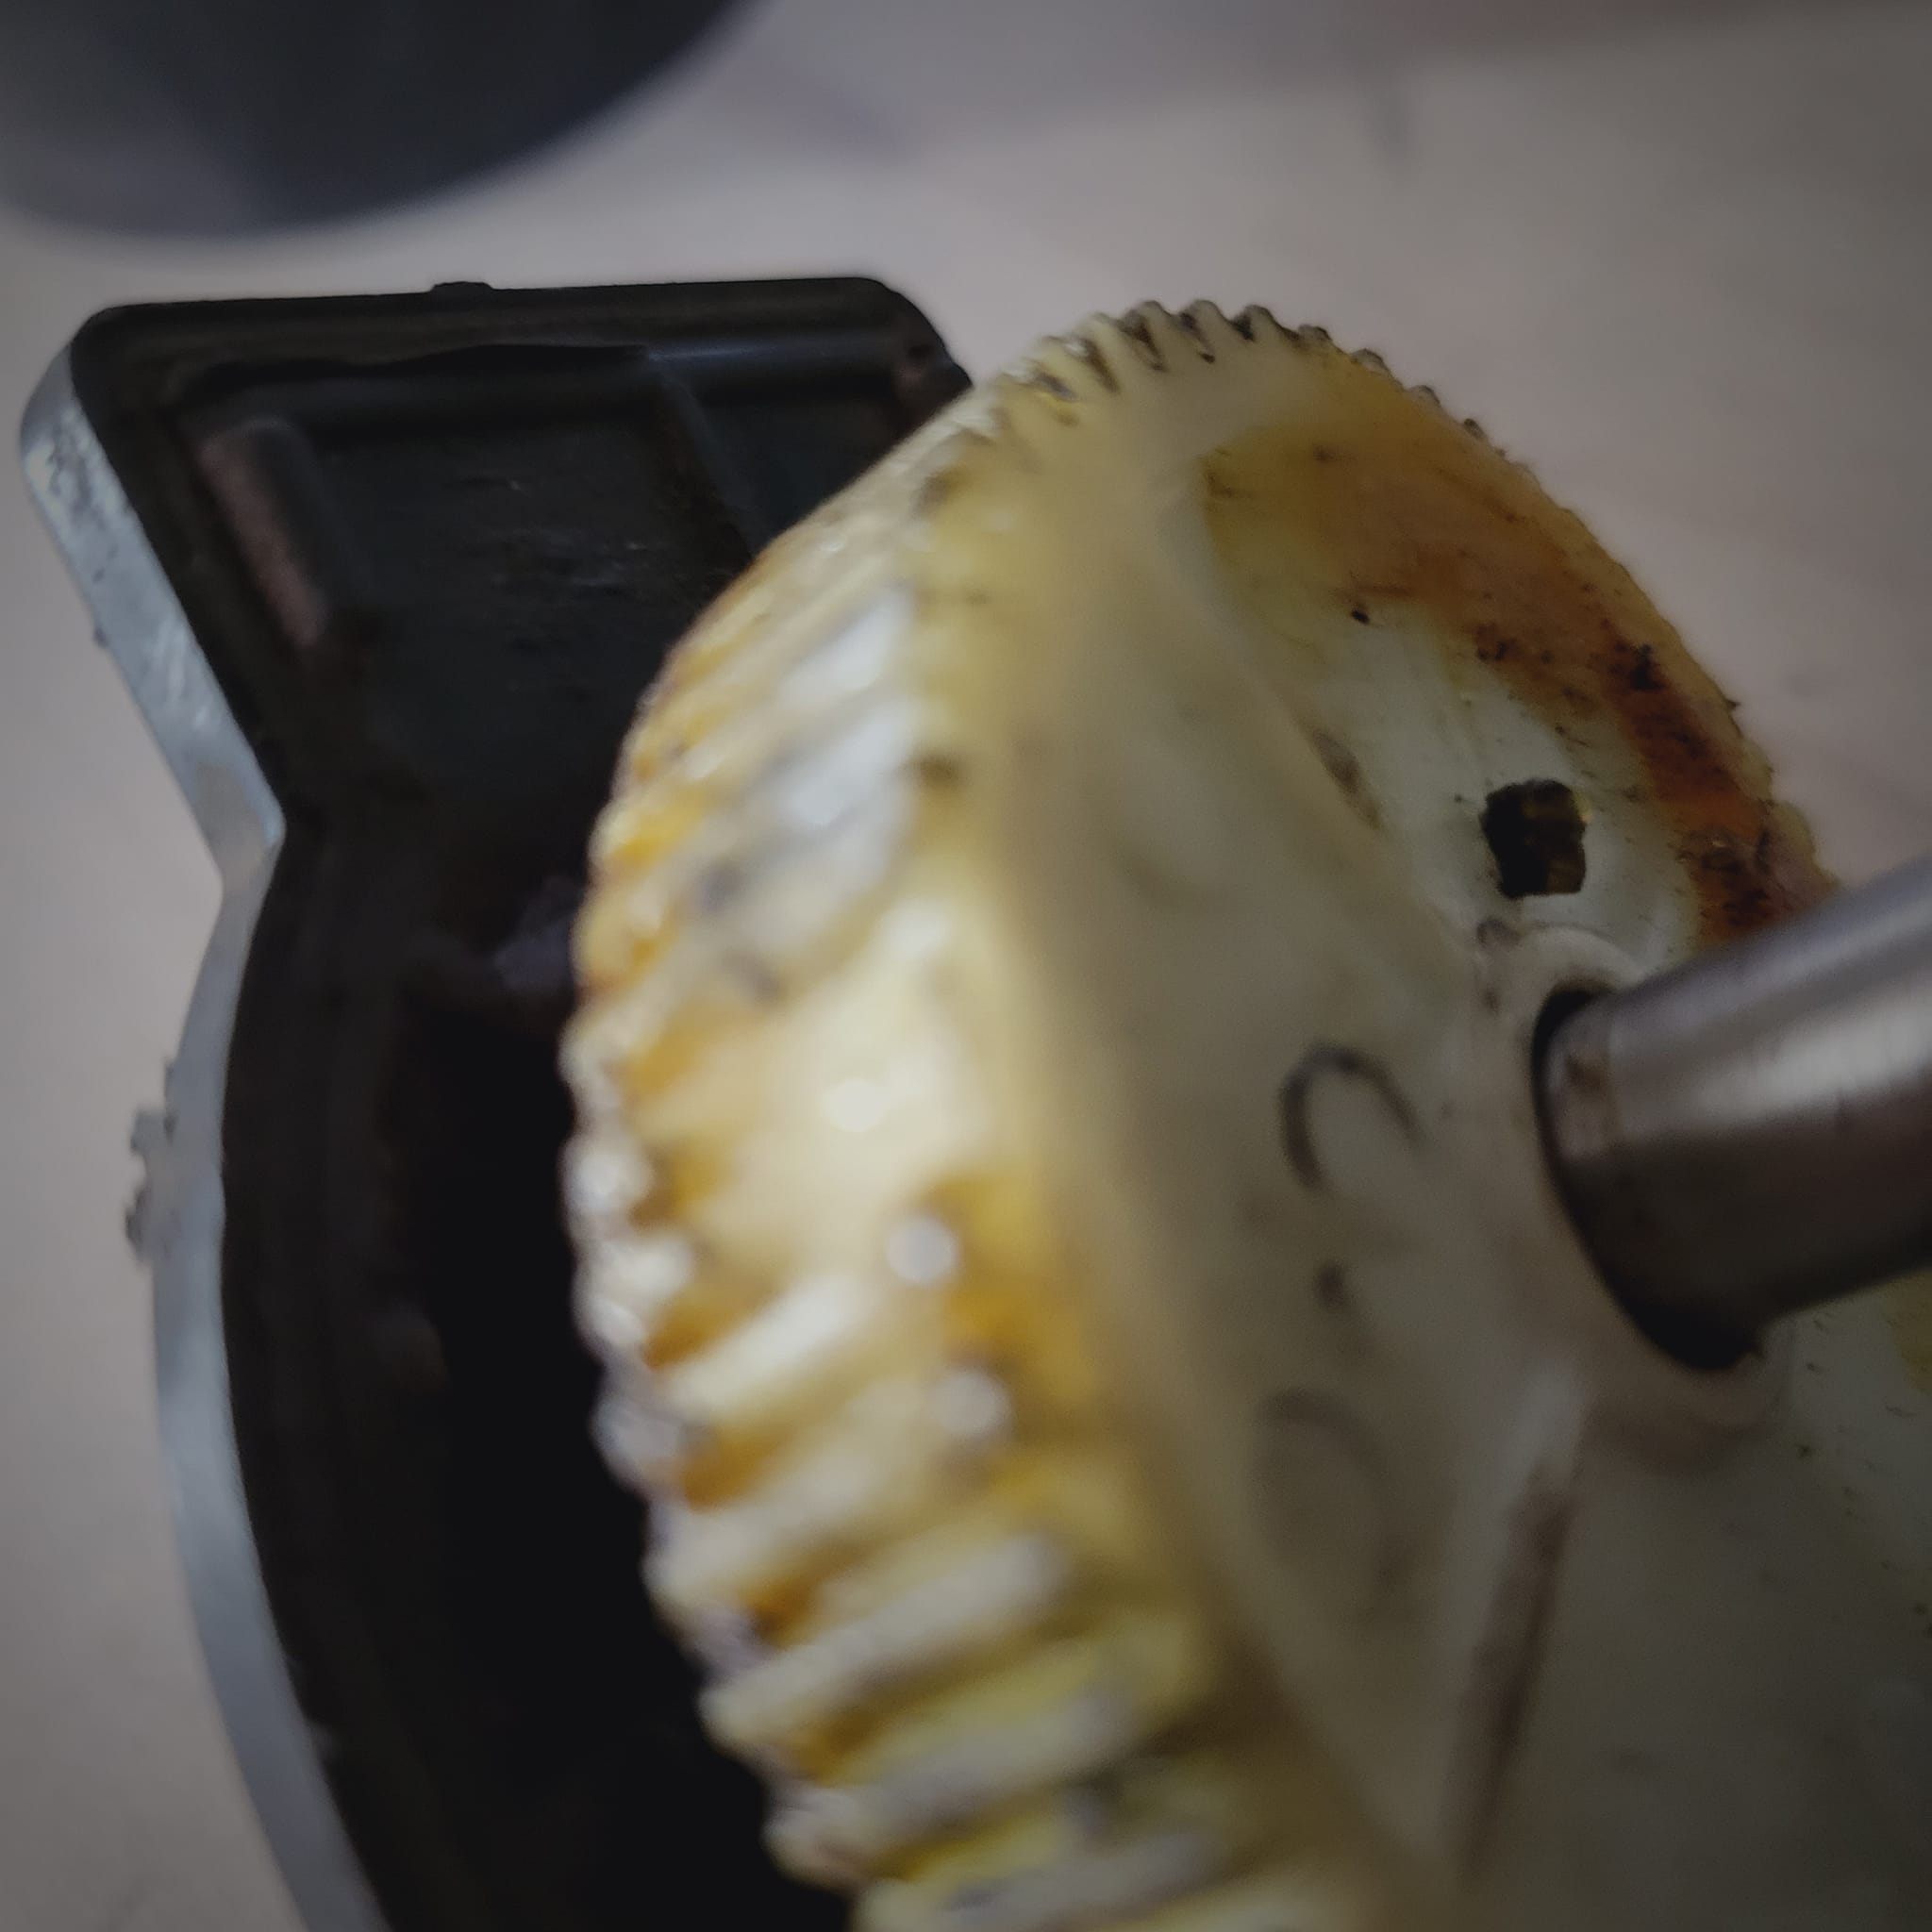
TA 2, day 49-50: Removed all the masking, installed taillights and hooked up the battery. Then a new problem, right headlight motor gear is shot. Removed it and it fell apart. Ordered a new one, only $35 new. The paint looks a lot lighter in this photo as the car has been wet sanded with 600 to smooth it all out nice before buffing. Tires and wheels obviously will go once some money falls off the back of a truck in front on the house. Either that of sell another guitar.
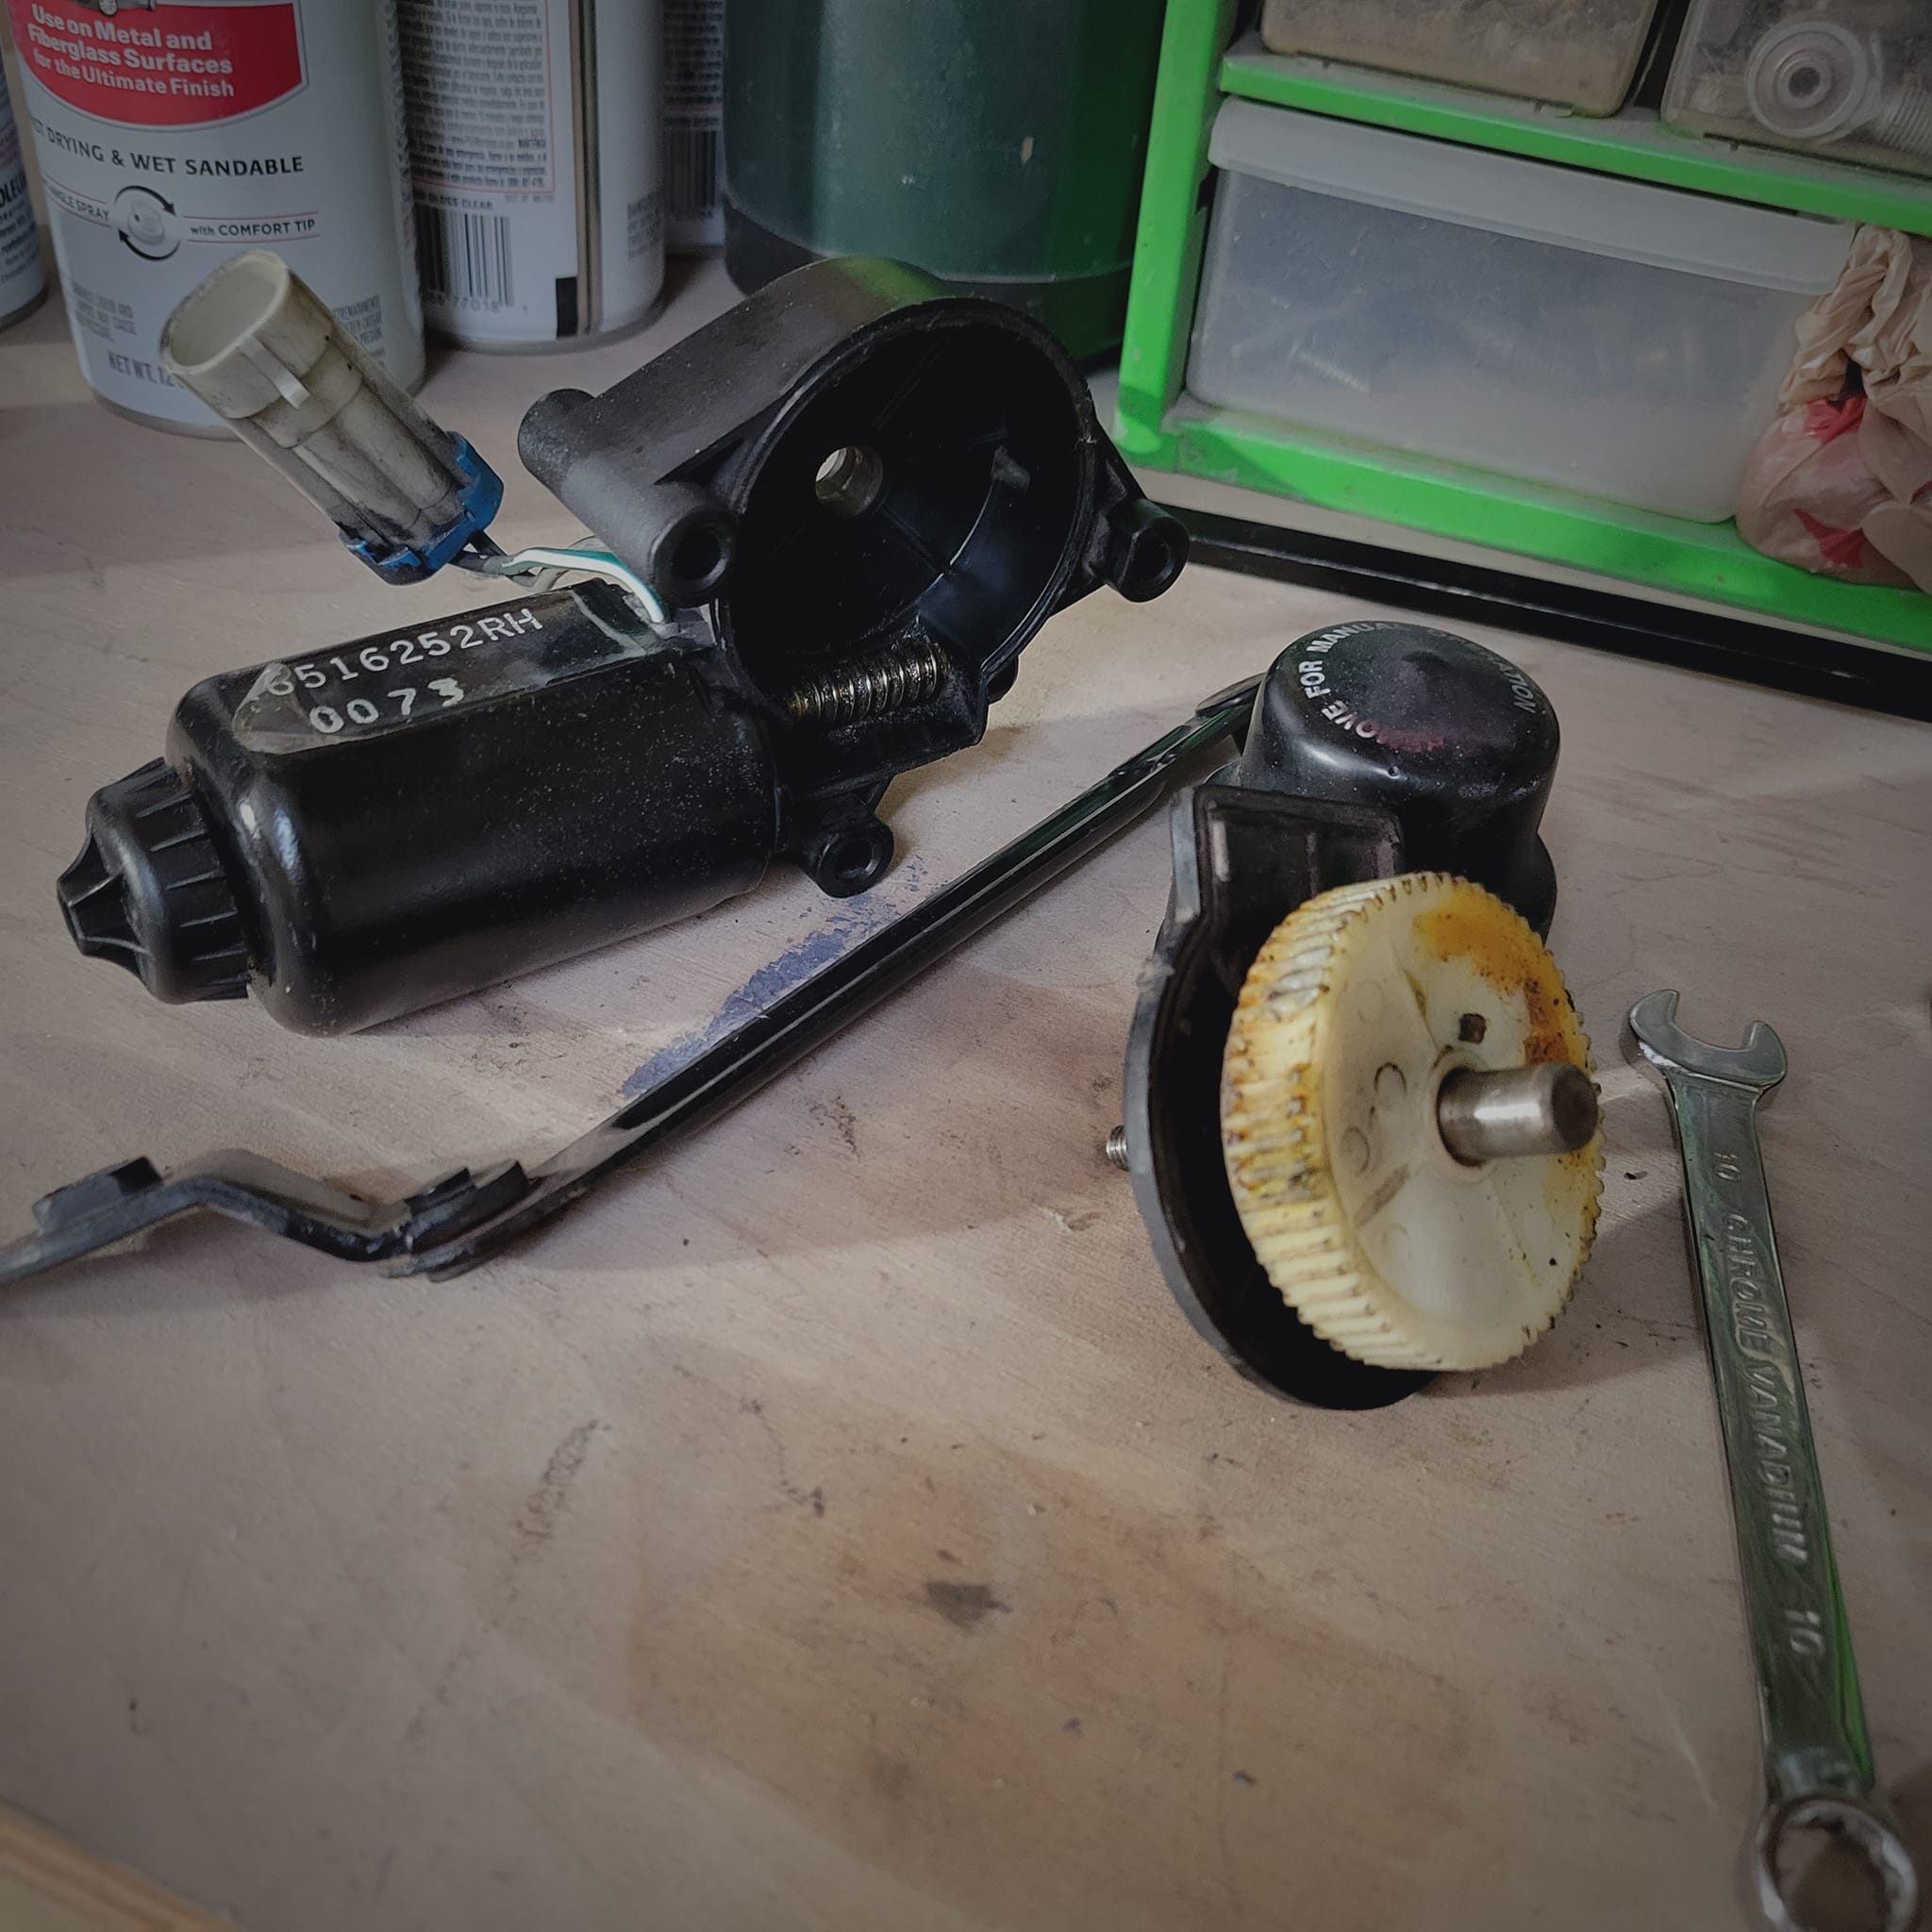
Teeth missing:
=============================================
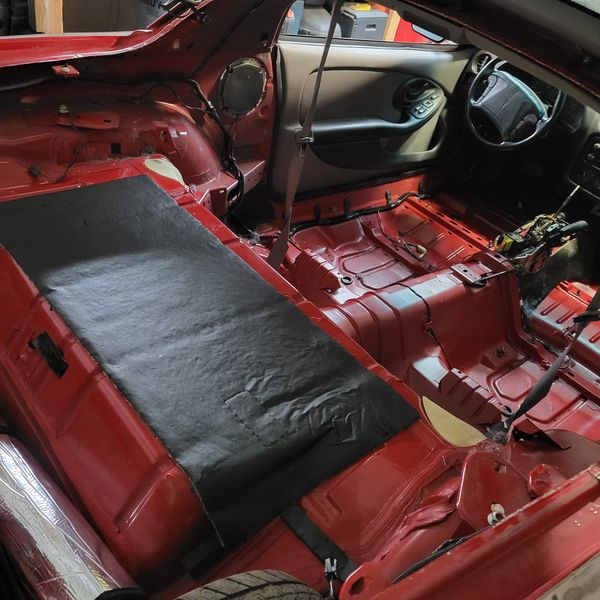
TA 2, day 51: Insulating interior:. Doing the rear wheel well areas really reduces the interior rear tire noise.
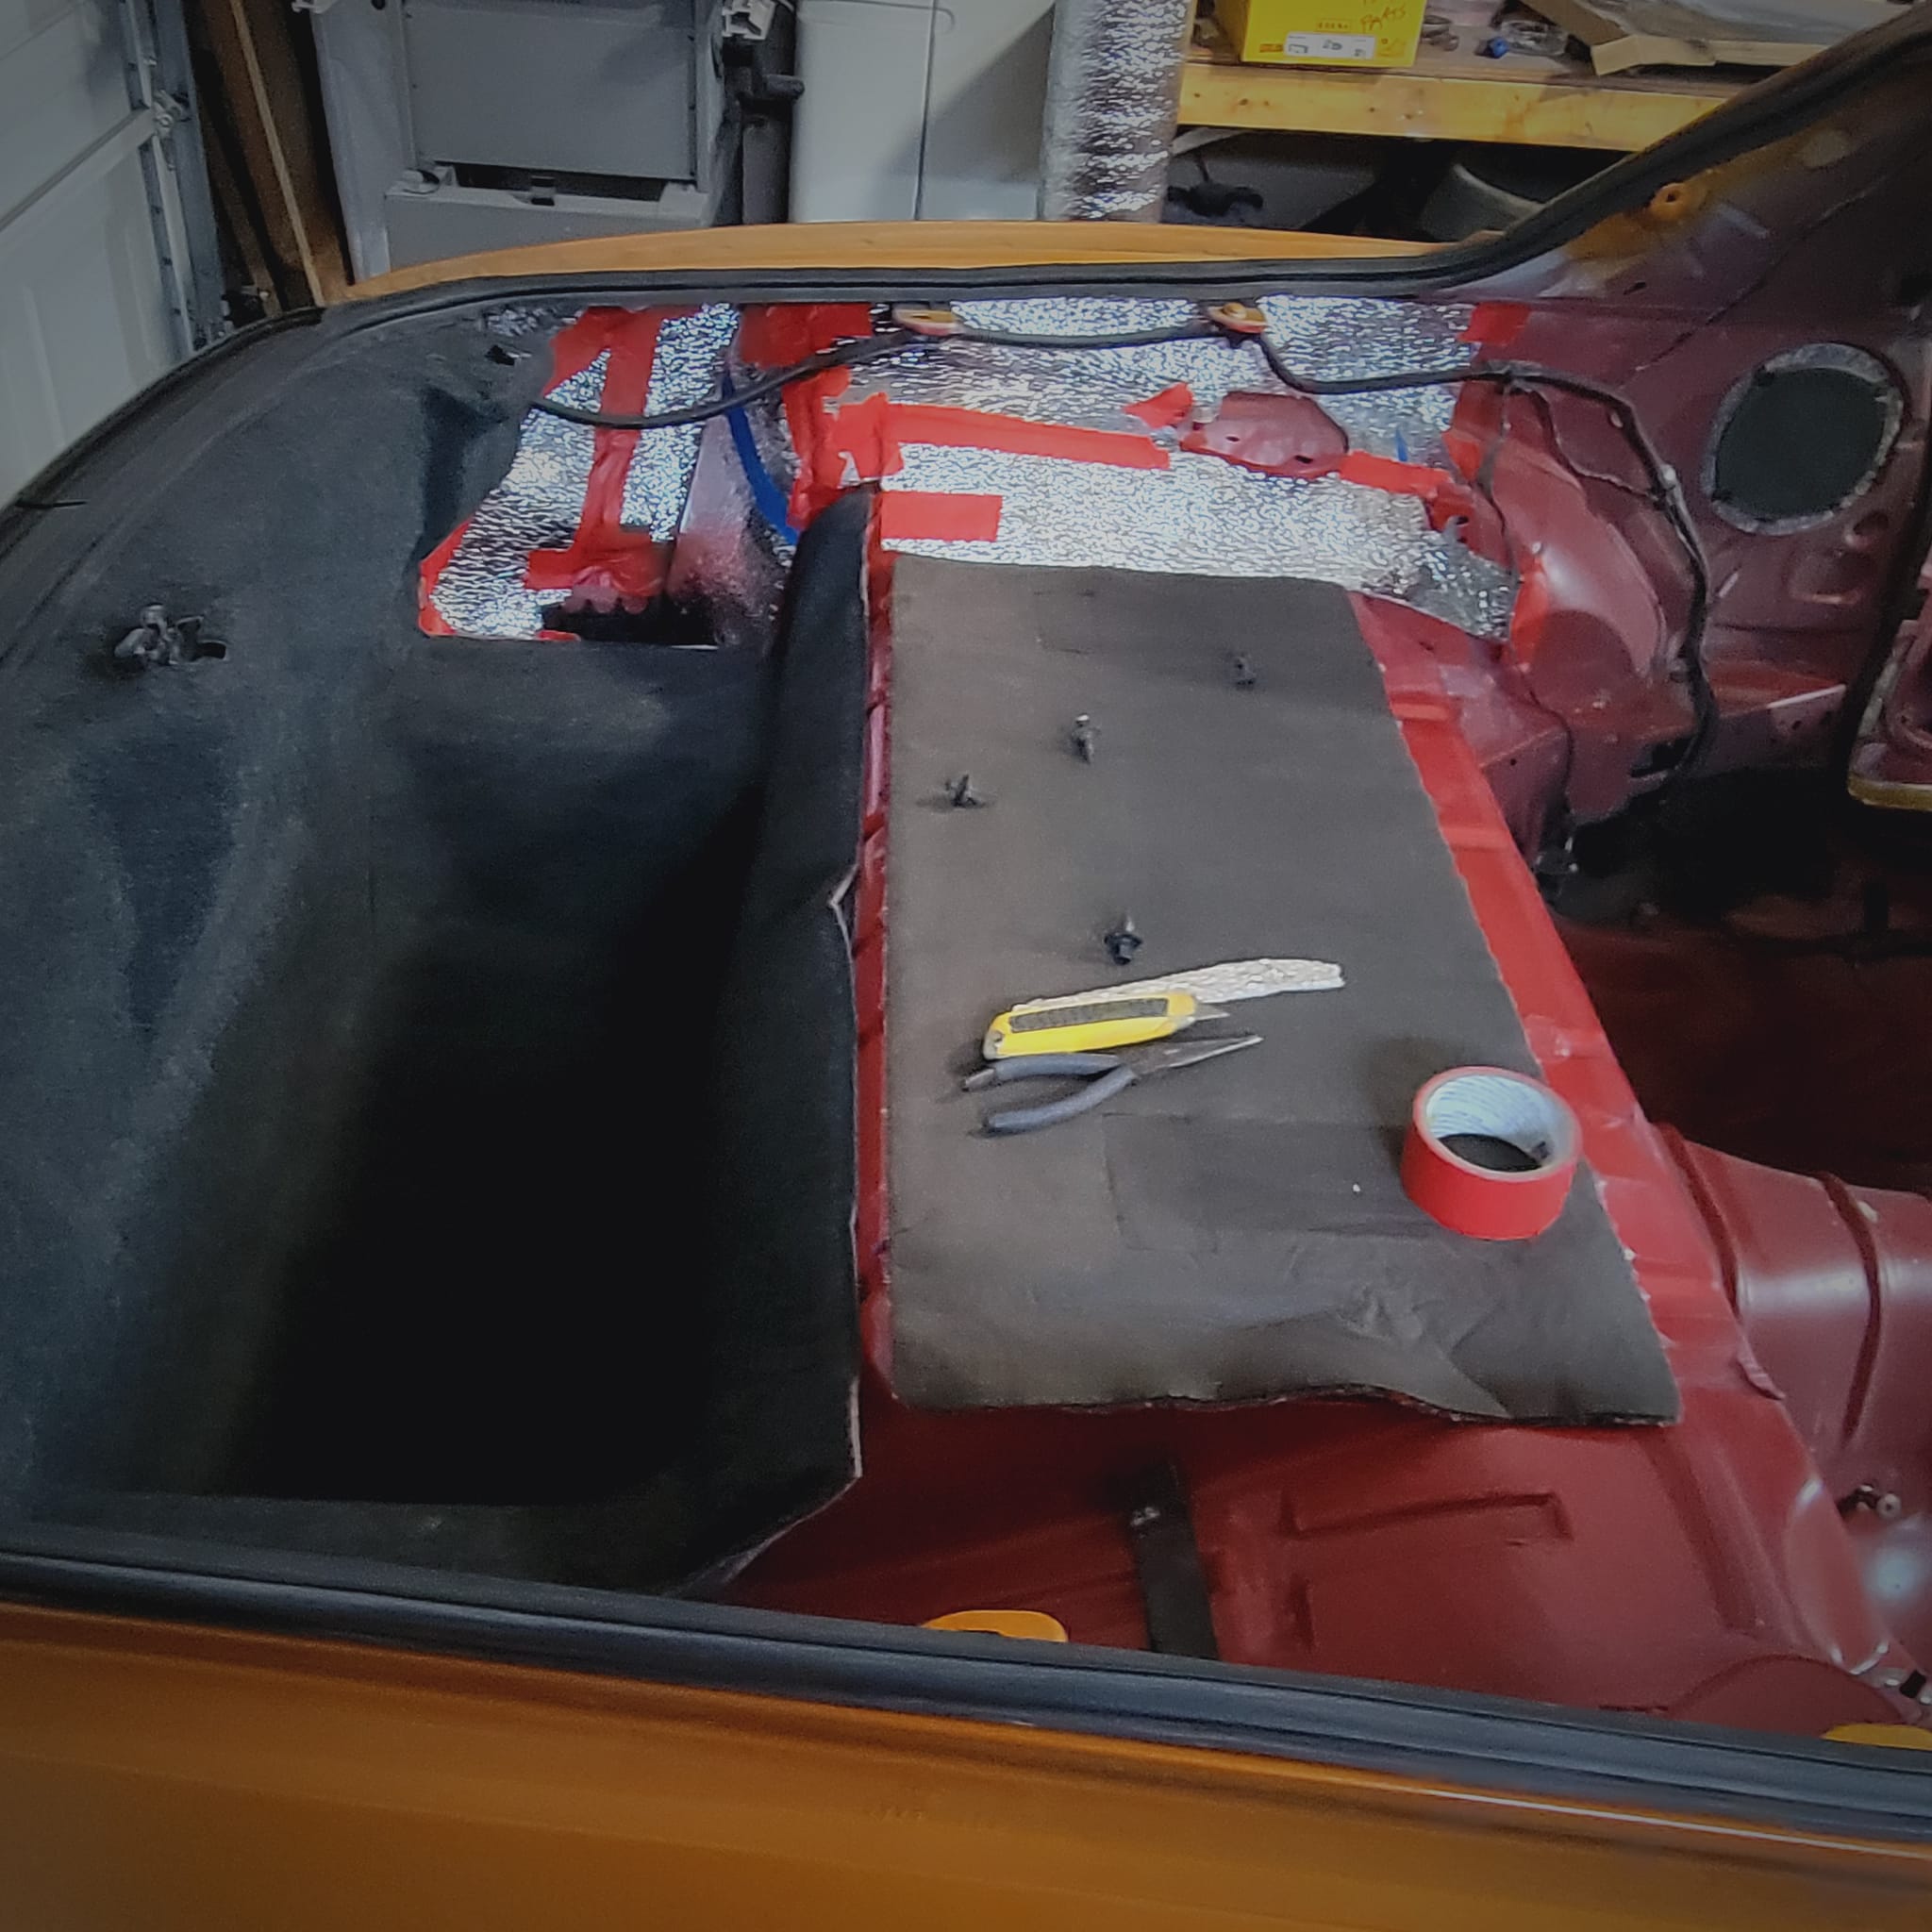
=============================================
=============================================
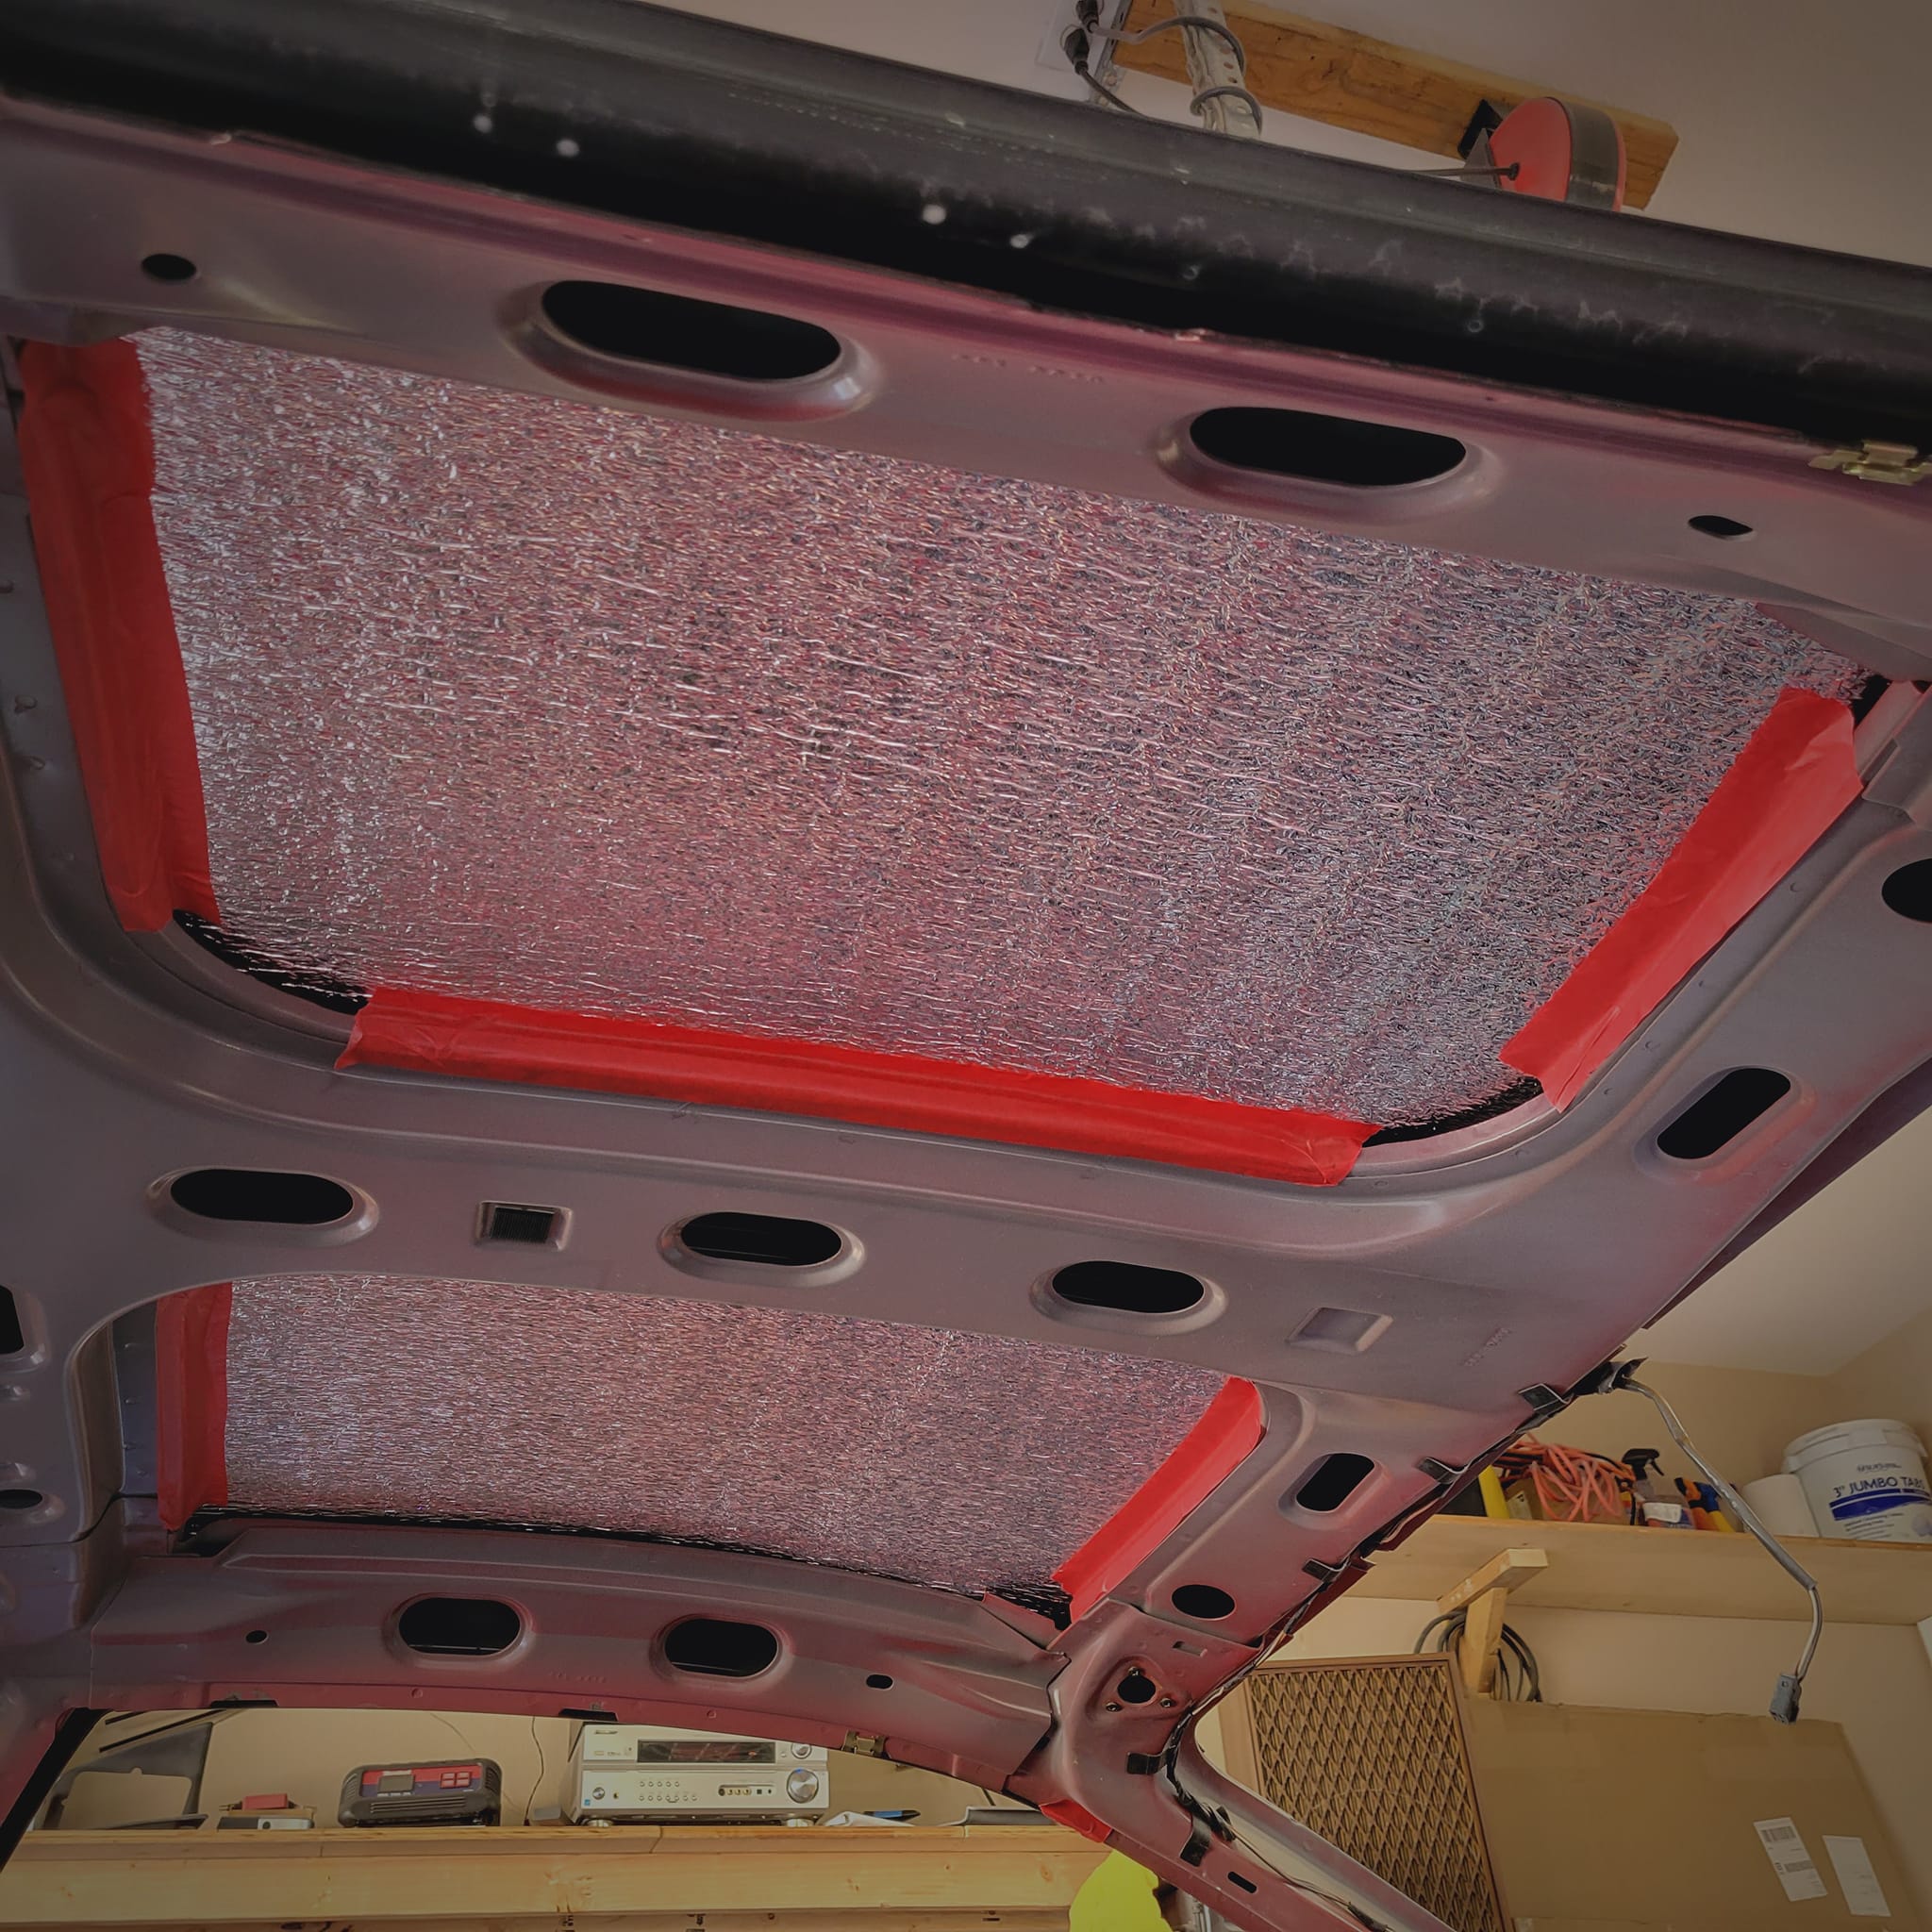
TA 2, DAY 53: Finishing the interior insulation (picture is of ceiling panels). Insulating the ceiling really helps reduce the interior temperature by 30-40 degrees on hot Las Vegas days. I got tired of melting headliners, This really helps. Those spots on the rubber are cloudy water from wet sanding the roof. That all wipes off. Also, installed new pop-up headlight motor, to replace that one with the bad gear. They work perfect now, fast and quiet.
=============================================
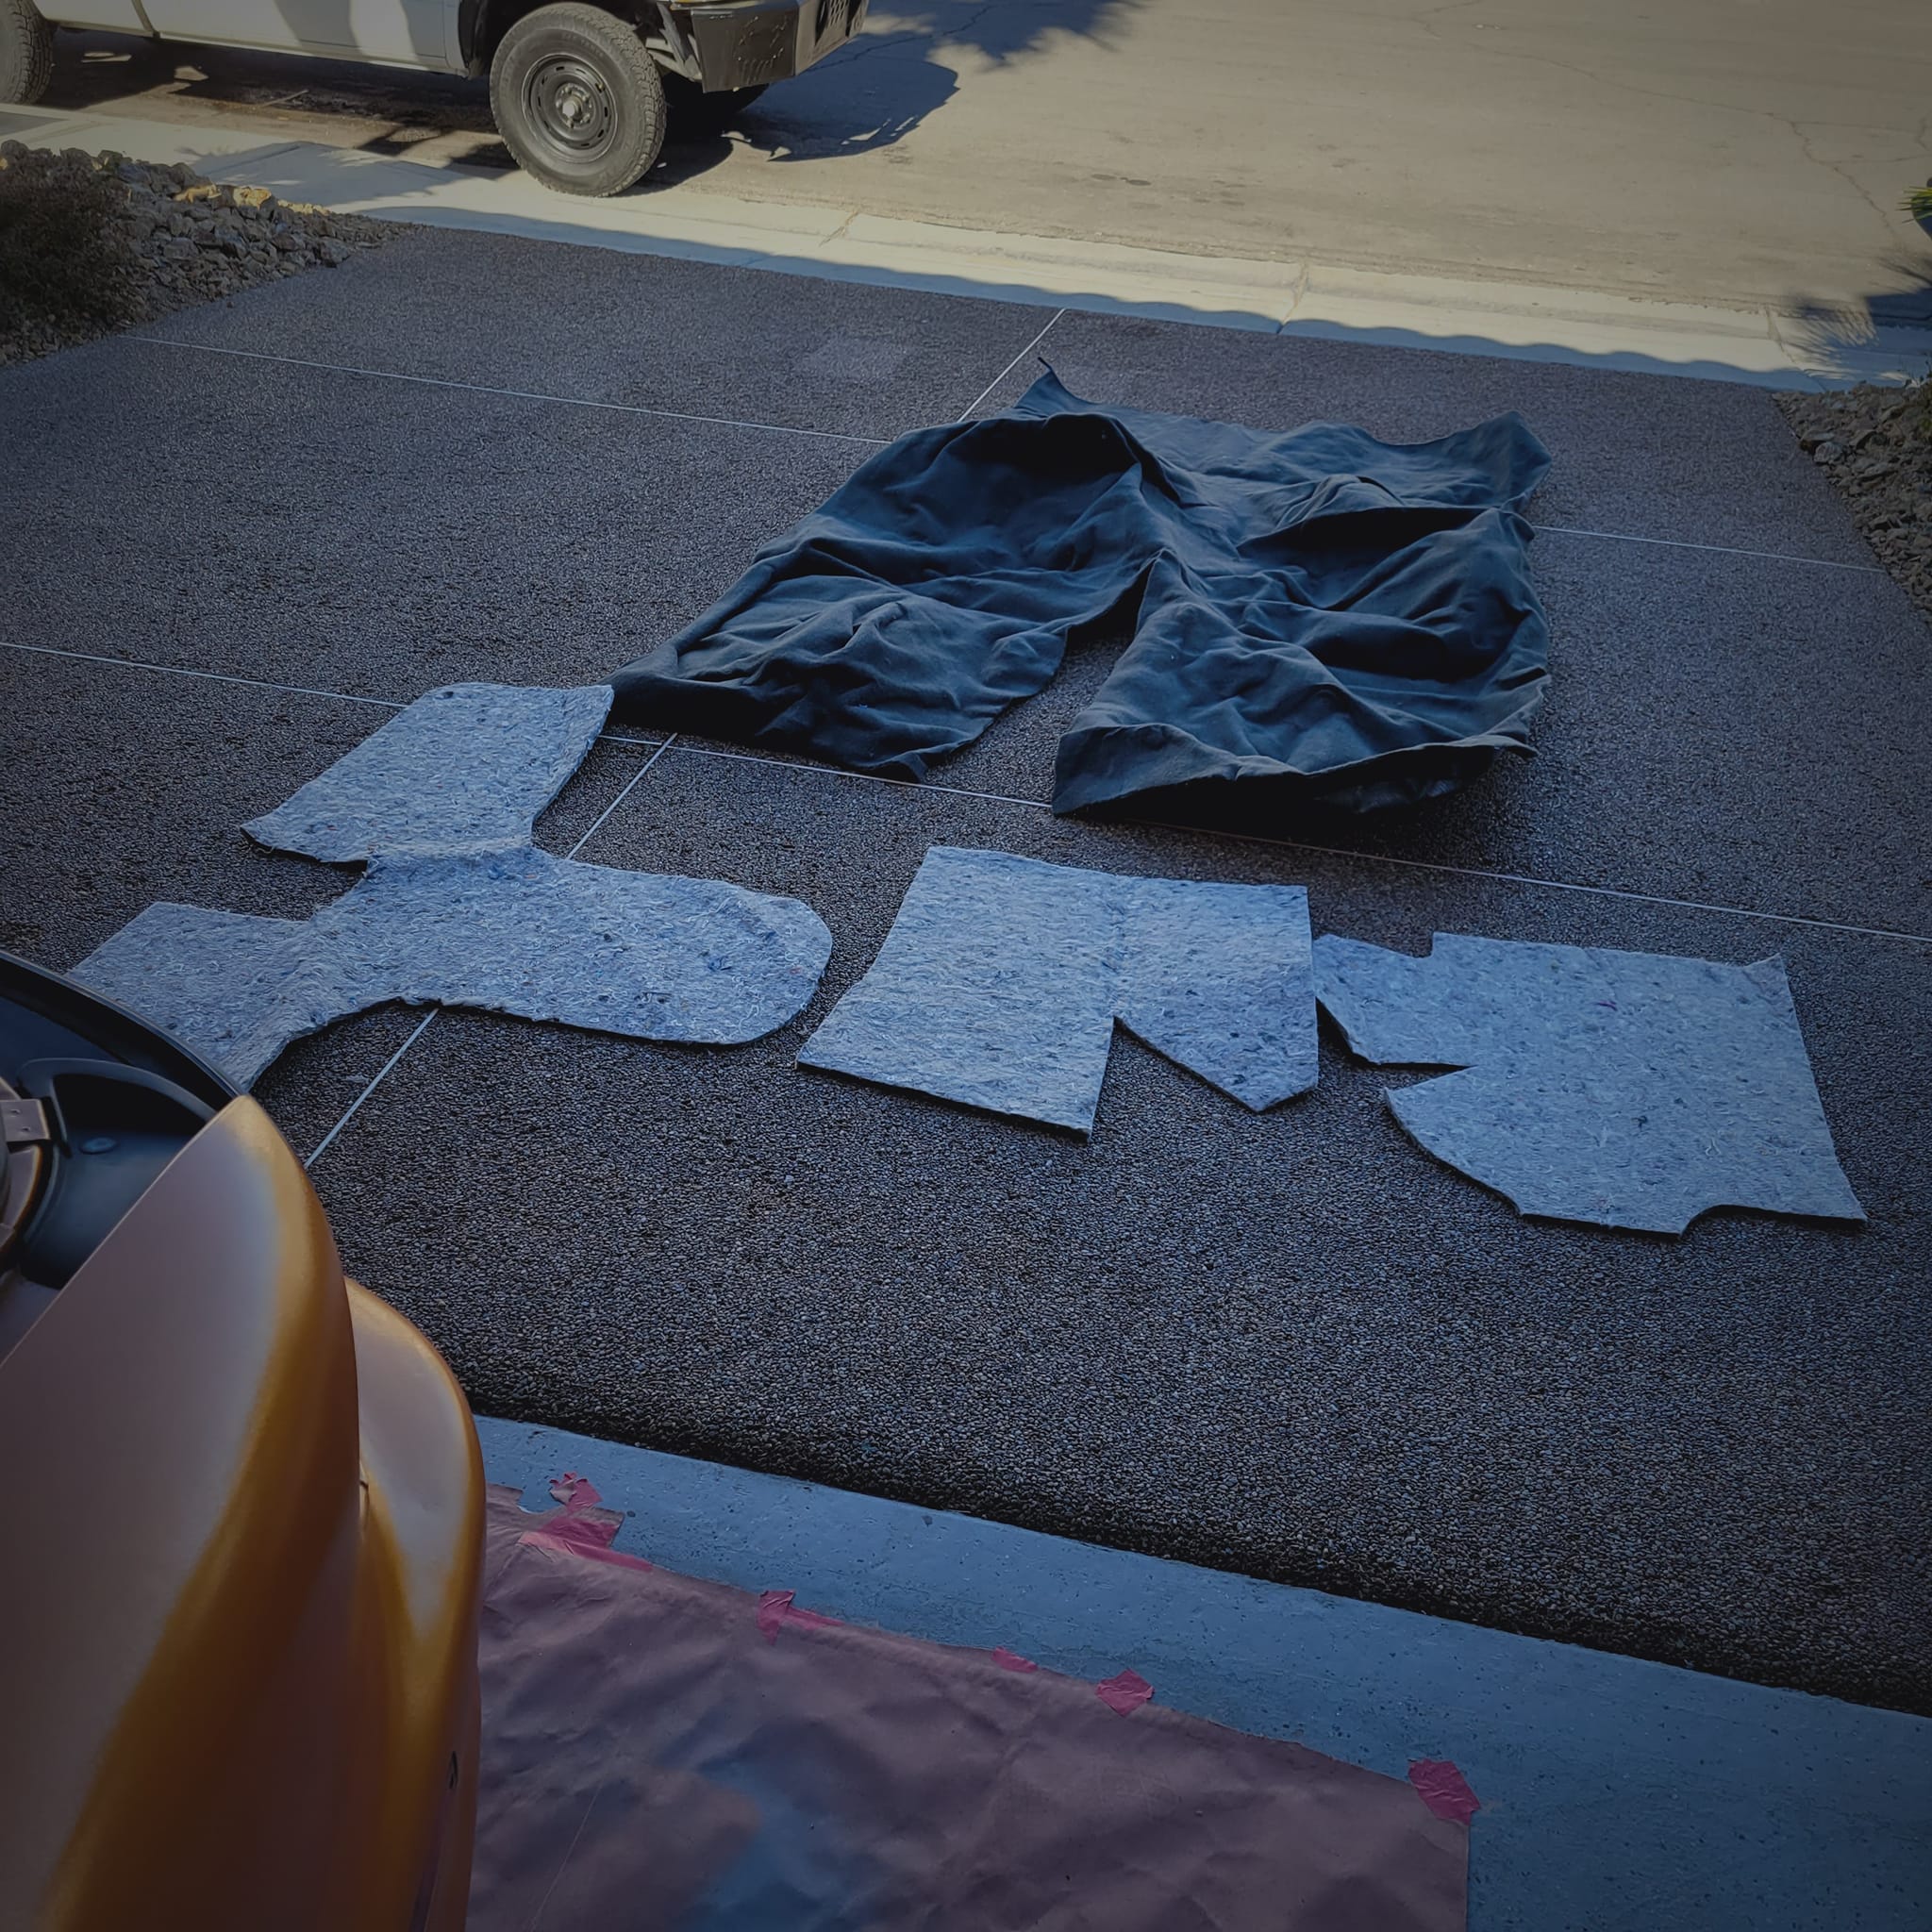
TA 2, day 54: New carpet and front floor liners arrived today.
=============================================
=============================================
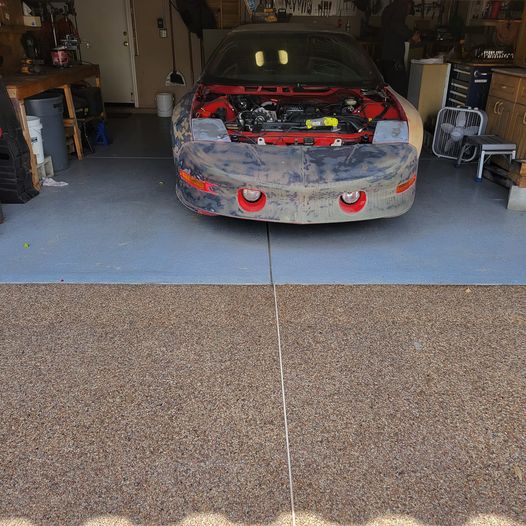
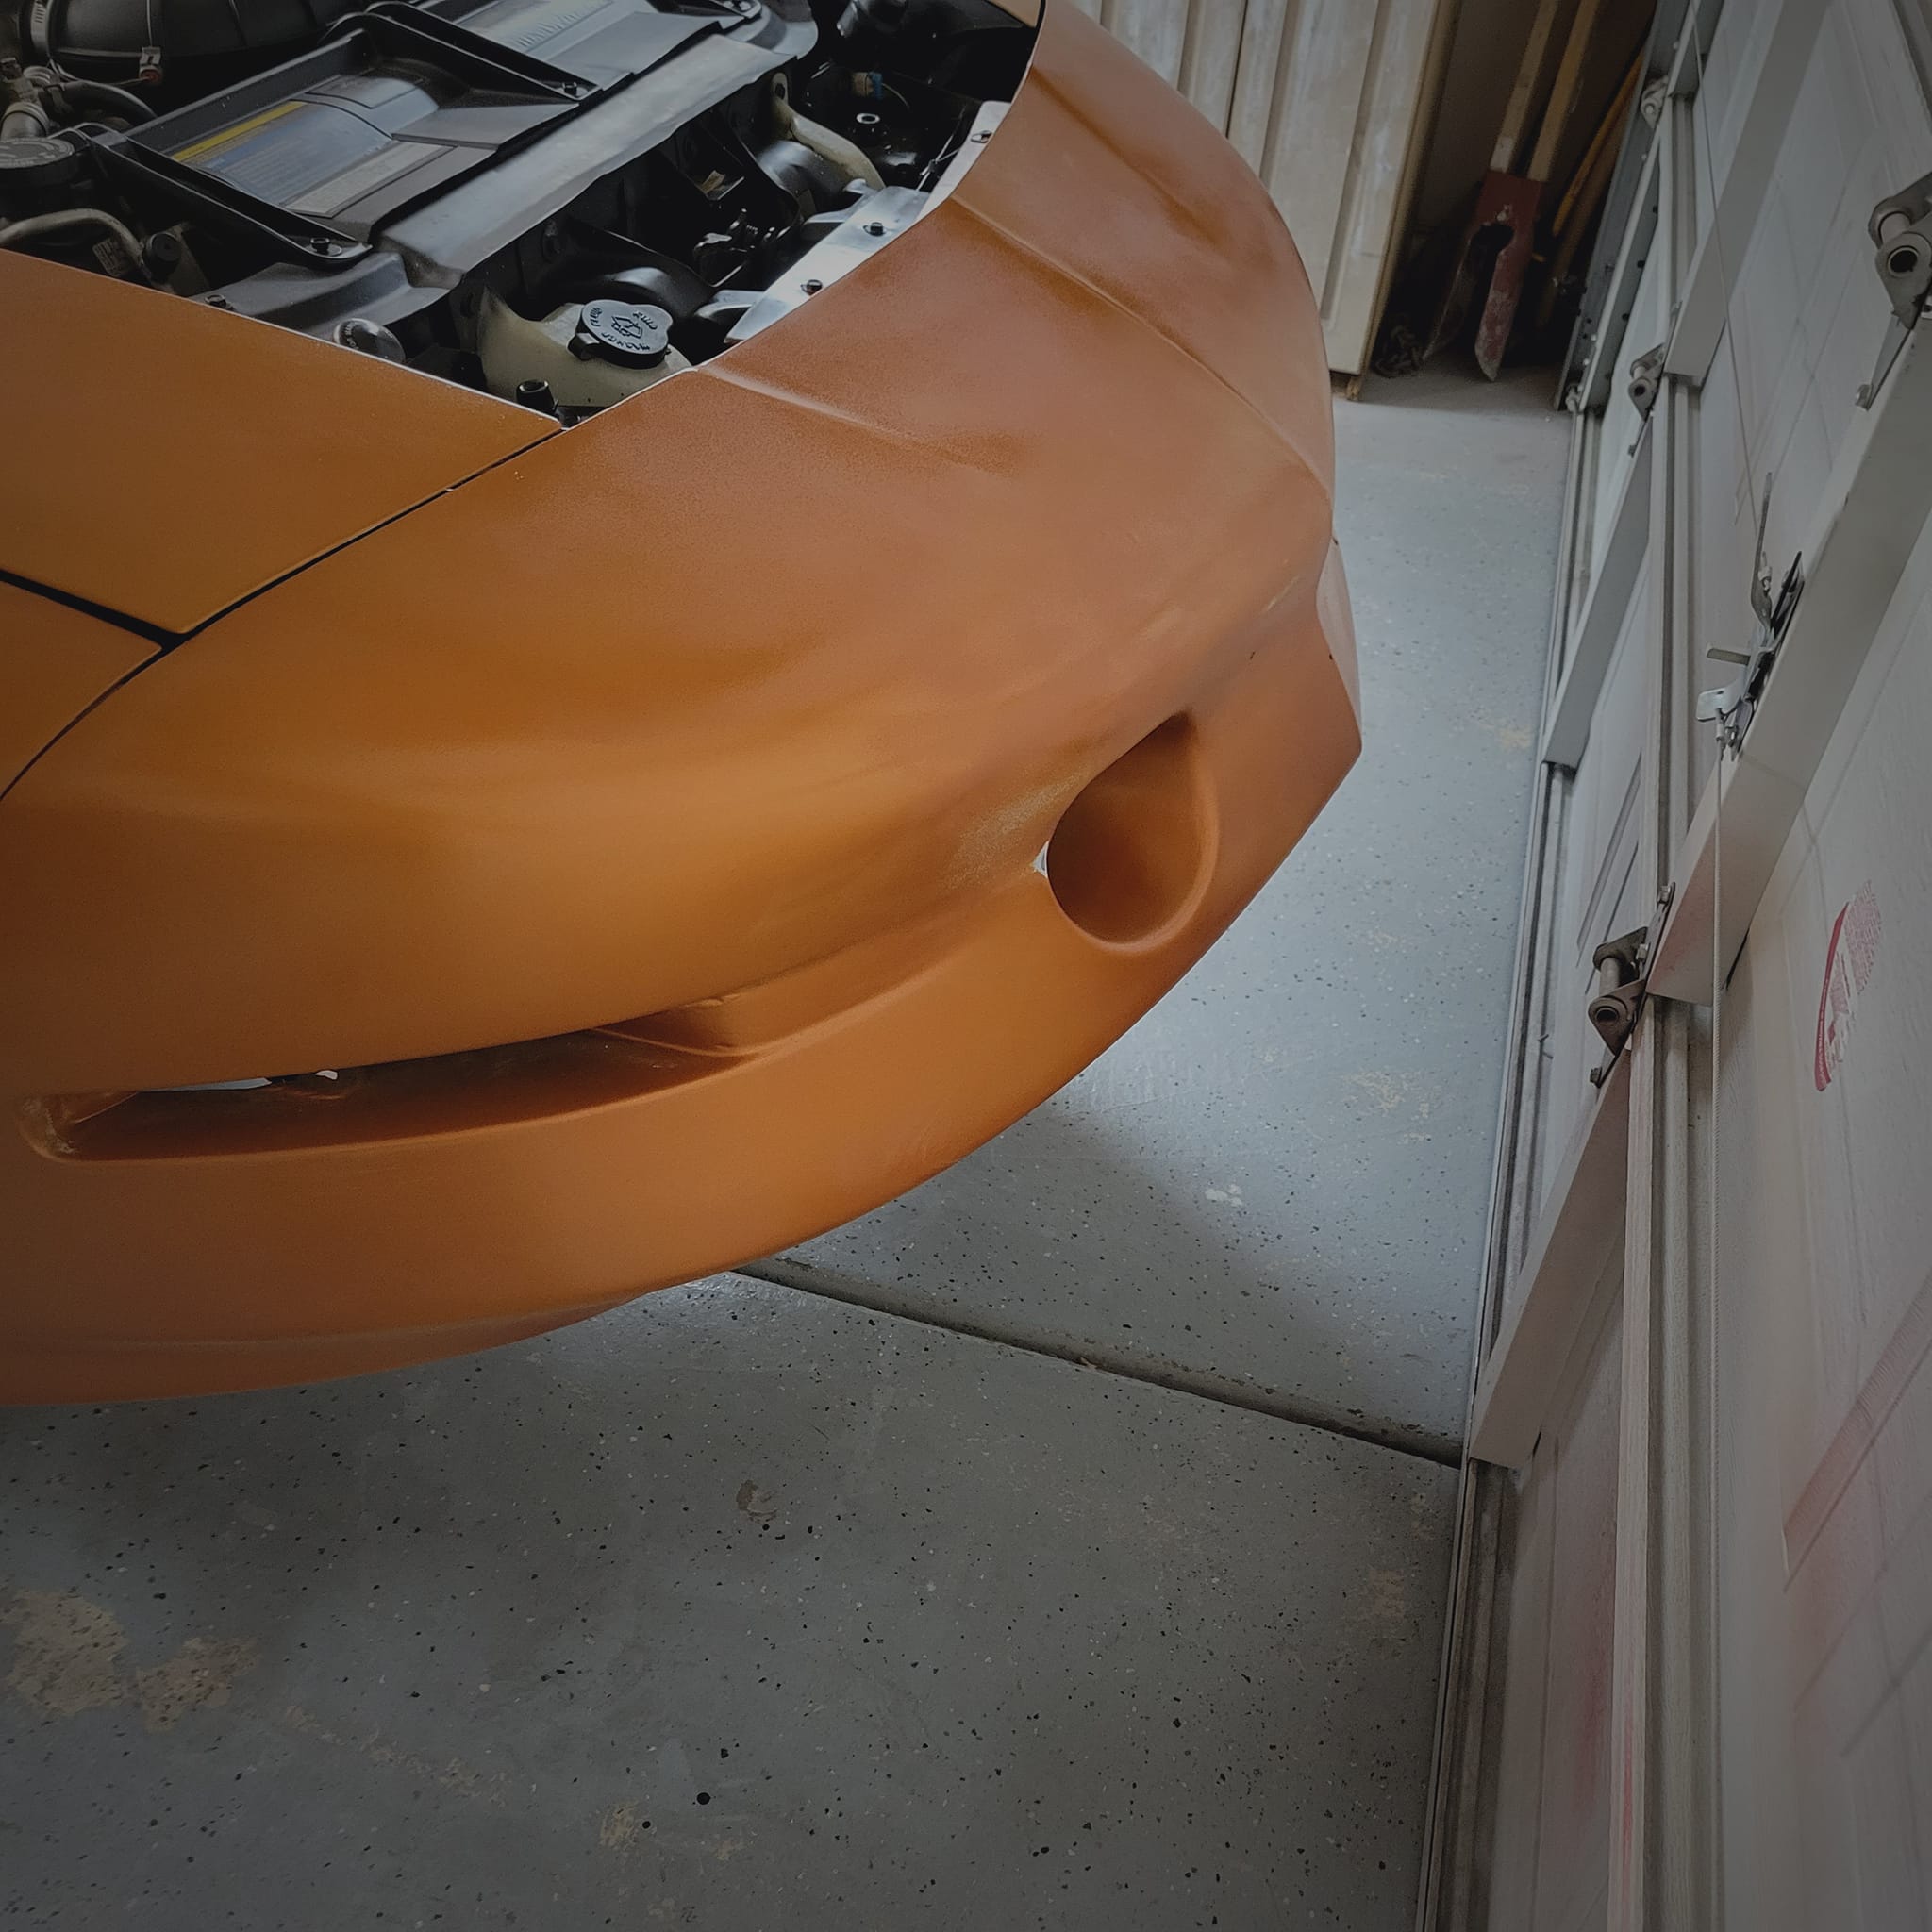
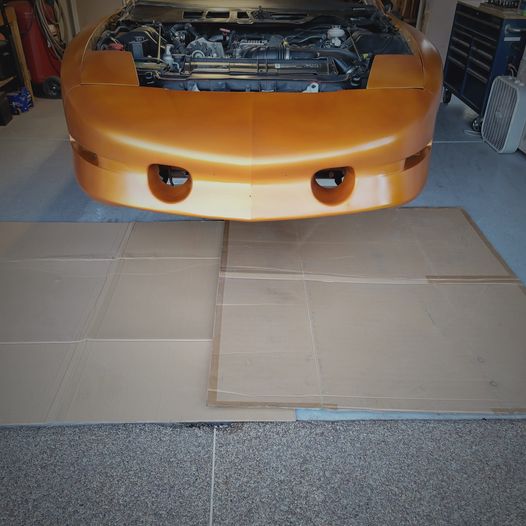
TA 2, day 56: Re-sprayed the front bumper and fog light pockets with less orange and more white. Love the look and the transitions. Real glad I winged it on the mix. Touched up some other spots too. Blended real nice.
=============================================
TA 2, day 57: signal light housings and fog lights installed. All new connectors and bulbs.
=============================================
TA 2, day 58: Carpet trimming:
=============================================
TA 2 day 59: I sprayed my hood inserts jet black and clear coated them and set them aside to harden for a few days. About to get back on the interior. Seat belt assemblies going in next so I can finish trimming the carpeting in the rear. Then I can finish trim the carpet around the console opening.
=============================================
TA 2, day 60: Console mounted. Spare tire, jack and antenna in. Carpet trimmed and cutouts done. Fired it up. Engine and oil pressure running strong.
=============================================
That is/was my 2007 Harley CVO Dyna Wide Glide Screaming Eagle in the background. 110ci. Paid $8,200 for it two years ago and just sold it to a dude in NC for $15,000 plus shipping. Hated selling her. Only 10k on it but cash is king. Looking for another.
=============================================
TA 2, day 62: Spraying Dreamsicle orange under hood, spoiler and hatchback.
=============================================
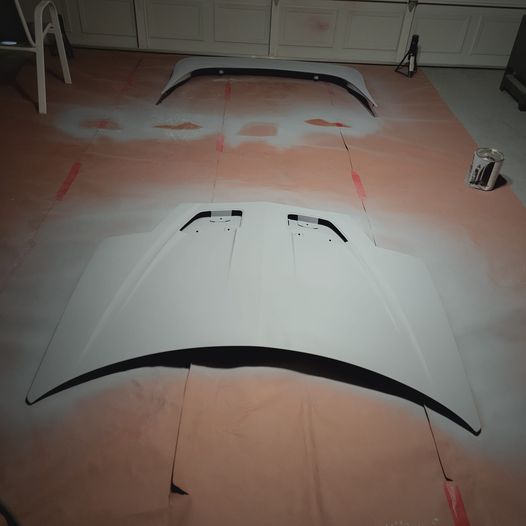
TA 2, day 63: Today was a great day. Finished painting the last 3 big items. The hood, spoiler and hatchback topsides. These are the bright orange topside parts with 3 wet coats of clear. 11 paint coats total, of bare metal primer, sandable primer, hardened primer, orange and clear. Looking really nice. Minimal orange peel. Sprayed gun at 30 psi with 2 inline water filters with a 165 psi, 6 gallon, compressor.
![]()
![]()
![]()
=============================================
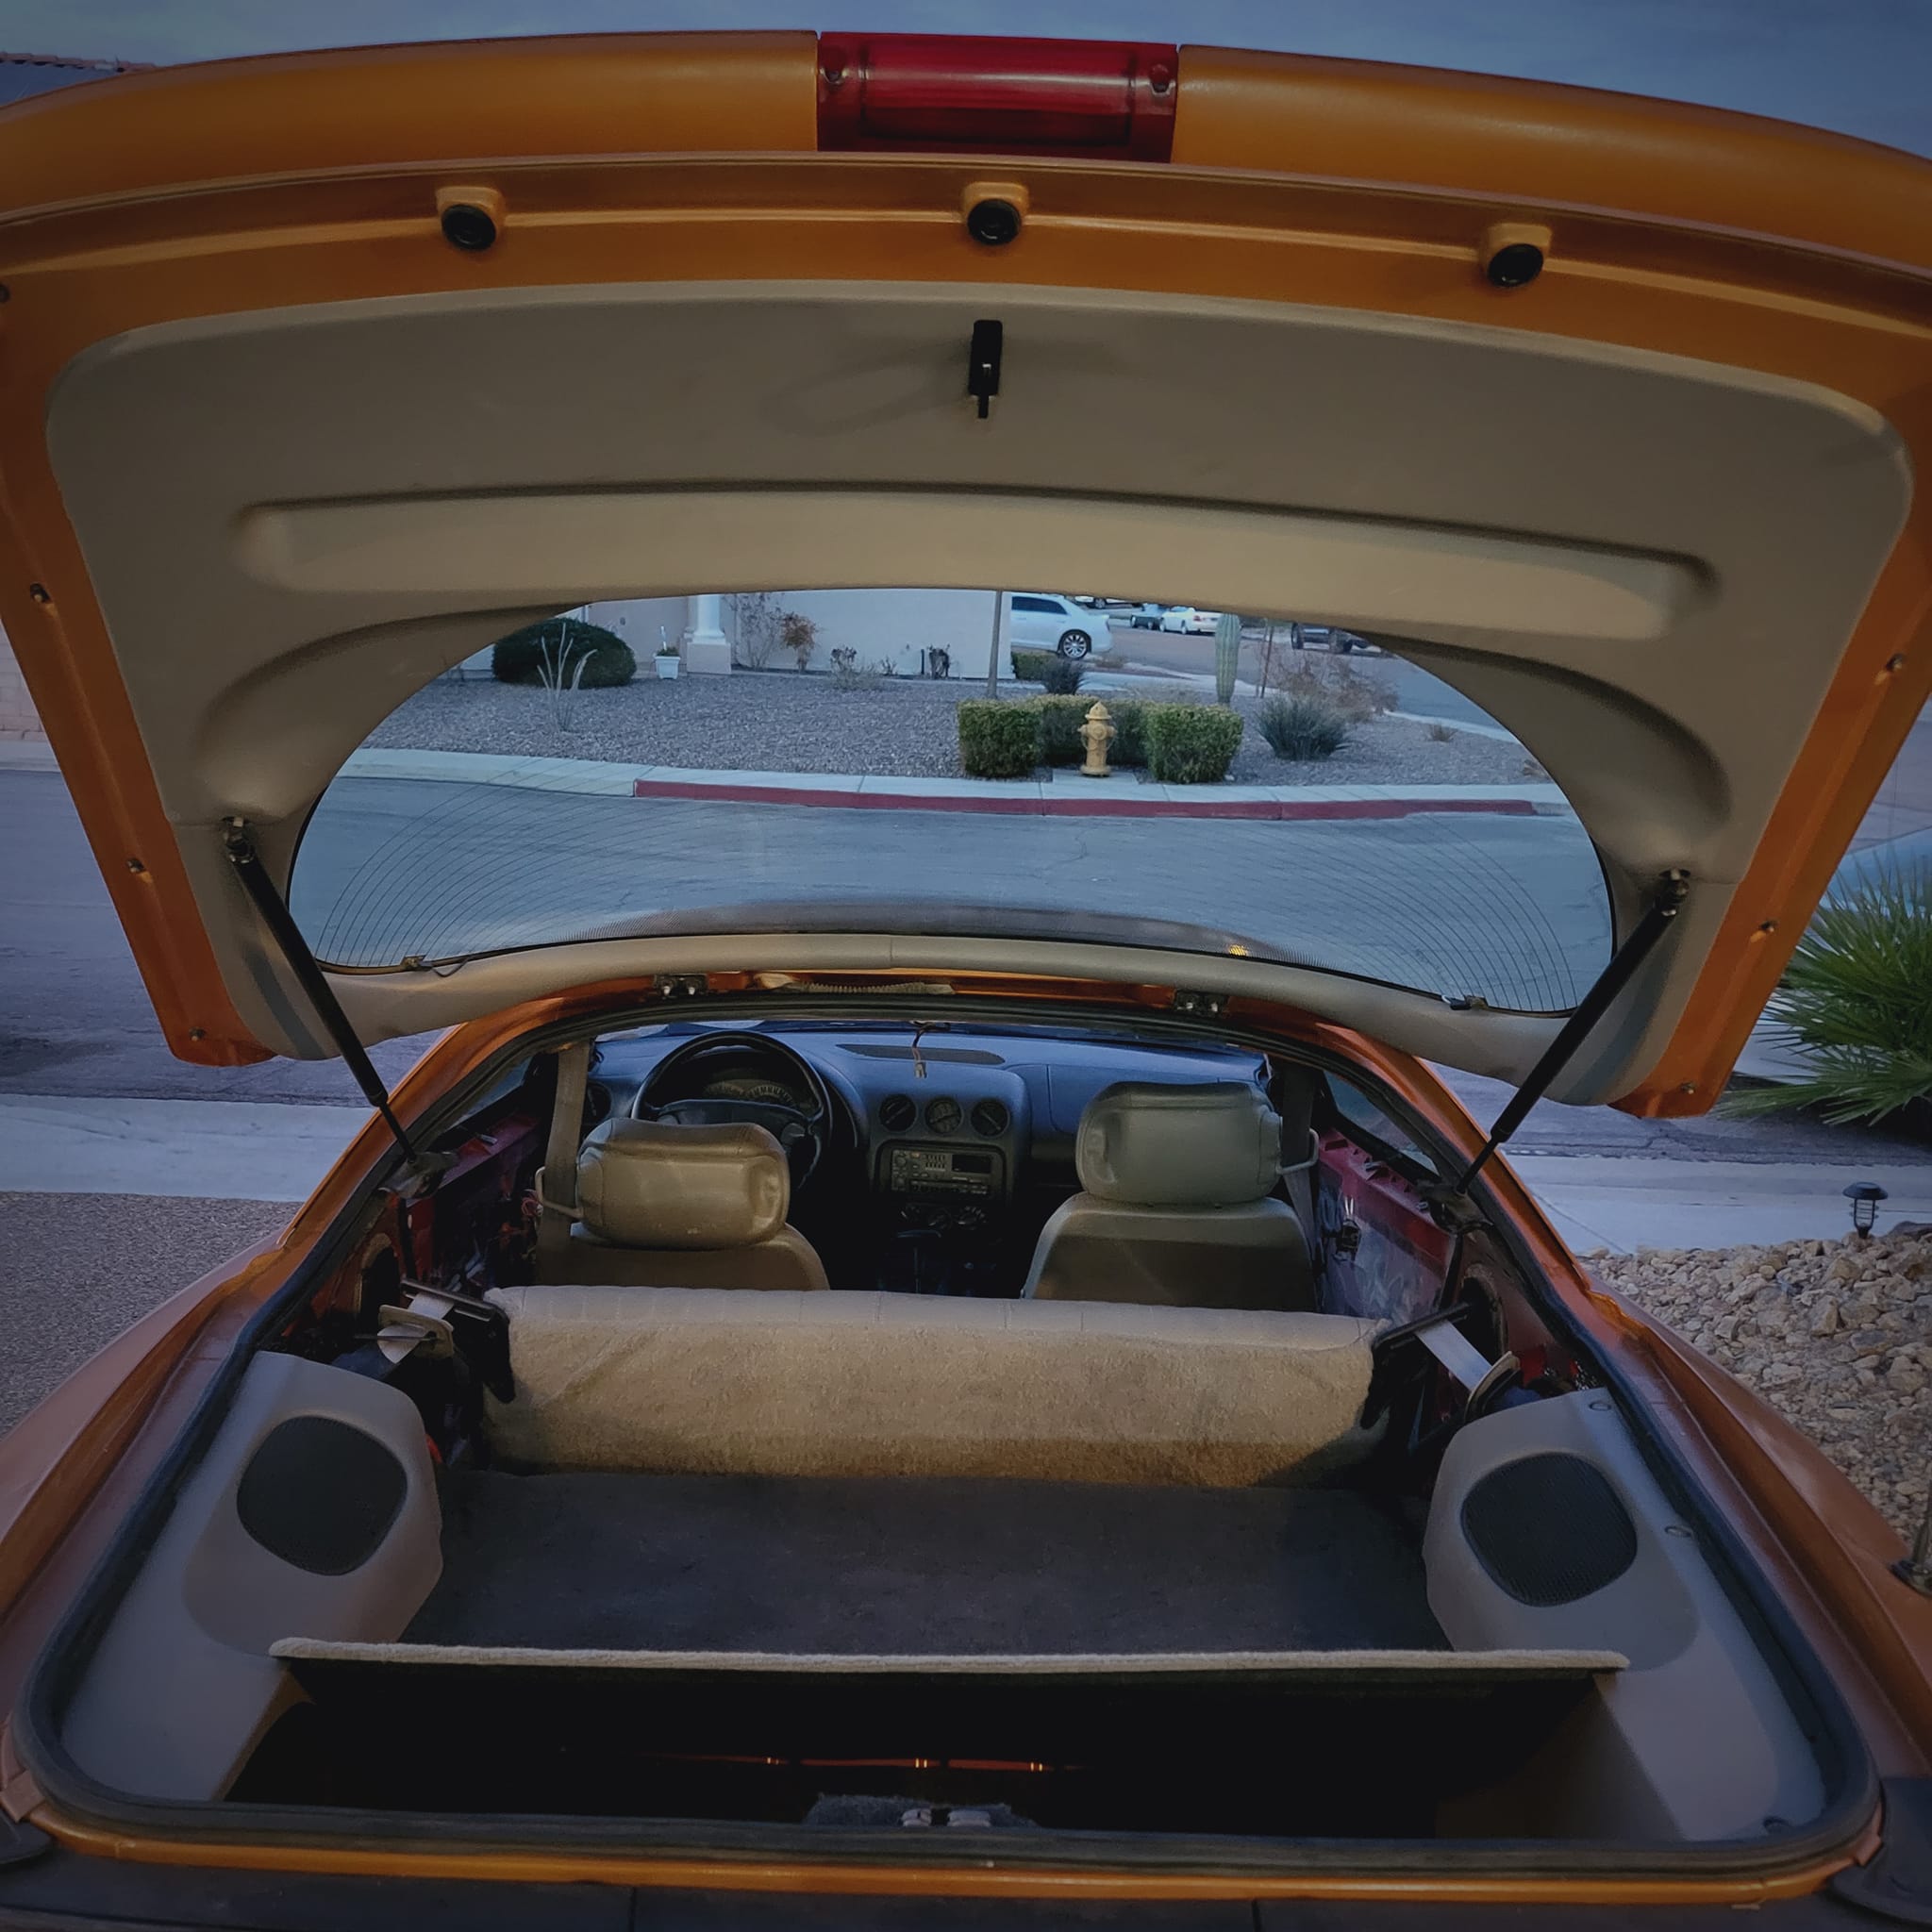
TA 2, day 64: windshield in and hatchback on:
=============================================
TA 2, day 65: Spoiler on, rear interior trim done and windshield trim on with hood rubber:
=============================================
TA 2, day 66; hood on and underside complete.
=============================================
TA 2, DAY 67: door panels going in, black mirror housings done/on, trim black triangles on, new RH headlight rear glare guard on.
=============================================
TA 2, day 67 part 2. Rear end all together. Gold bird and gold Trans Am text will go on the center panel after it gets buffed out. Right taillight will ultimately get replaced. Have a nice one? Call me: 702-610-9748 --> James
=============================================
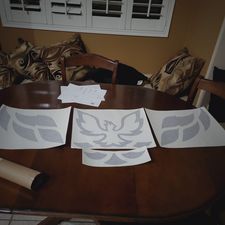
TA 2, day 68: New floor mats and hood bird arrived. The bird's body will be gold (hood color). It is a big bird that hopefully fits ok.-->

Here are the pieces on my kitchen table (feathers are not in installation position).
=============================================
This is where this restoration is currently at. I will be adding updates every day that I work on it until it is one hot ride. Hoping to better what I did with TA 1 through lessons learned. That won't be easy as I love that car. She rolls. A beast stop light to stop light and lights out in Death Valley (idling at 160 MPH). How good are your tires?
I would love to hear from anyone who needs Trans Am parts, has Trans Am parts or who just would like to add general comments. Can email [email protected]
If in the Las Vegas area also be sure to send us parts to sandblast, paint and or powder coat.
We also do 3D CAD design/engineering in NX and Catia. We also do welding, laser cutting, custom signs and stuff you haven't even imagined yet.
We work cheap but do great work in a timely manner.
You can reach James at 702-610-9748 --> Las Vegas, NV 89147 (Spring Valley area).
Direct comments or questions about this site to: [email protected]
All rights reserved 1971-2024. Site by James Beaver.
Intergalactic News - James Beaver - CEO